
We had the bathroom re-done in May, but I’m blogging about it now, finally – better late than never! It was a bit traumatic so that’s probably why I’ve been putting off the re-living of it! What we thought was going to be a 2-week job turned into a much longer saga.
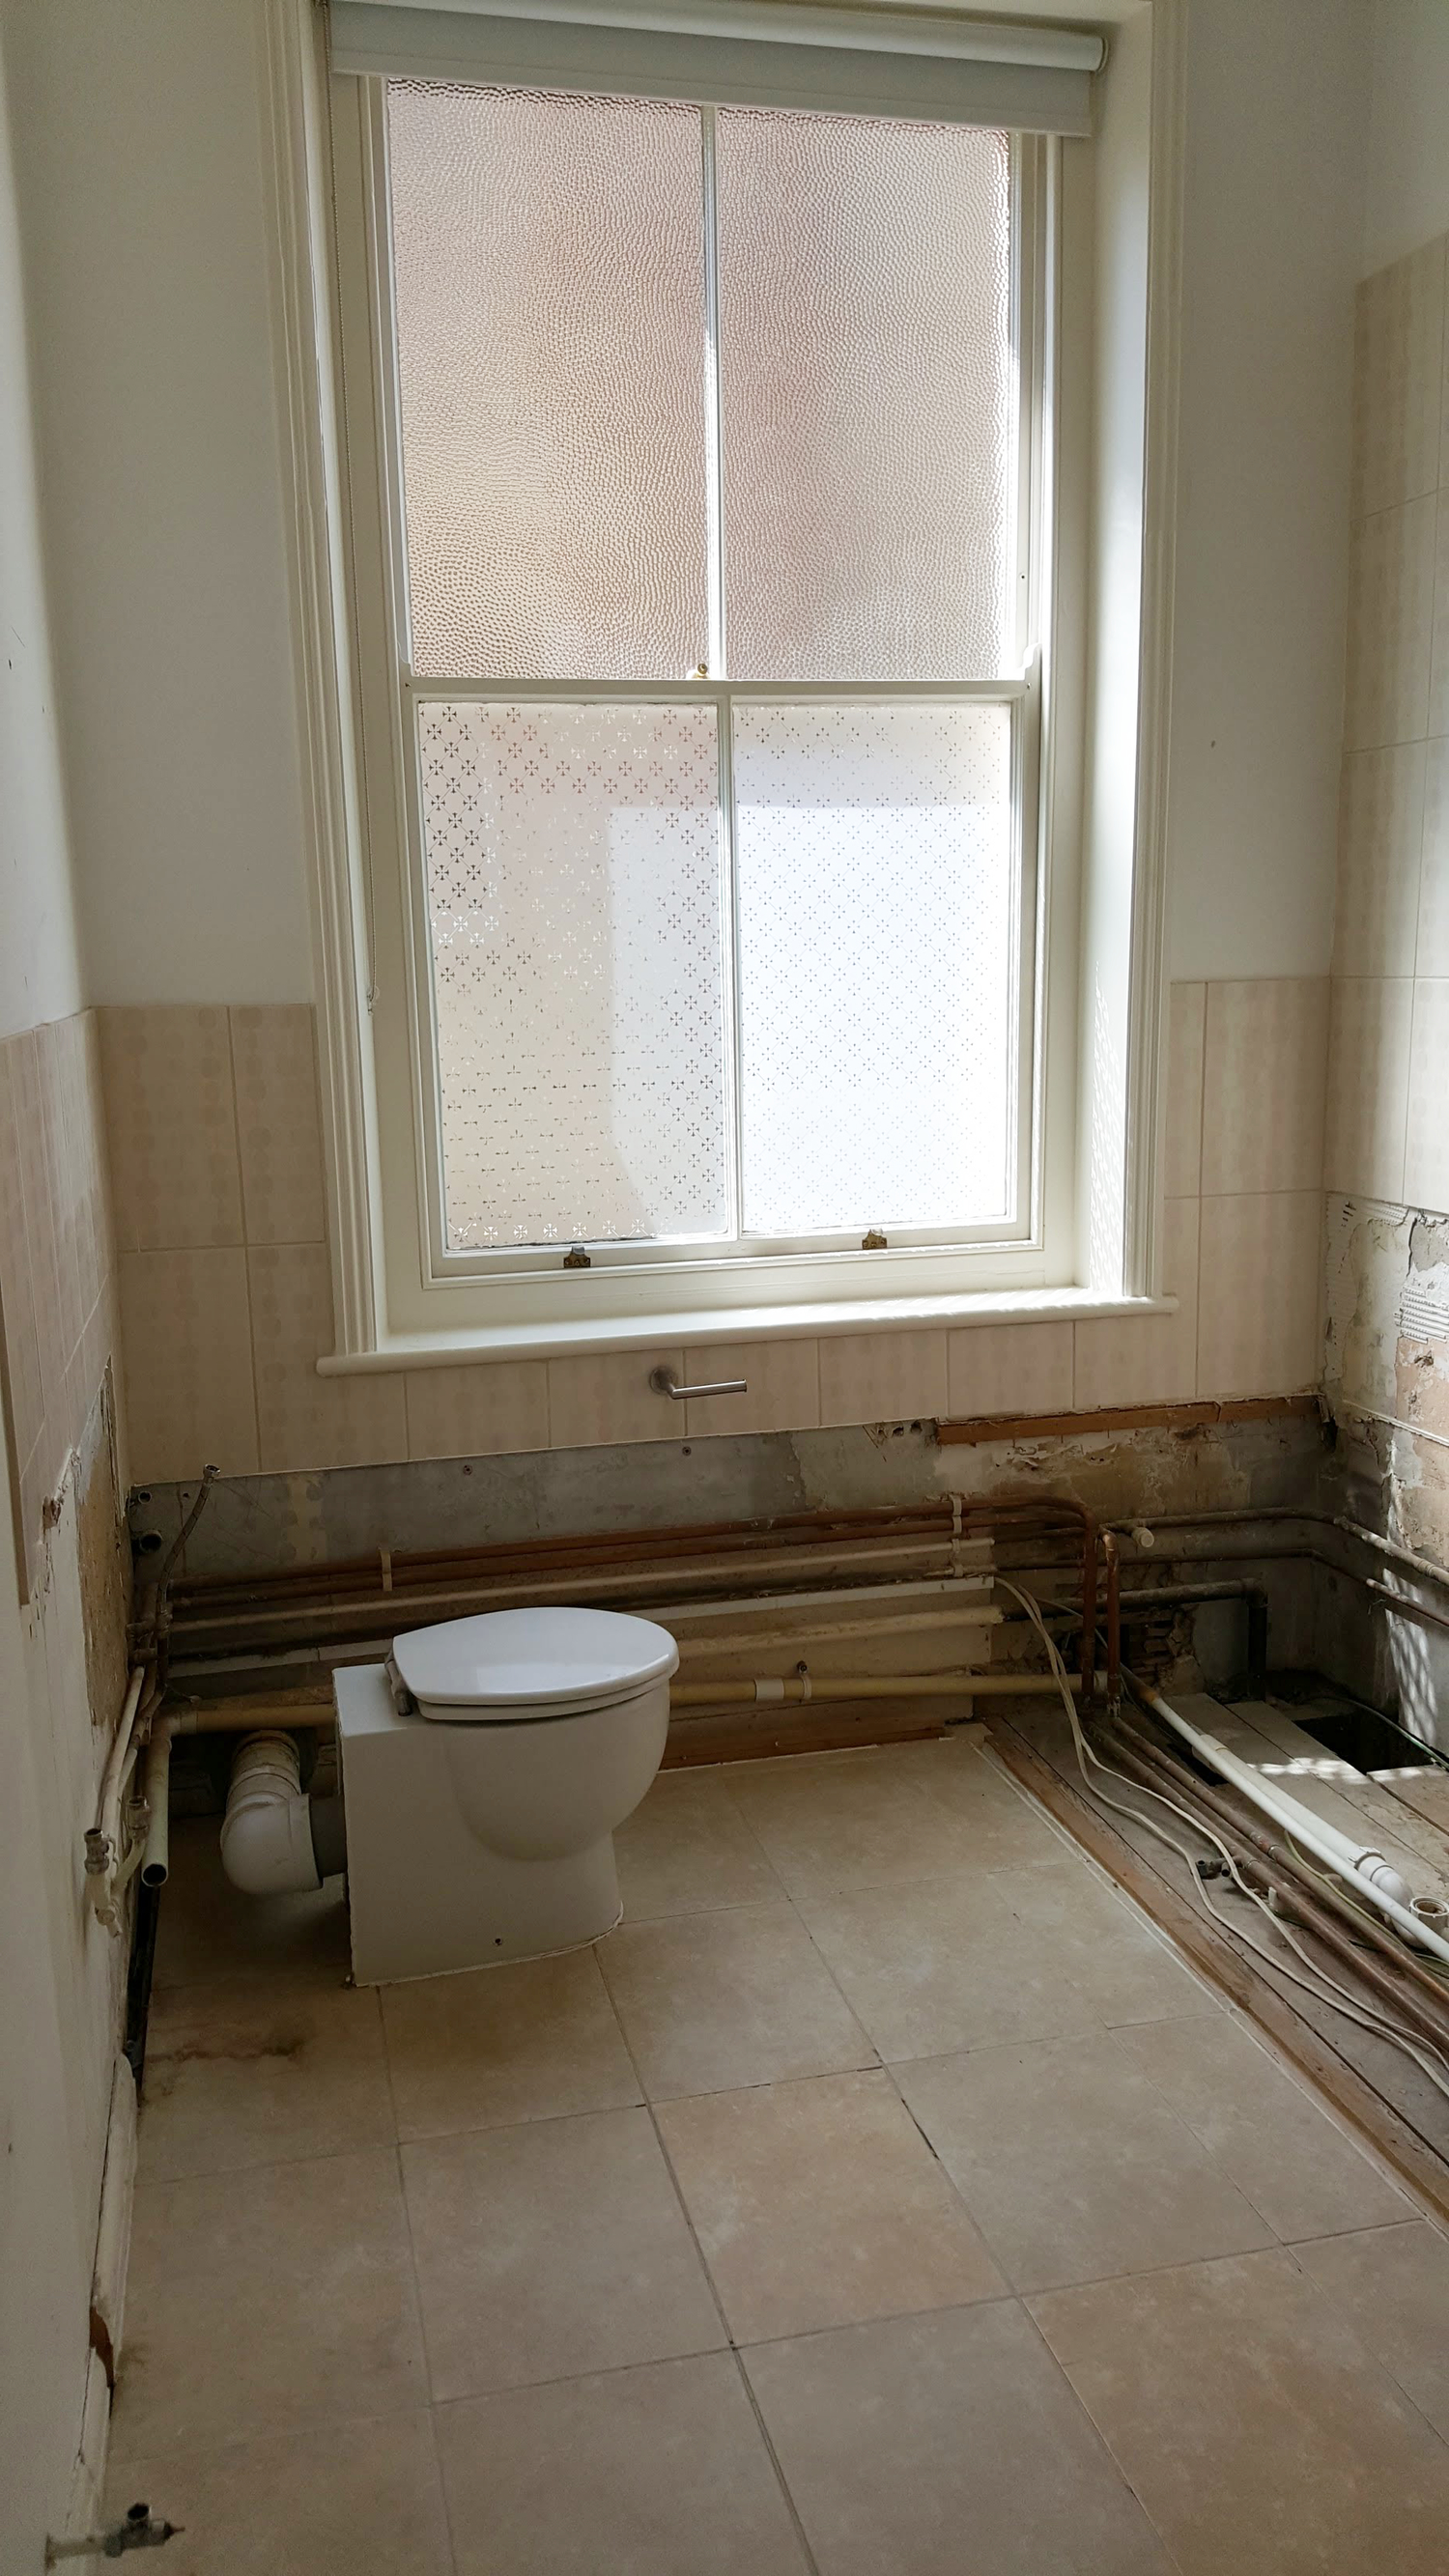
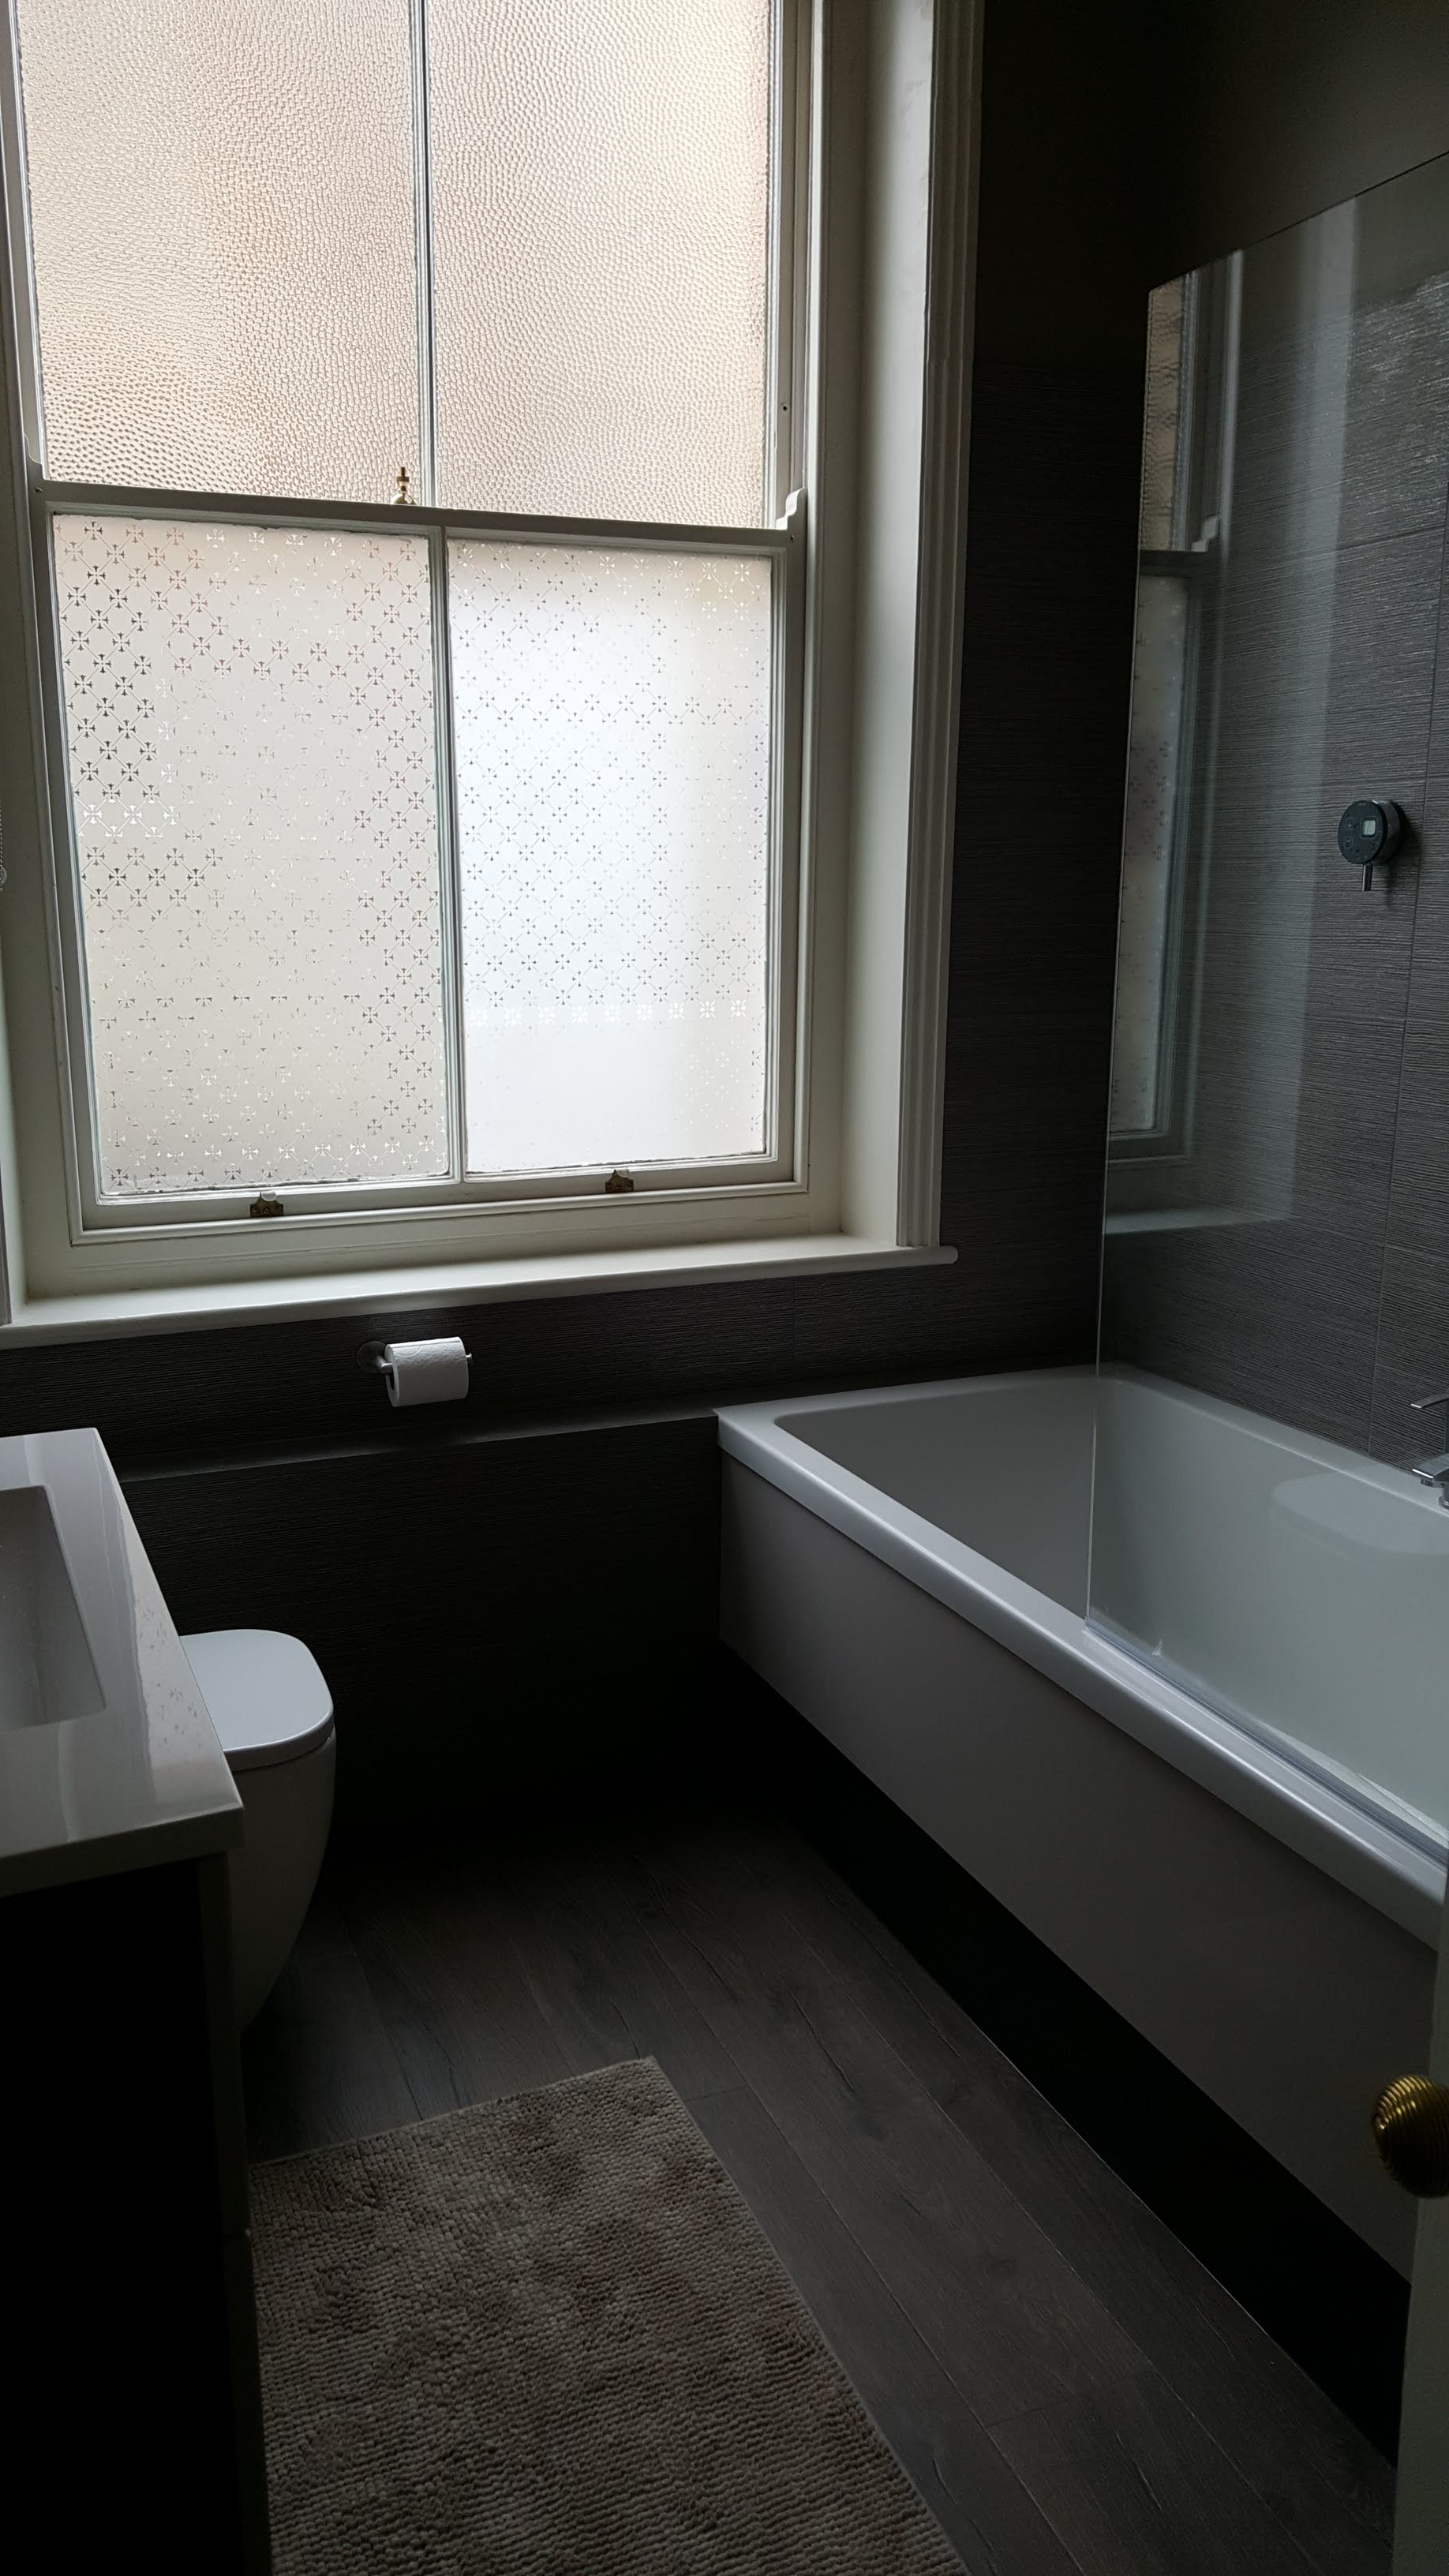
The bathroom isn’t a bad size, but we weren’t able to change anything of the basic layout due to several factors. Firstly, he outside wall is basically one huge window.

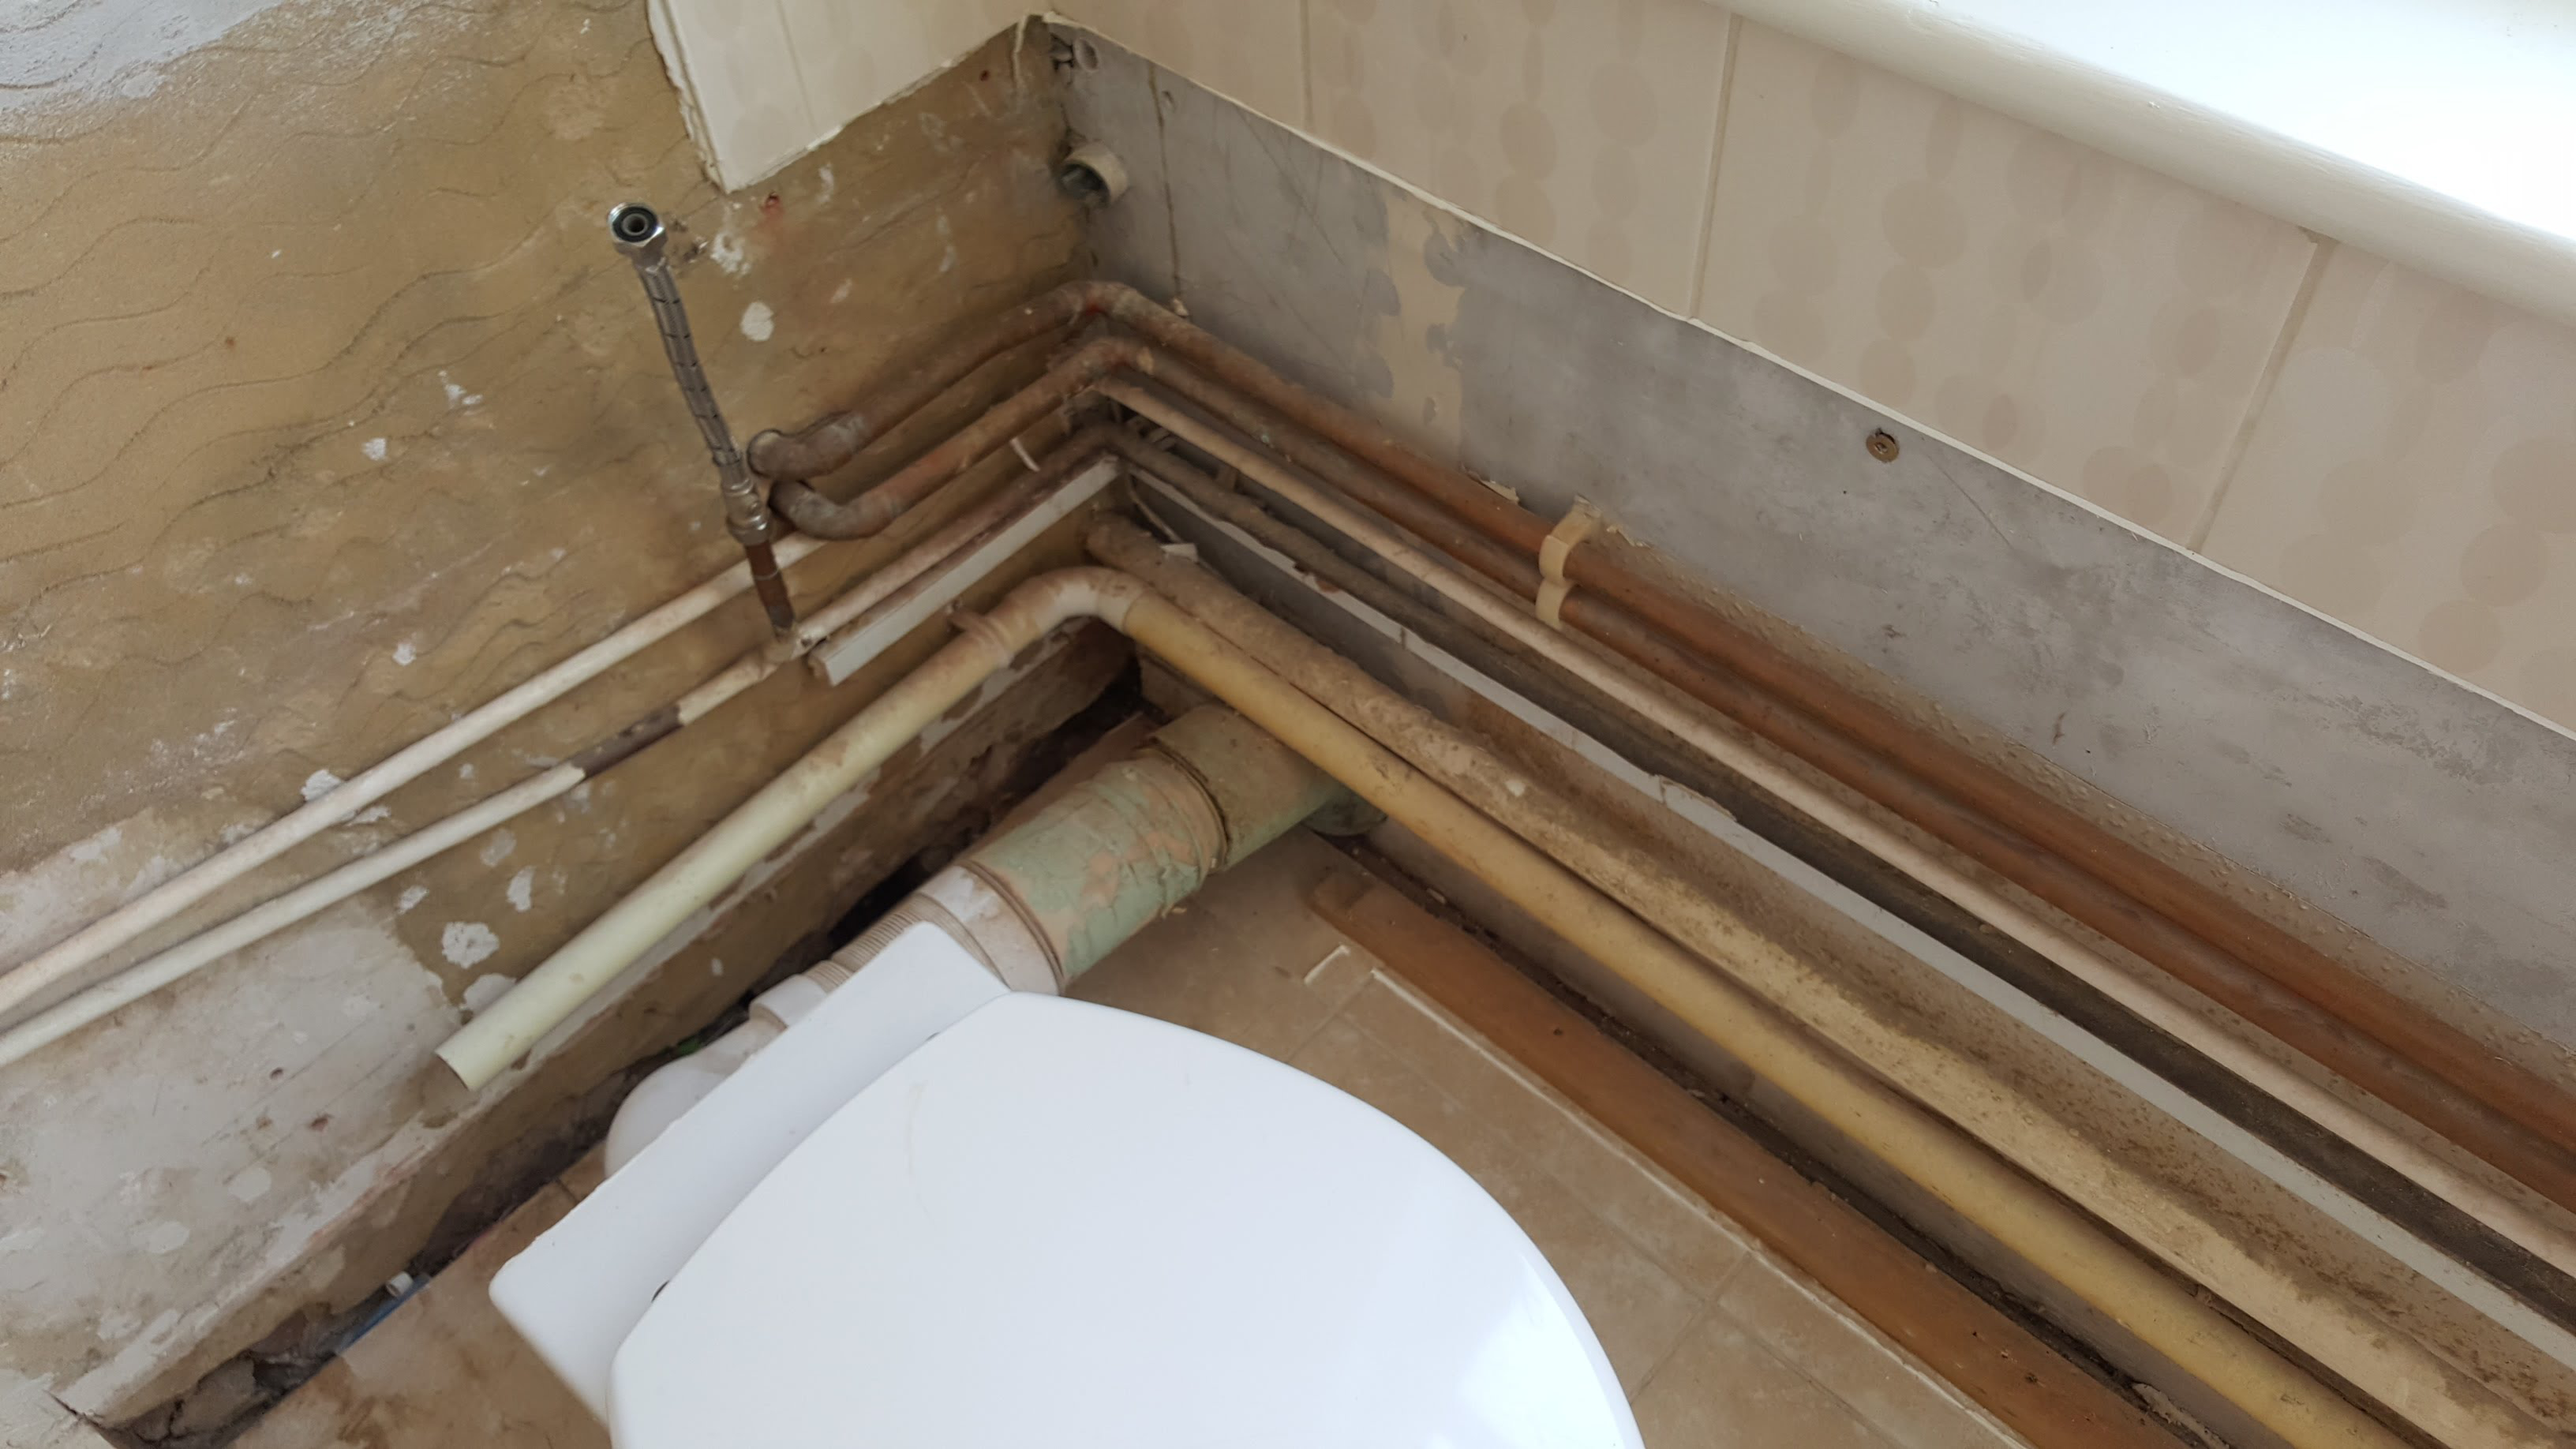
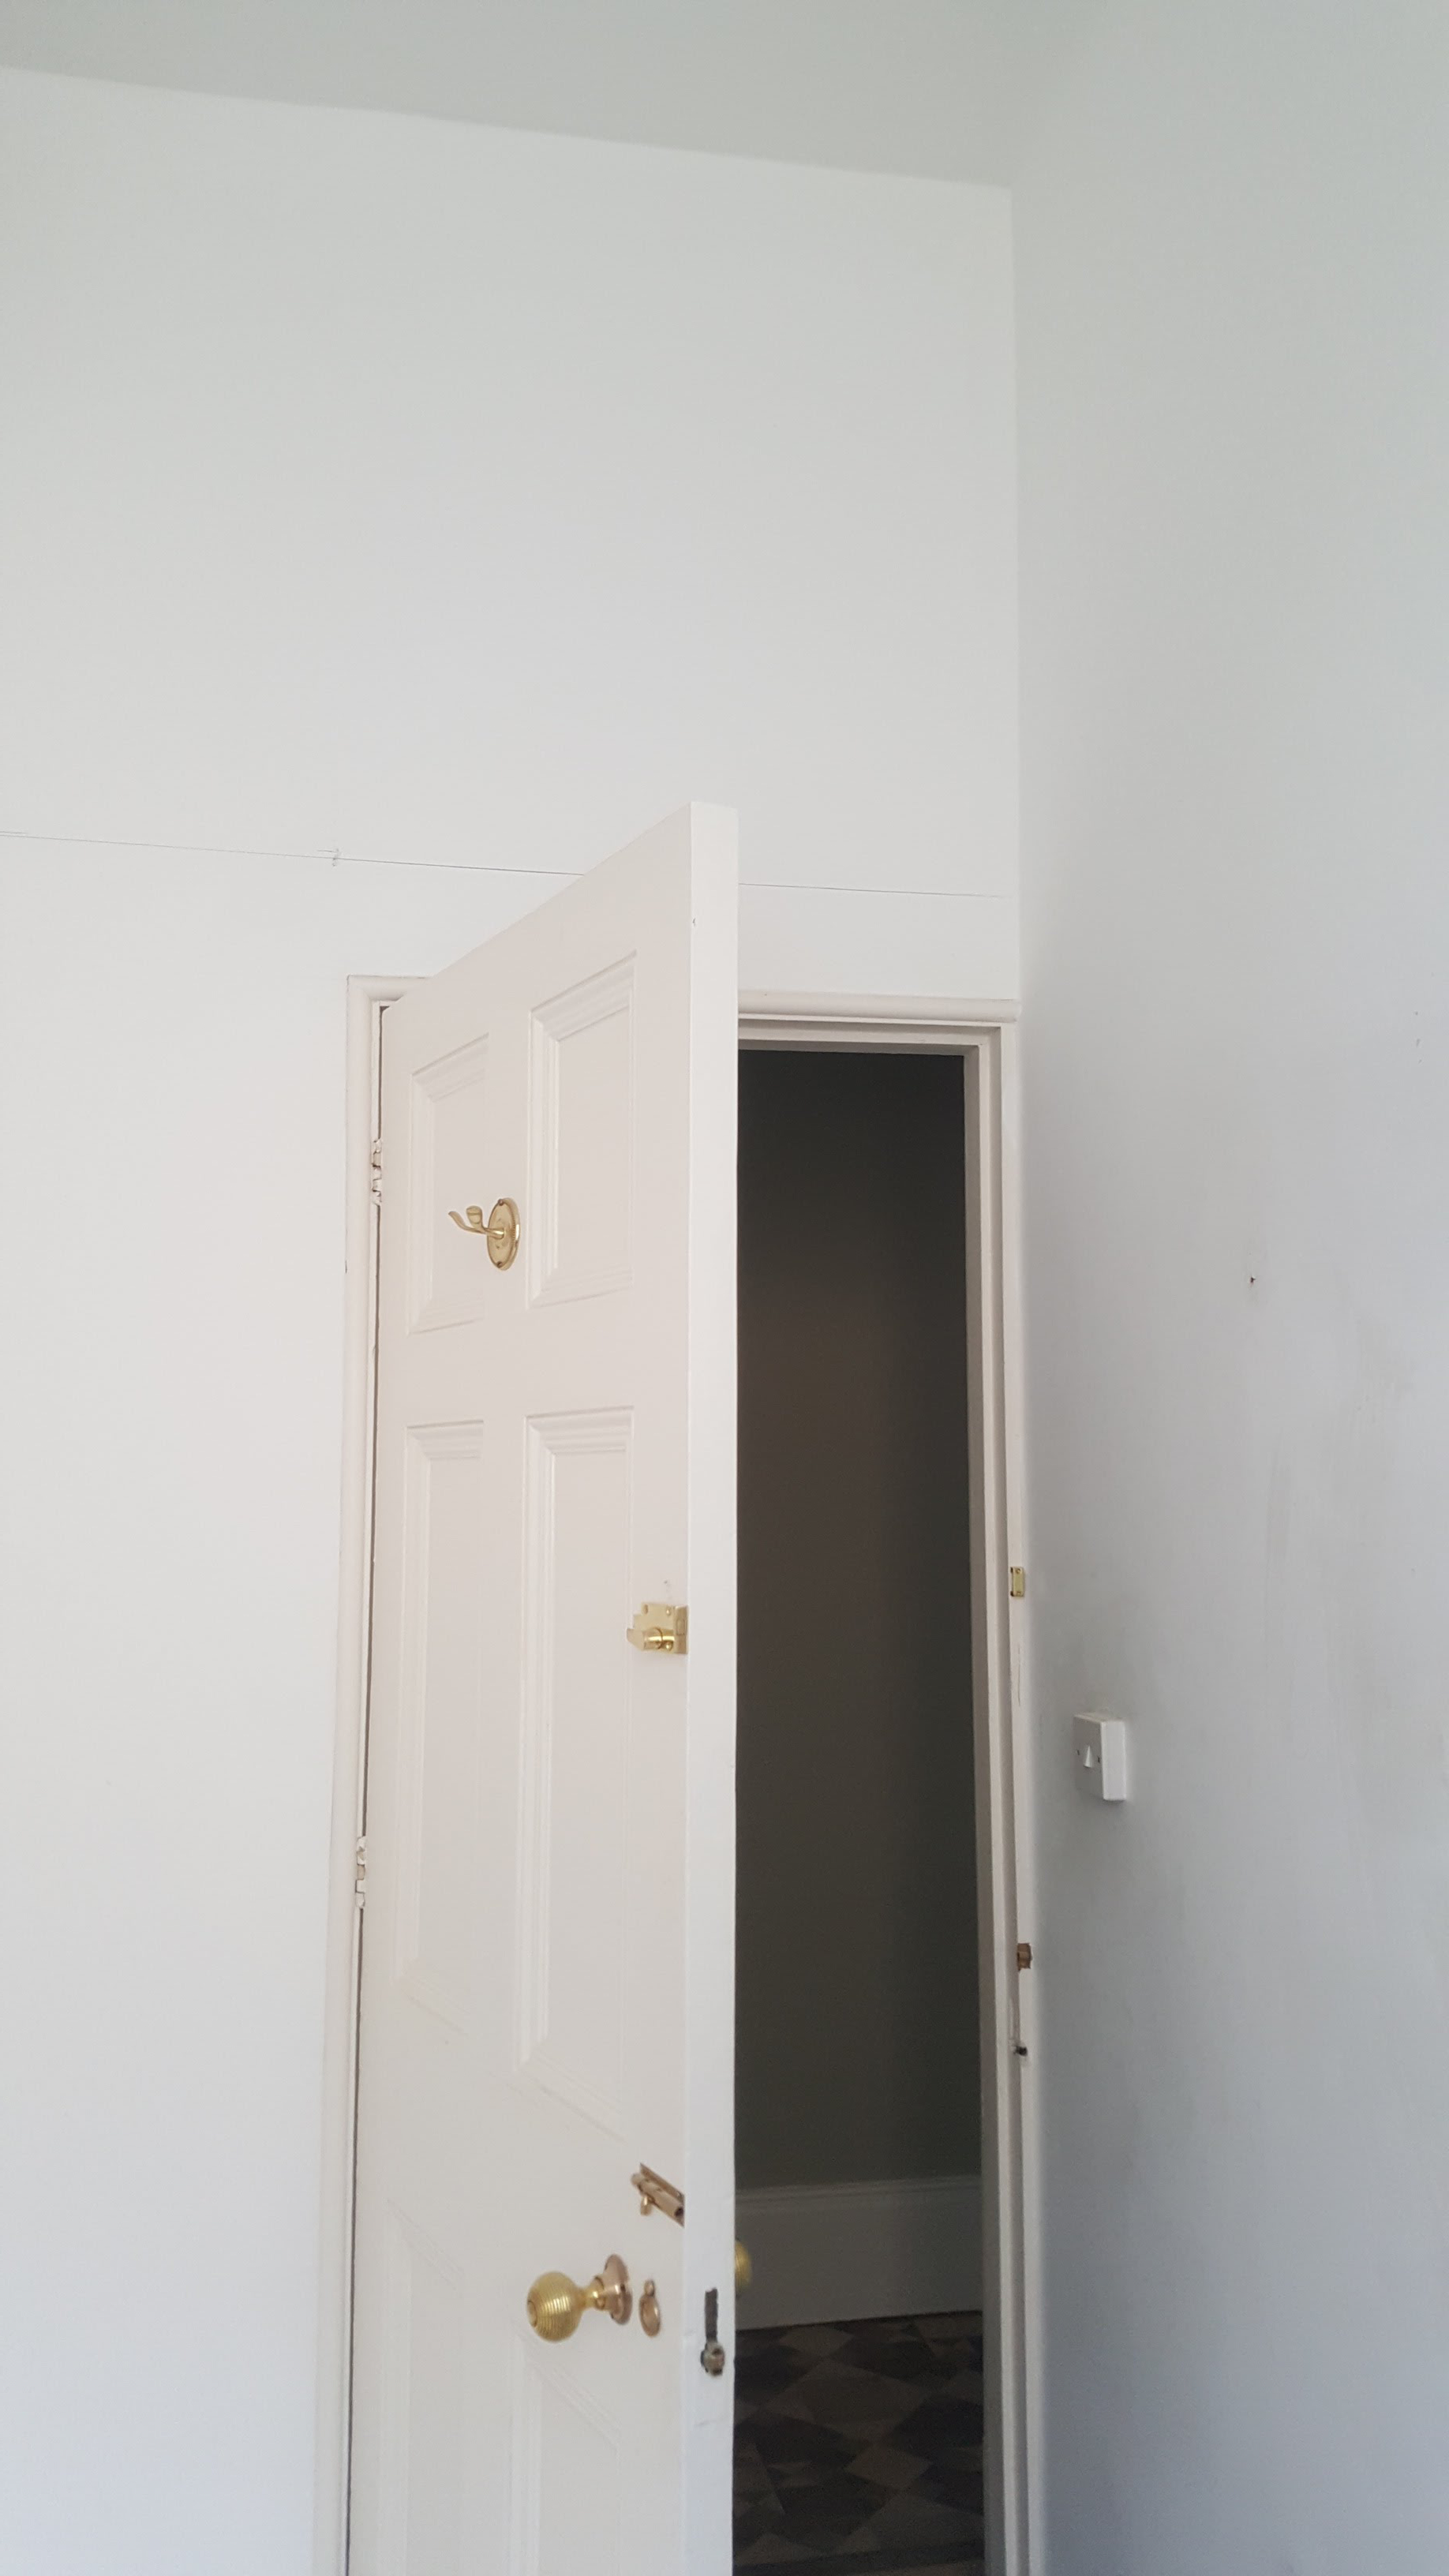
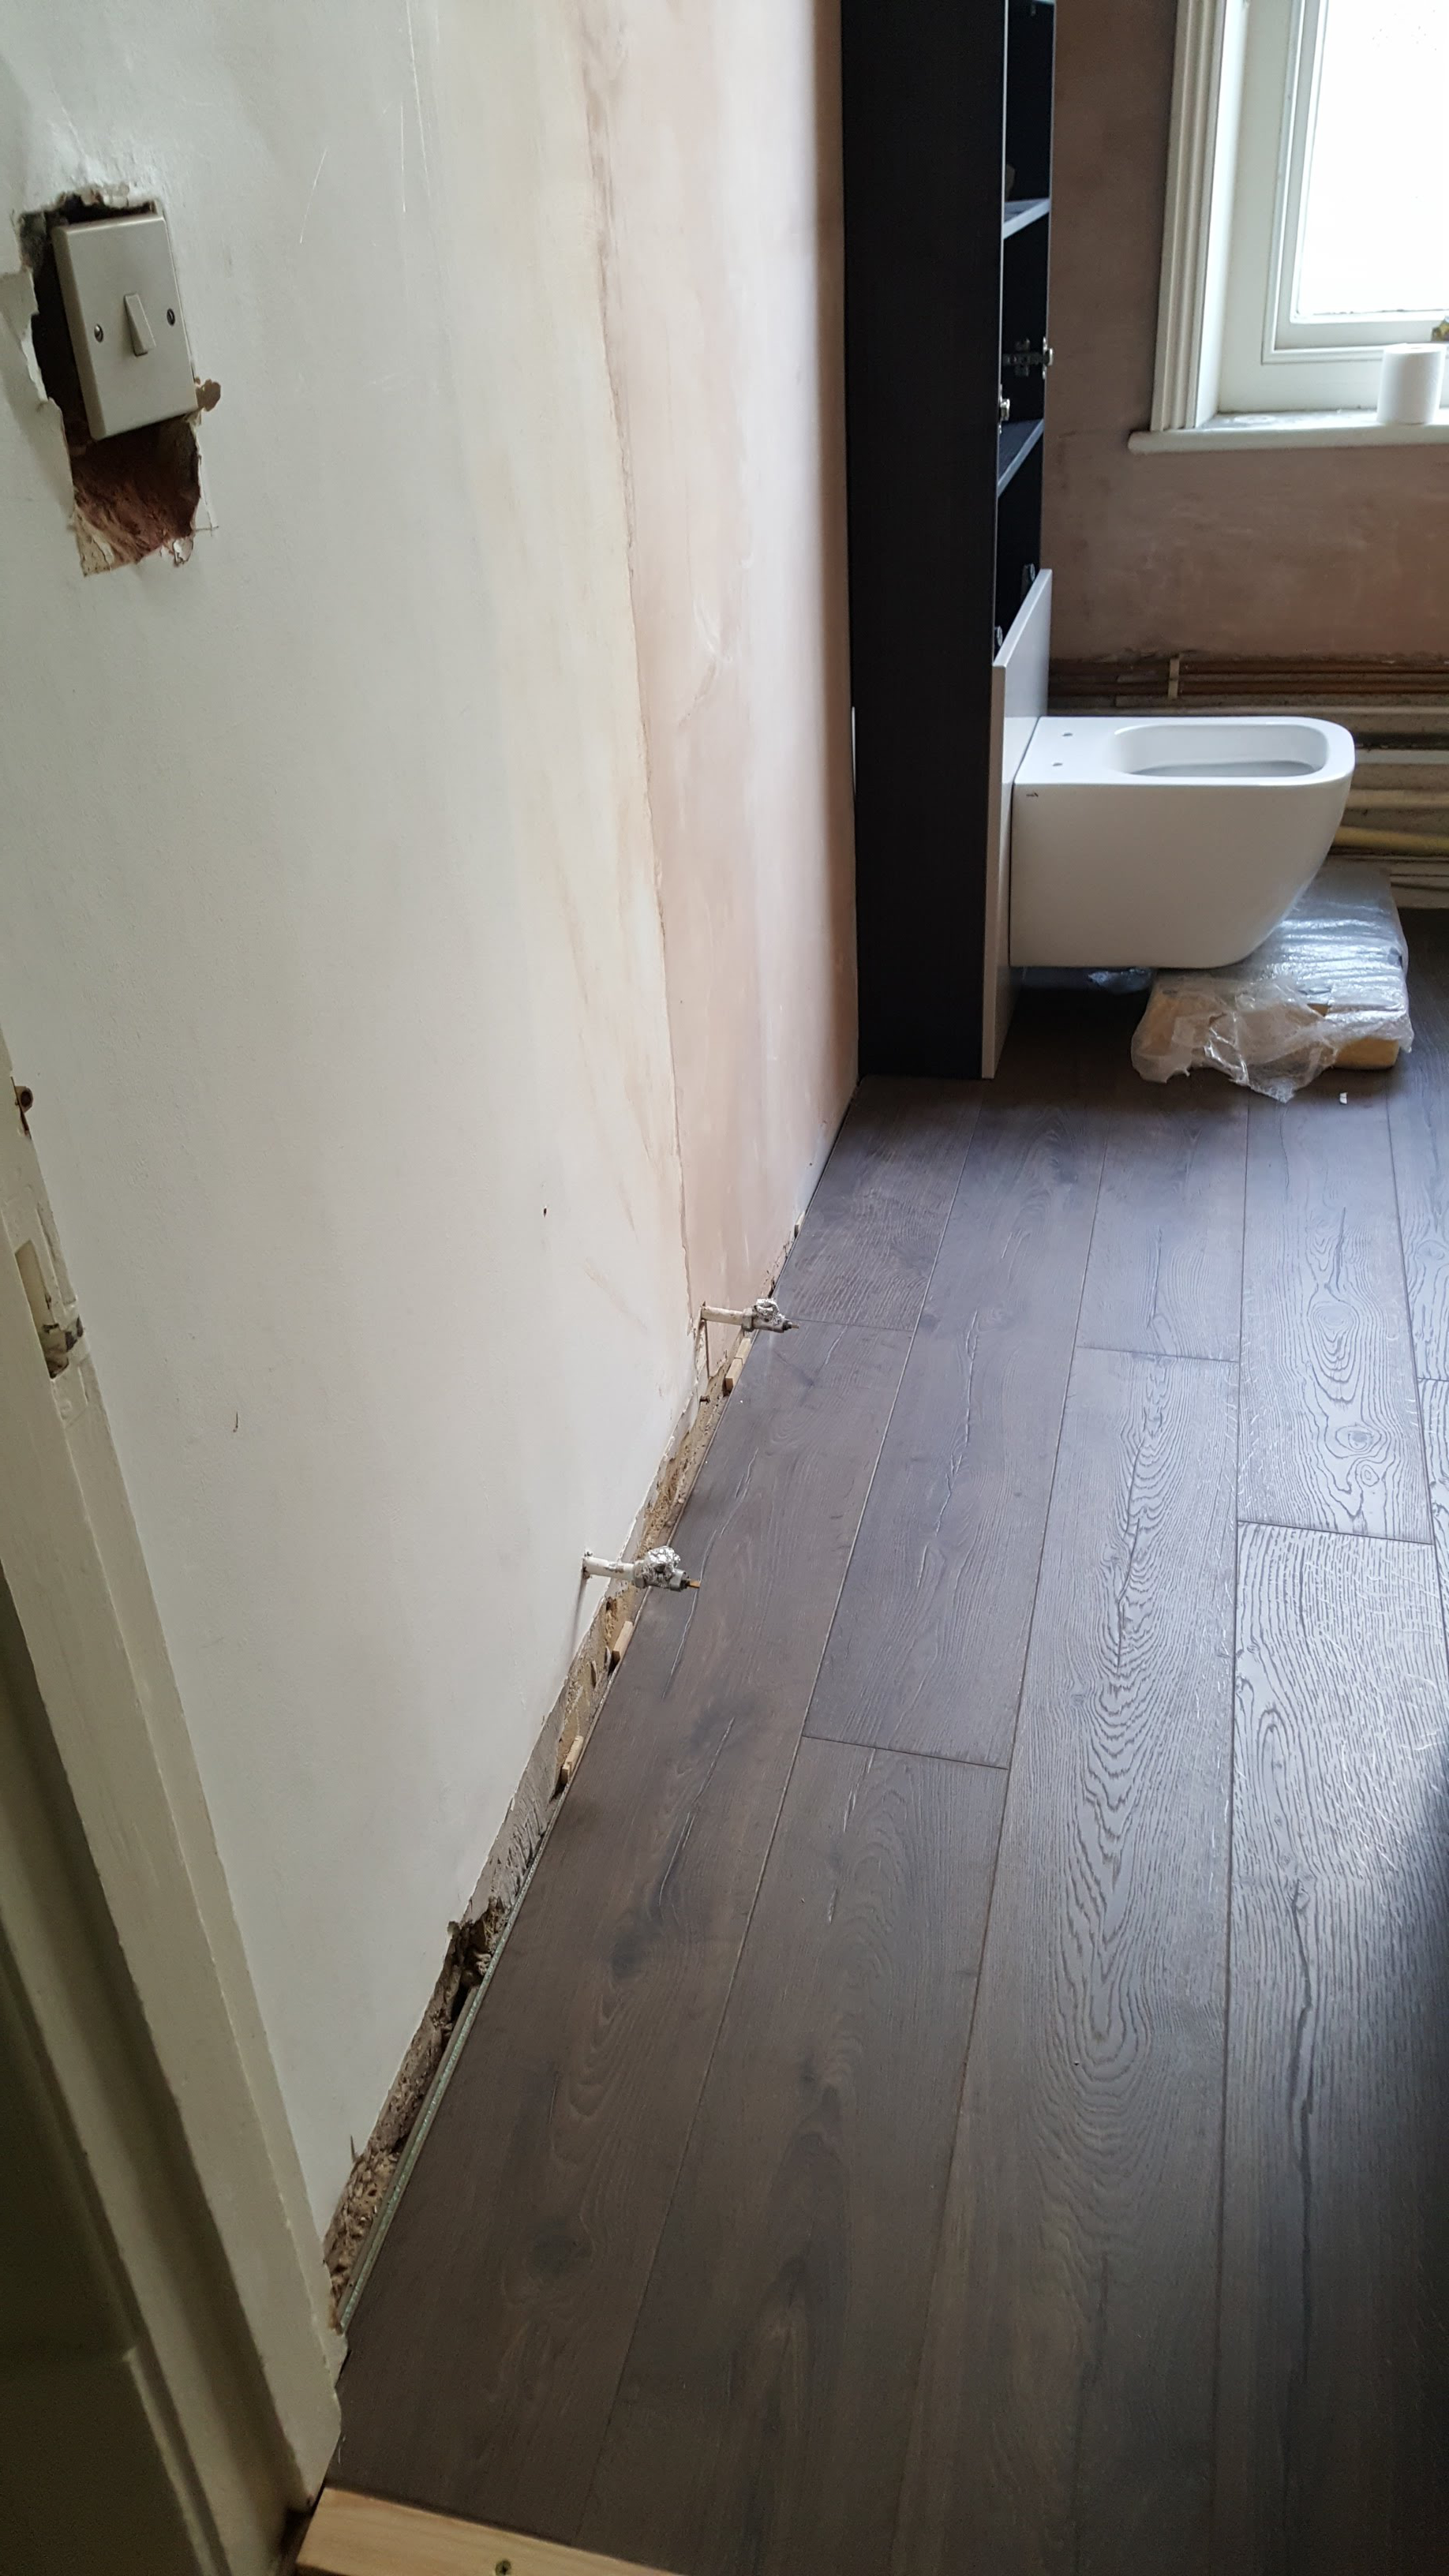
See what I mean? Secondly, just inside the door on the right (at the end of the bath) is an airing cupboard with a huge, fairly new water heater which just wasn’t going anywhere in a hurry. The over-bath shower has all its innards inside this cupboard. So the position of the bath was staying as is. I never liked how the toilet sticks out into the room, but it became clear that this was because of the waste pipe, which does a right-hand bend before exiting beneath the window. So the loo and washbasin also needed to stay where they were.
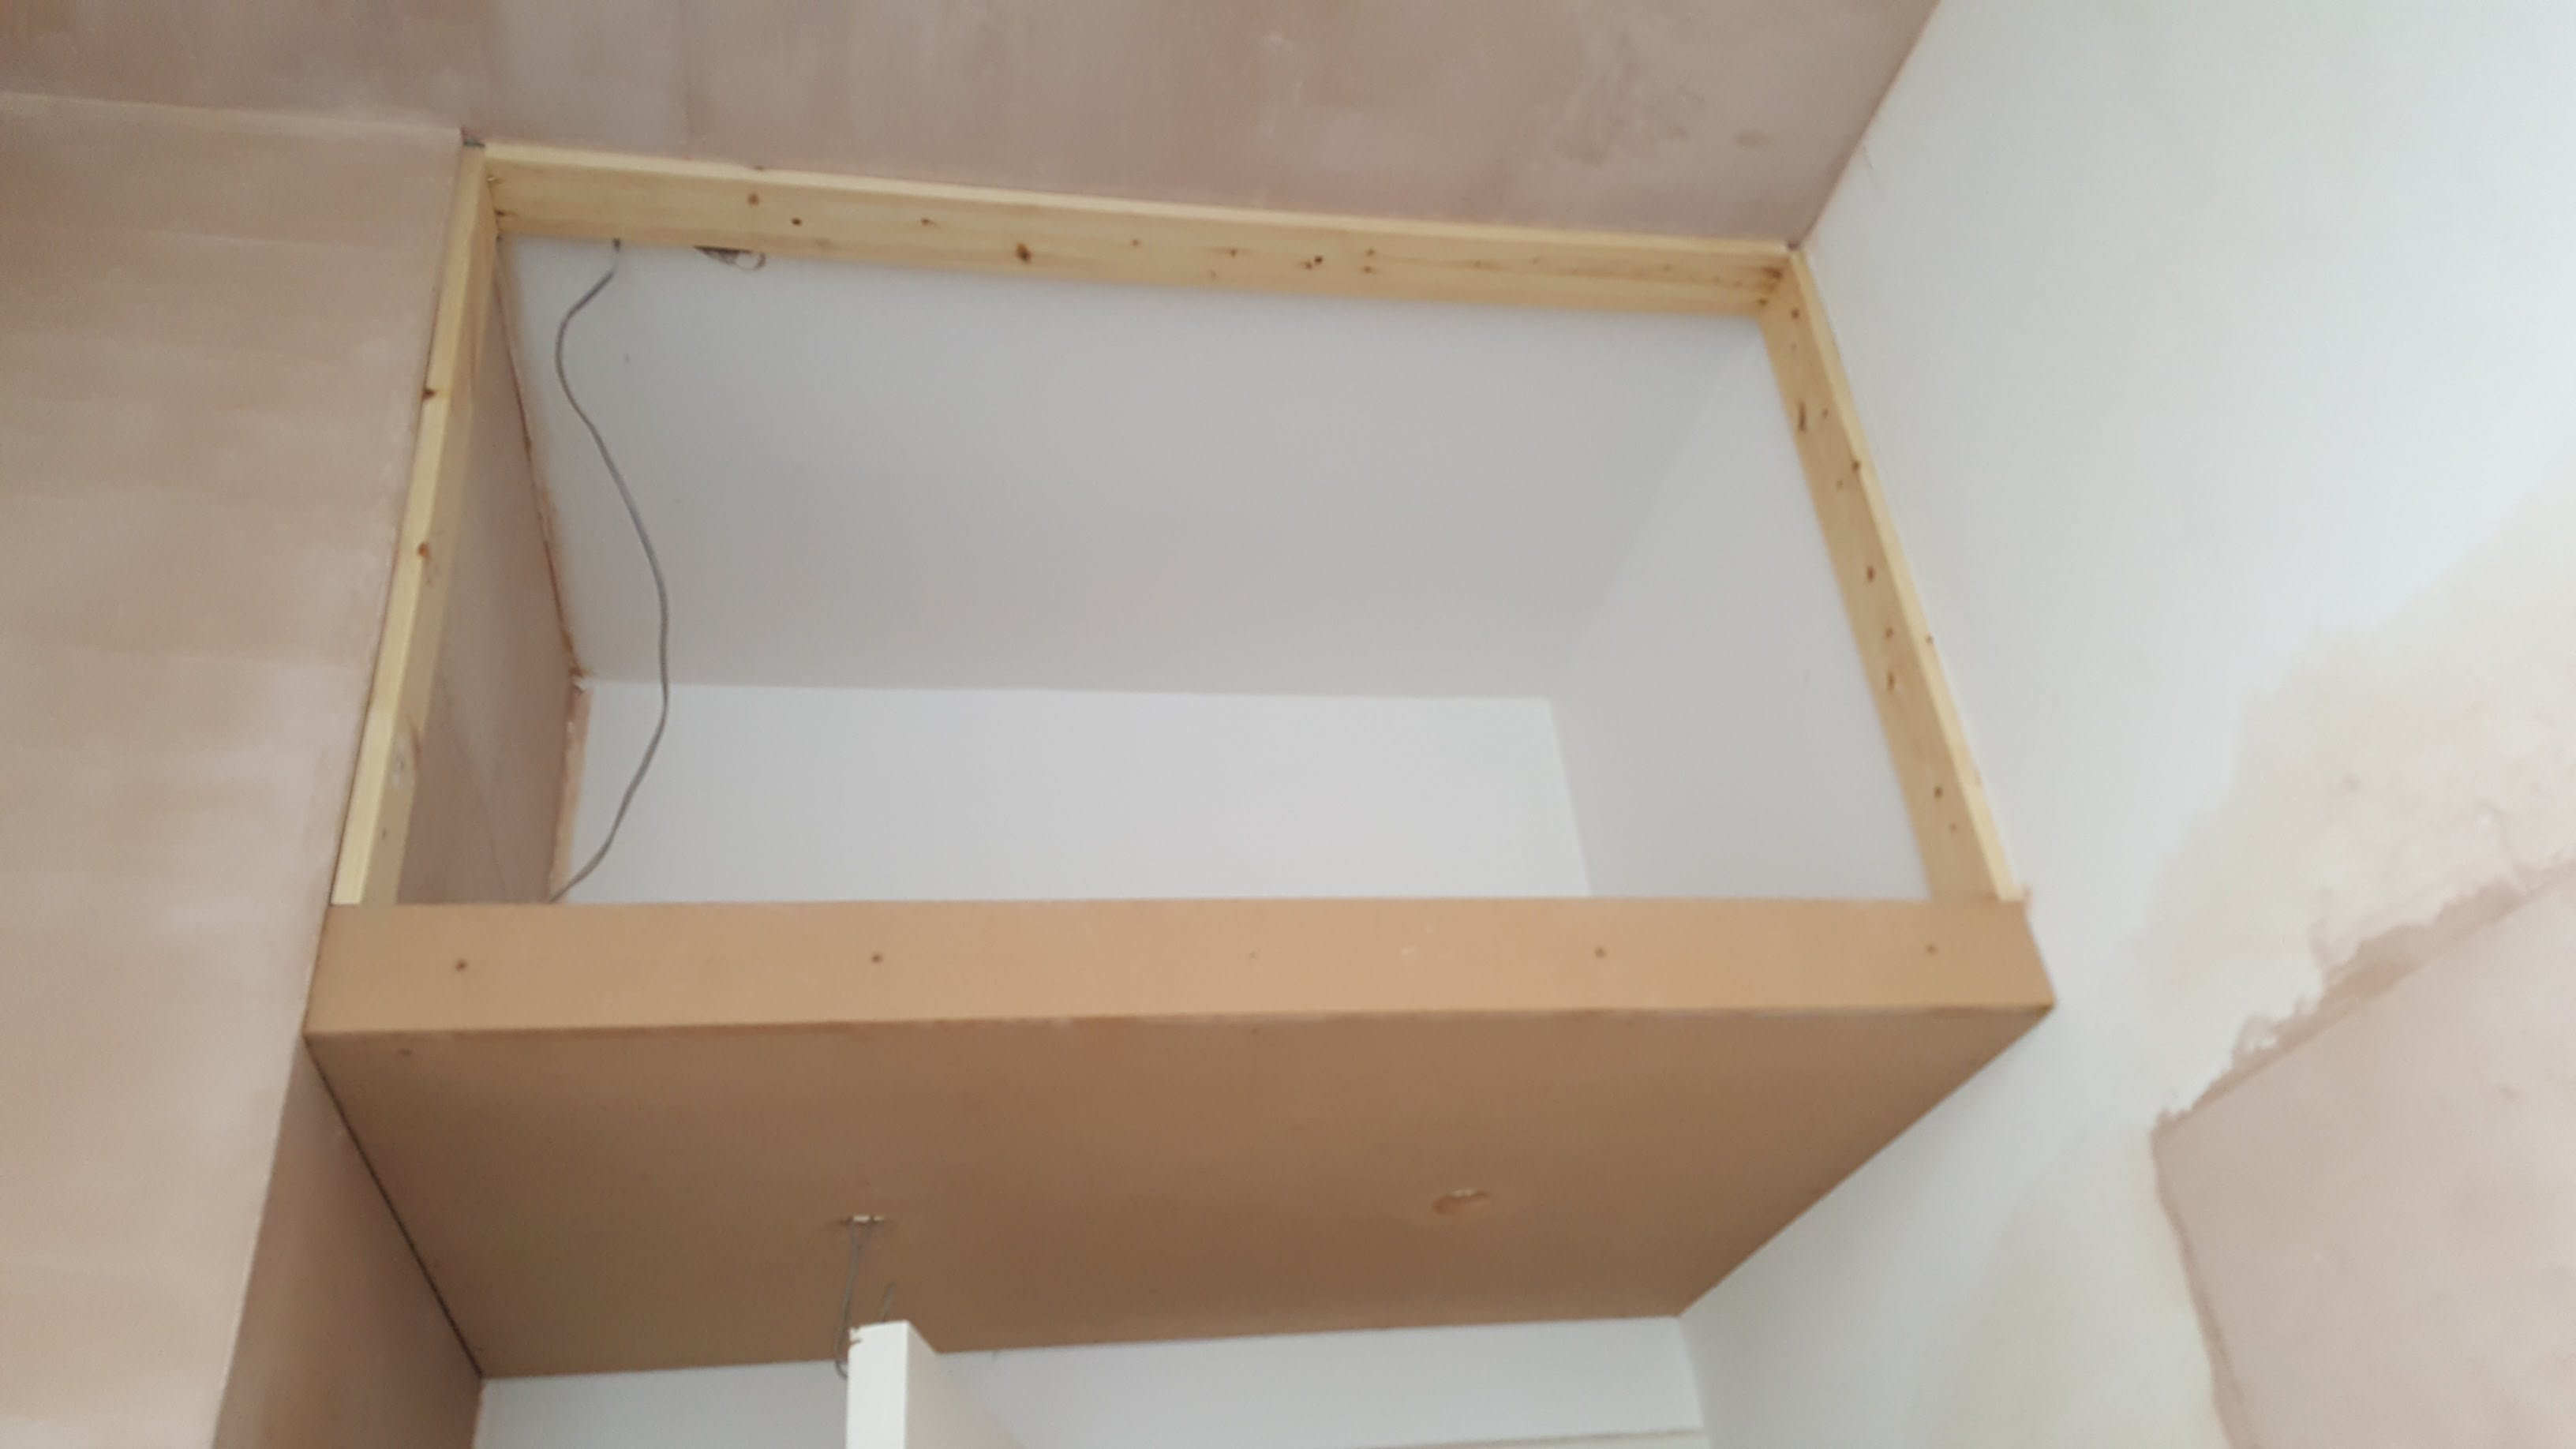
The bathroom was refitted in 2007, according to estate agents’ particulars from that time. I think, like the kitchen, it had been done on the cheap to get it ready for letting. Although it was a perfectly serviceable bathroom (except the shower often ran cold for no discernible reason) let’s just say that the floor and wall tiling were not to our taste, we hated the white walls which together with the high ceiling made the room very cold and cavernous, and the fact that the airing cupboard didn’t go right up to the ceiling. And there’s really nothing nice to say about the orangey, peeling wood-effect melamine units and bath panel.
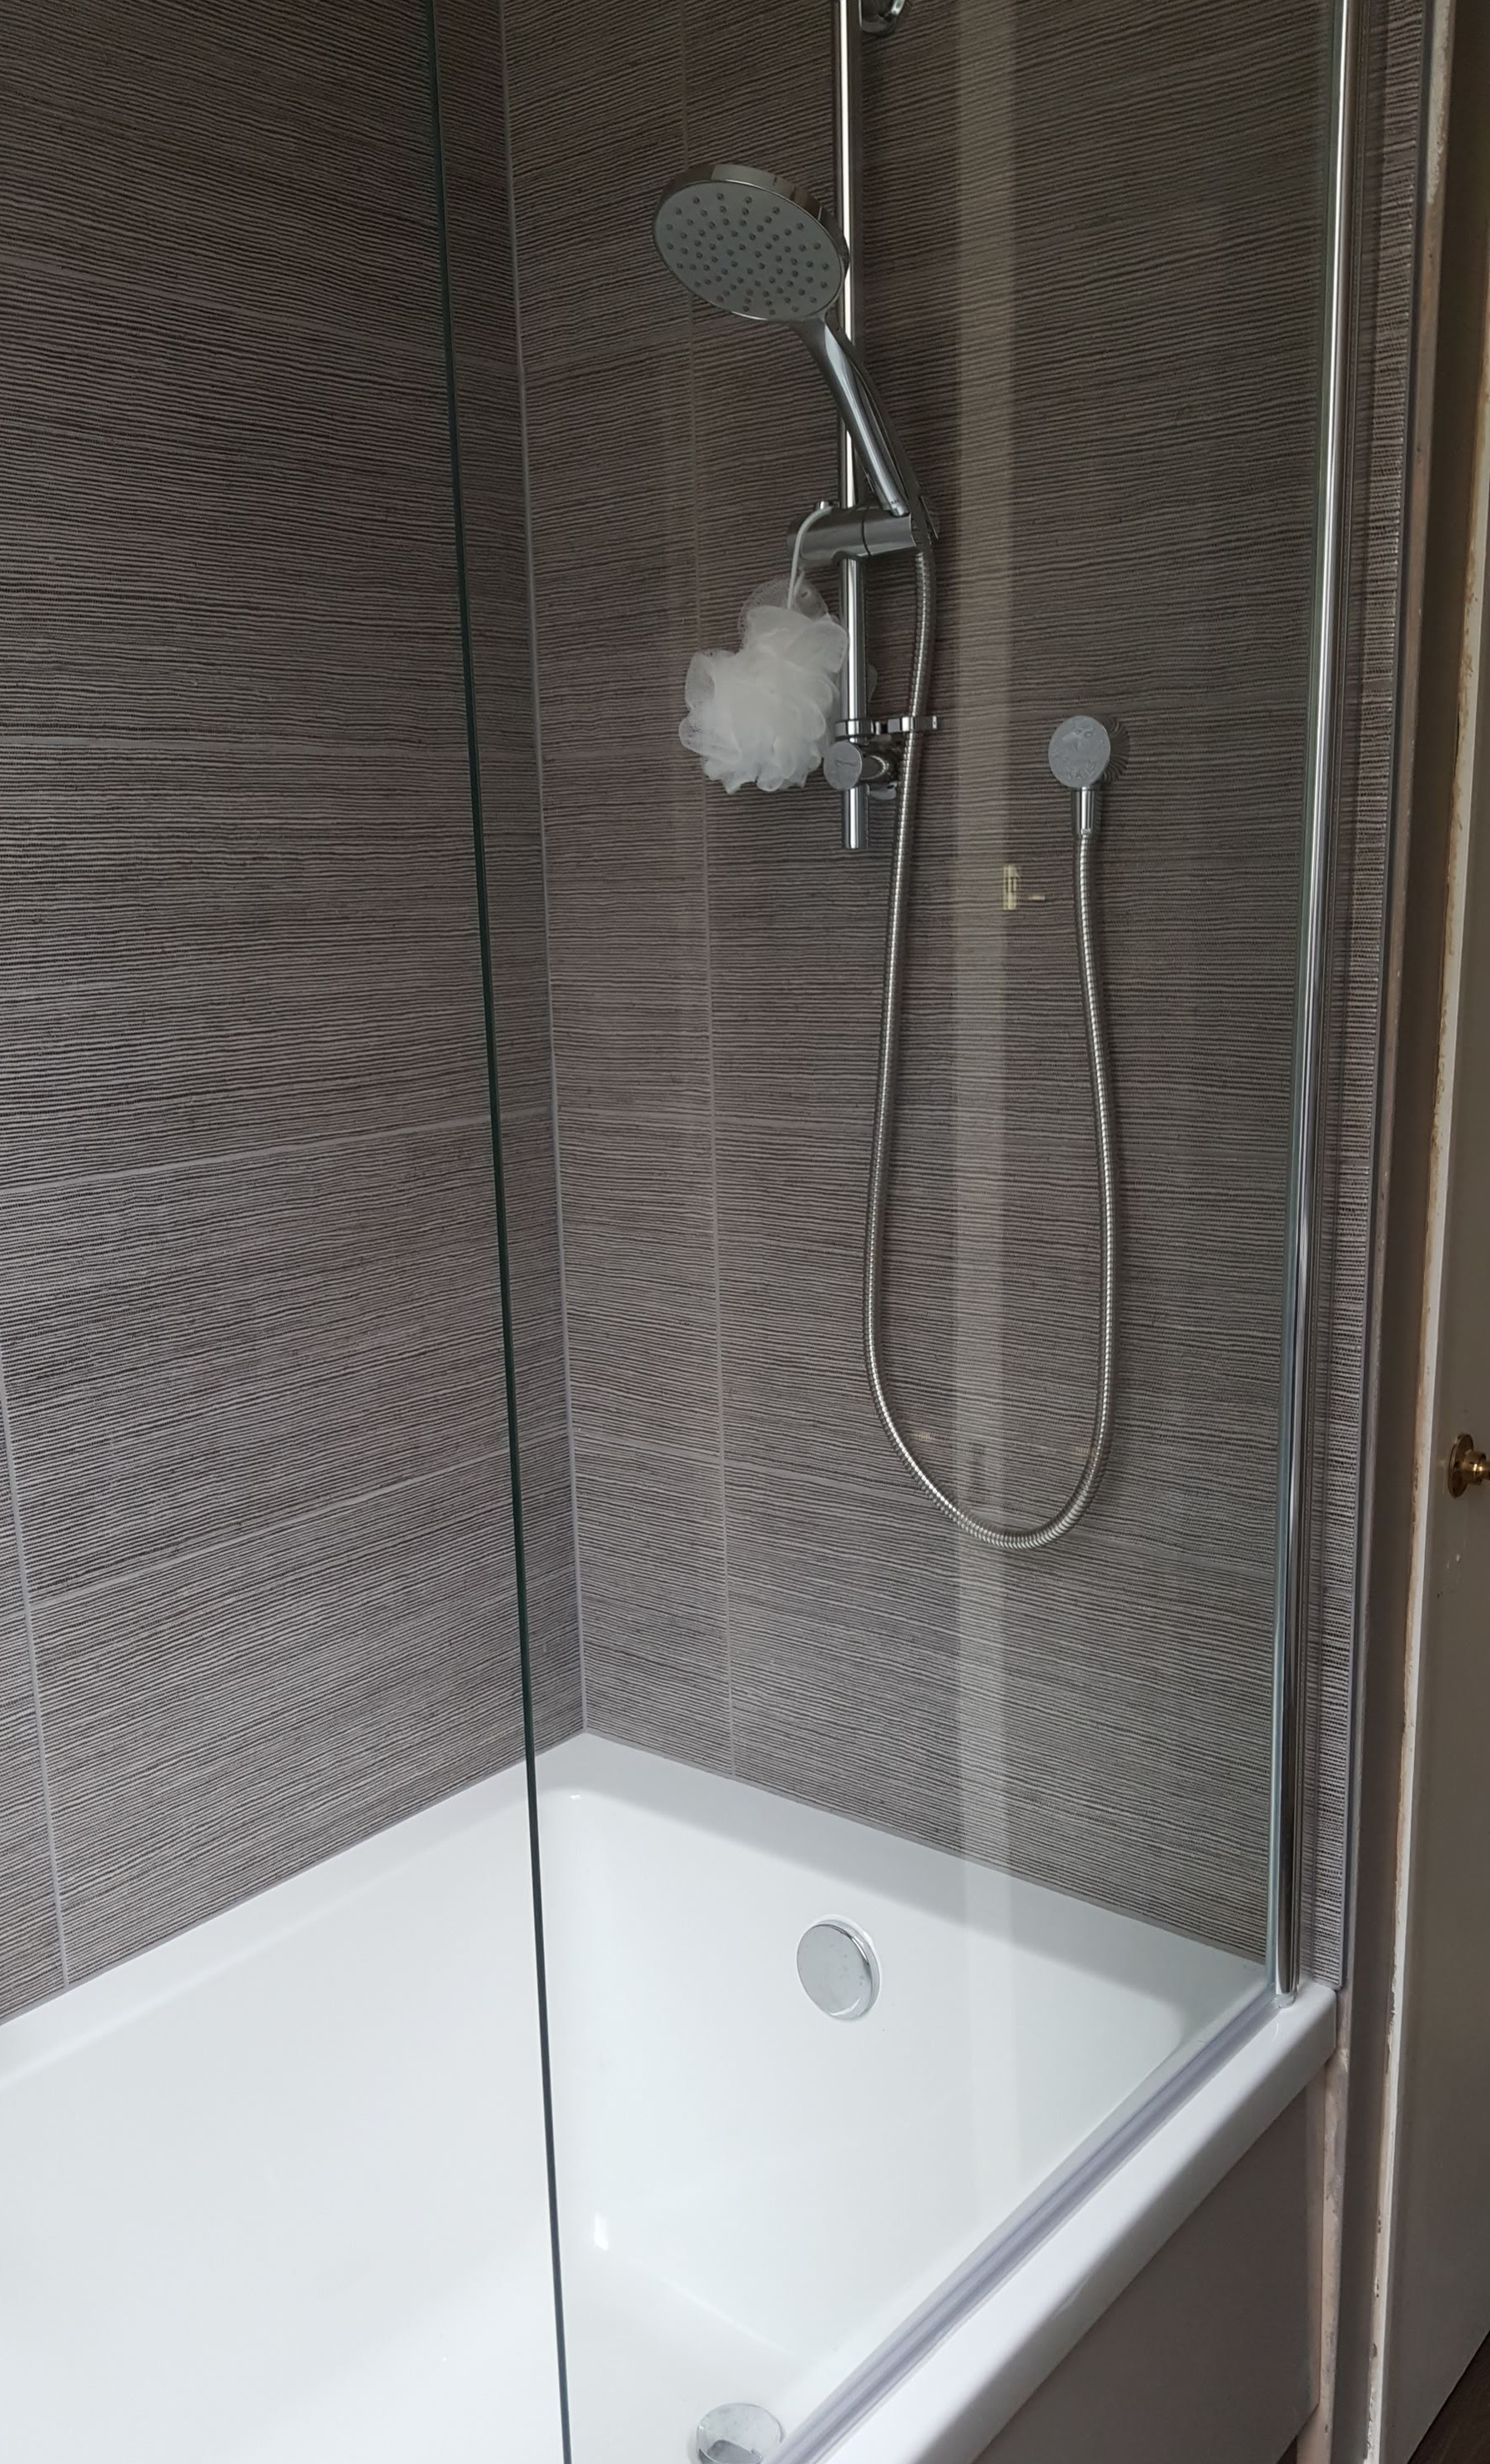
Our wish-list was fairly long: we wanted a flat-bottomed bath (the existing one sloped at both ends, so there was no stable base to stand on while showering), wall-hung (off-the-floor) basin unit and (if possible) wall-hung back-to-wall loo, a big flat flush-plate for the cistern (rather than a tiny push button which I find doesn’t work for me ergonomically), a shower that kept a constant temperature and could be controlled from outside (rather than having to get wet when reaching in to turn it on), a continuation of the airing cupboard to the ceiling and over-door storage. We also wanted the same laminate flooring as the kitchen to carry through the entire hall and into the bathroom. I had in my mind some of the hotel bathrooms I’ve enjoyed: dark, cosy colour schemes, good lighting and wet-room style tiling. How could that possibly be too much??
Our friendly plumber/heating engineer was our main contact for the work, and he brought in the builder and electrician, both of whom had been involved in the kitchen refit. The initial ripping out was fairly quick.

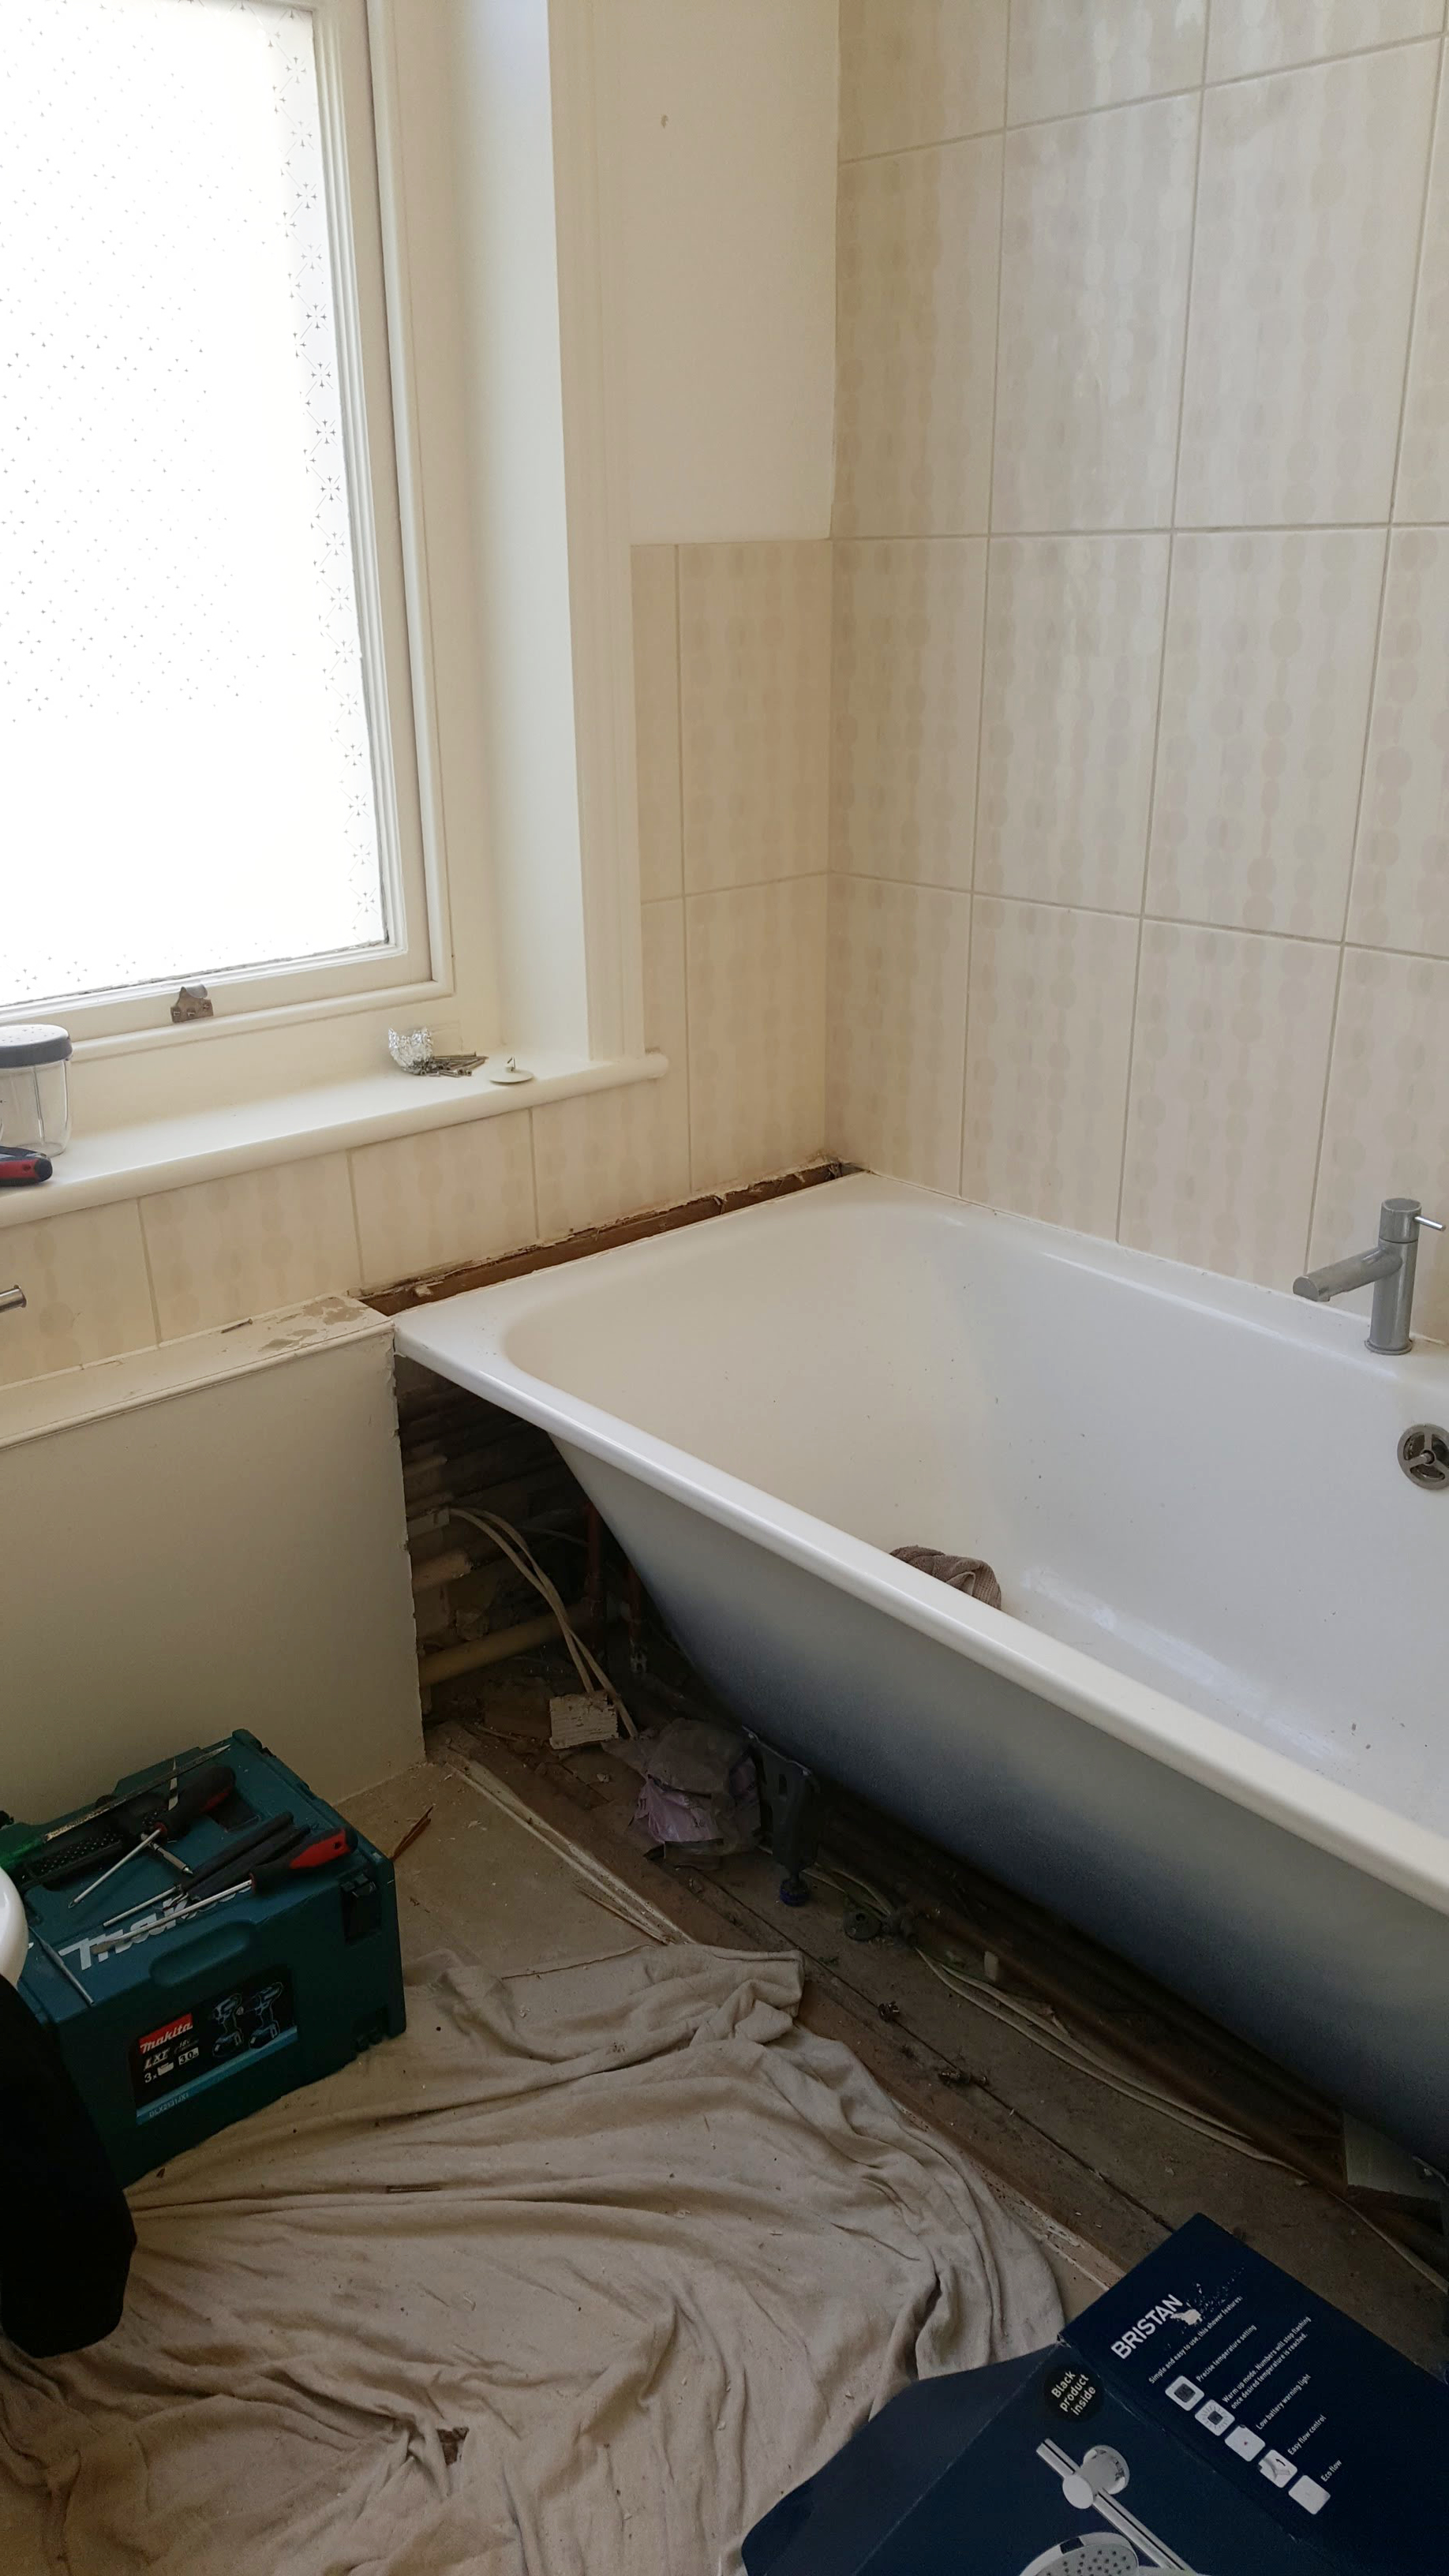
We scoured the internet for the ceramic ware and units – this had been a successful strategy in the kitchen, but we soon found sourcing bathroom stuff was more of a minefield. The main sticking point was whether there was enough space for the storage unit/cistern housing/back to wall toilet that we wanted, given the potential issue with the waste pipe and its sharp bend. Changing the position of a waste pipe on a building this age and size isn’t something we wanted to get into, even if it was remotely possible. And you can never know what to expect from existing plumbing, as we found out.
Then there’s the issue of wall-hung units and loos. The wall is load-bearing, so should be able to take the weight of the fixtures. But if we wanted pipes chased into the wall that would be more work, and more making-good needed, than boxed in or otherwise concealed pipework. If you followed our kitchen refit, you’ll remember that all the walls in the flat have been wallpapered over the plaster, which makes it a %!$%* to make good after you’ve chopped into it.
We took our plumber’s advice on a number of things and ended up buying most of the things from one bathroom supplier, and the bath and shower we sourced separately online, making sure they were branded goods with decent guarantees. I read a LOT of product and supplier reviews, not to mention the tech specs of cisterns, thermostatic showers and different types of waste fittings. I learned more about acrylic baths than I’ll ever need to know again.


By the second week the tiles were off, the flooring was down and the plastering was drying out. The plumber fitted the wall-hung loo and storage unit. As per our worst fears, there were issues with fitting the toilet pan and getting the waste pipe connected. The pan remained ‘supported’ over the weekend … and we started to have second thoughts.
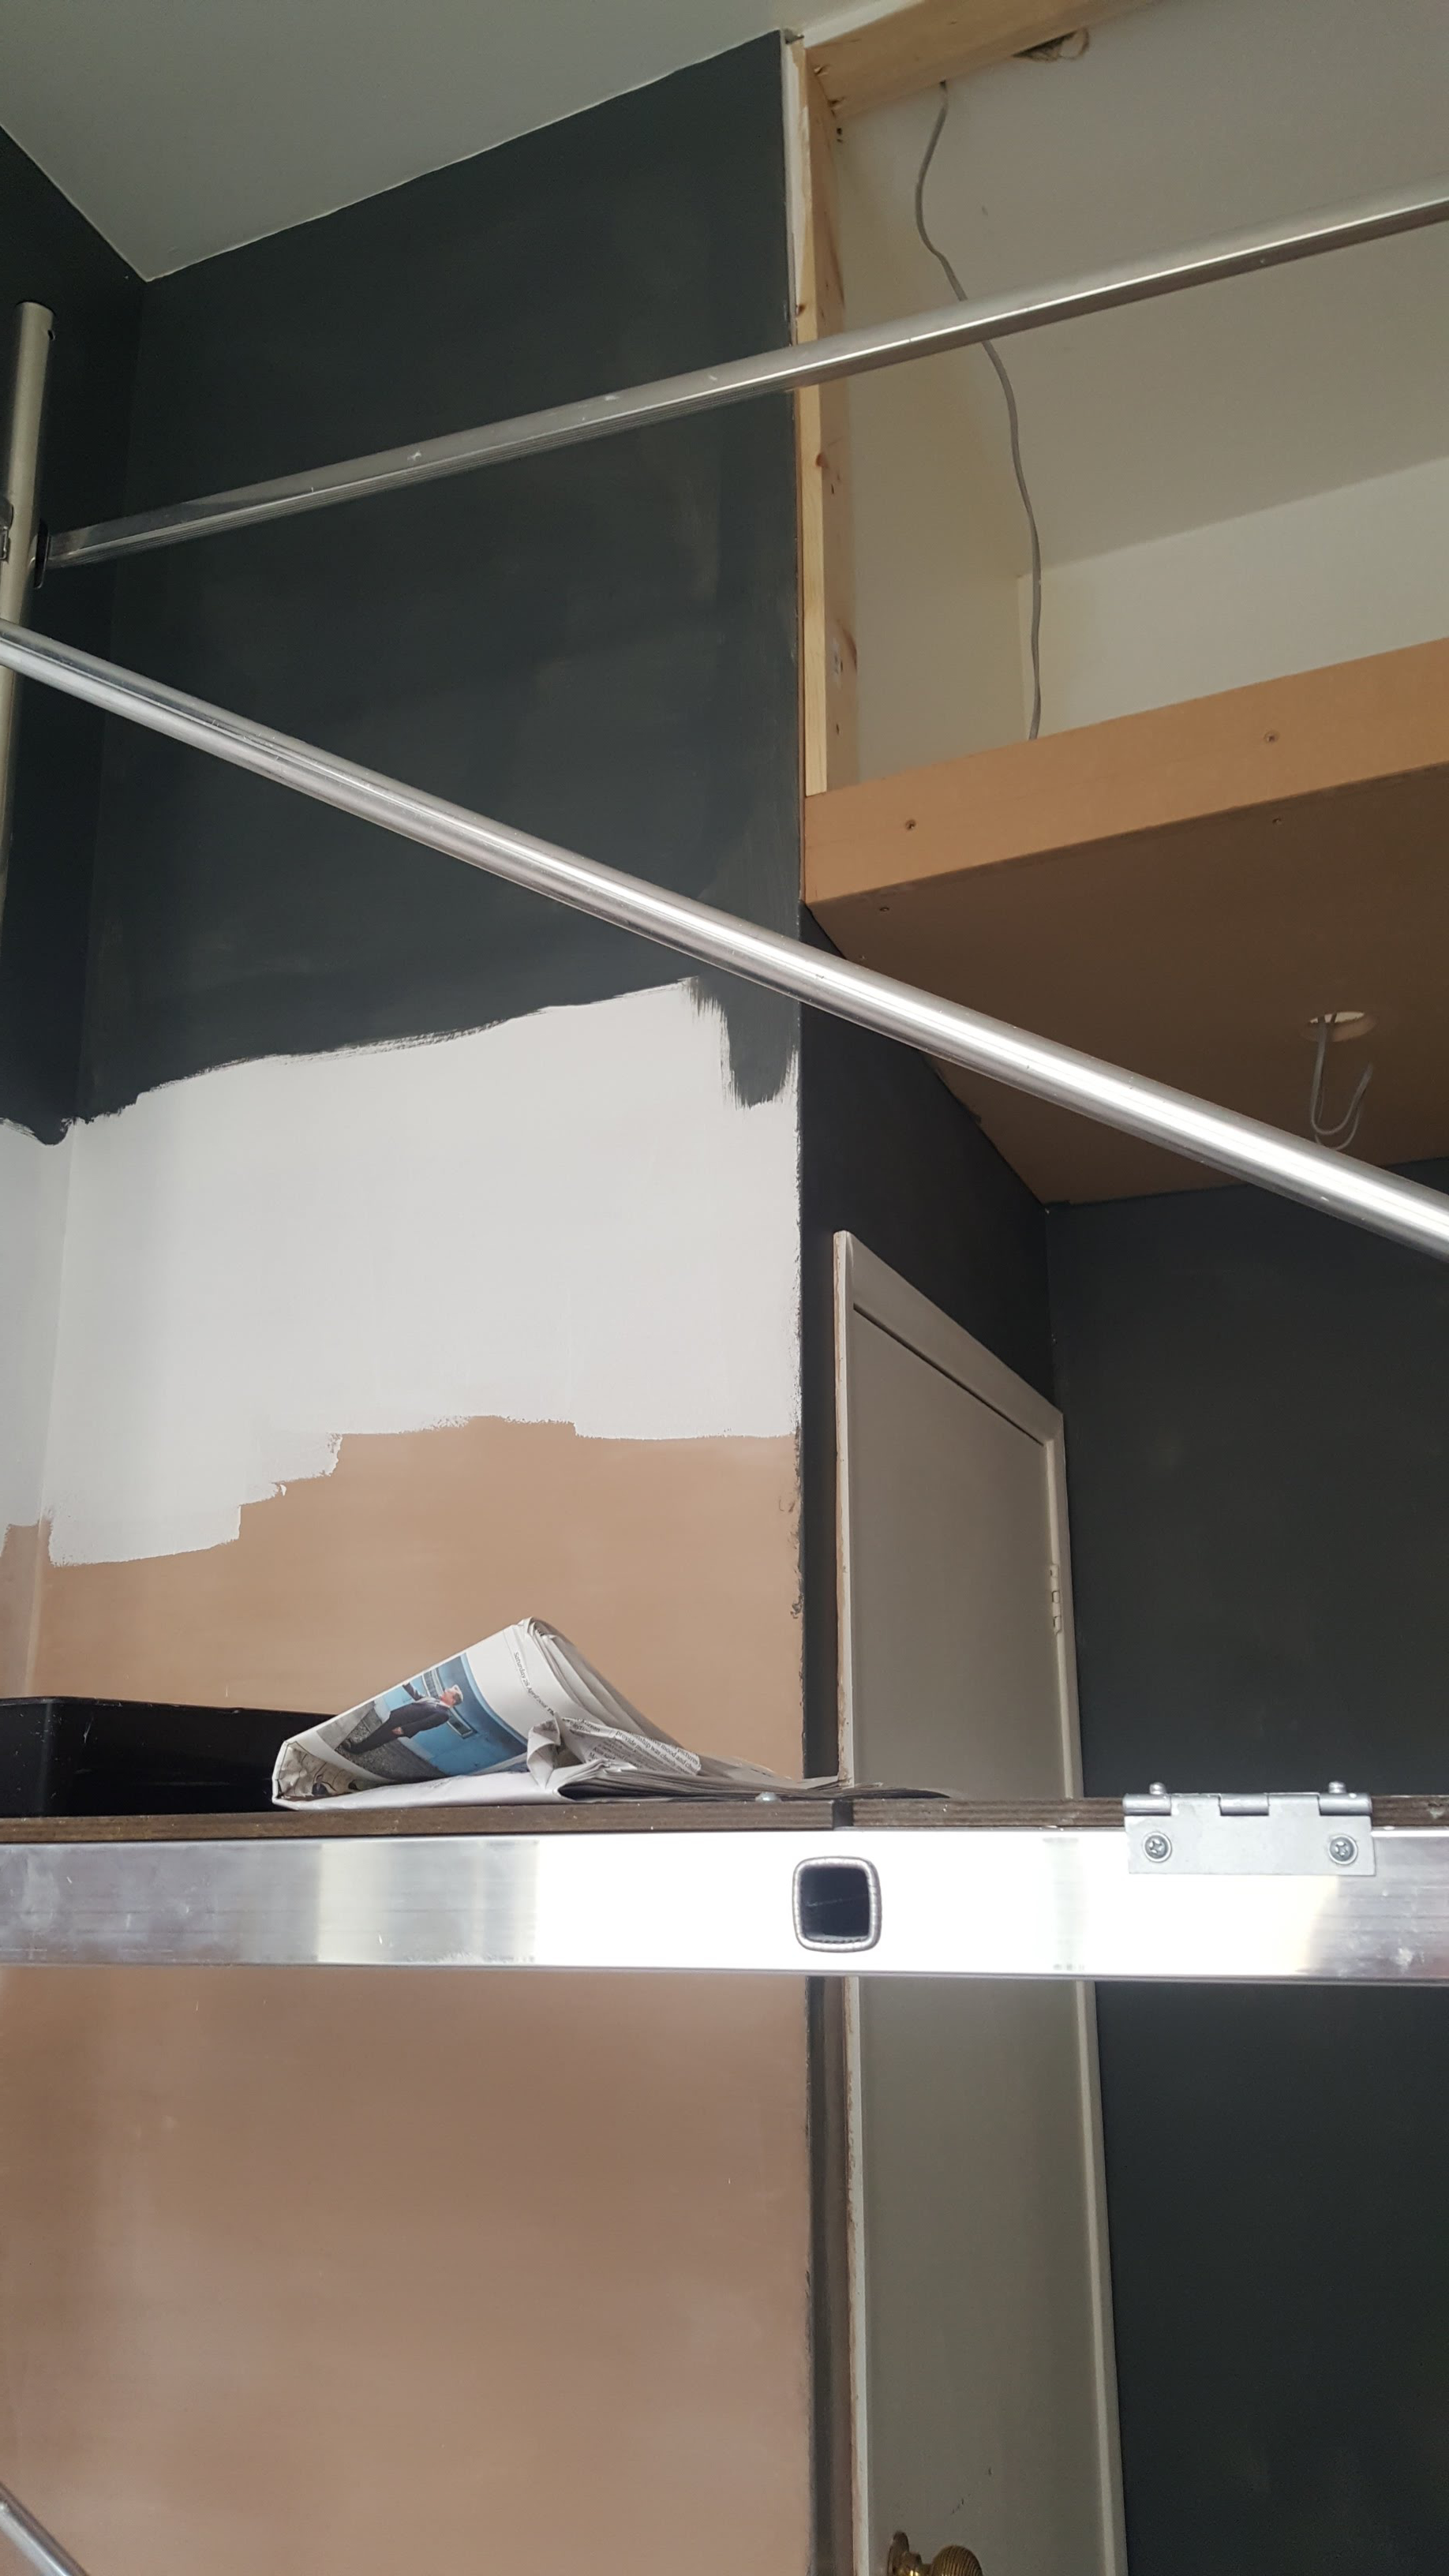
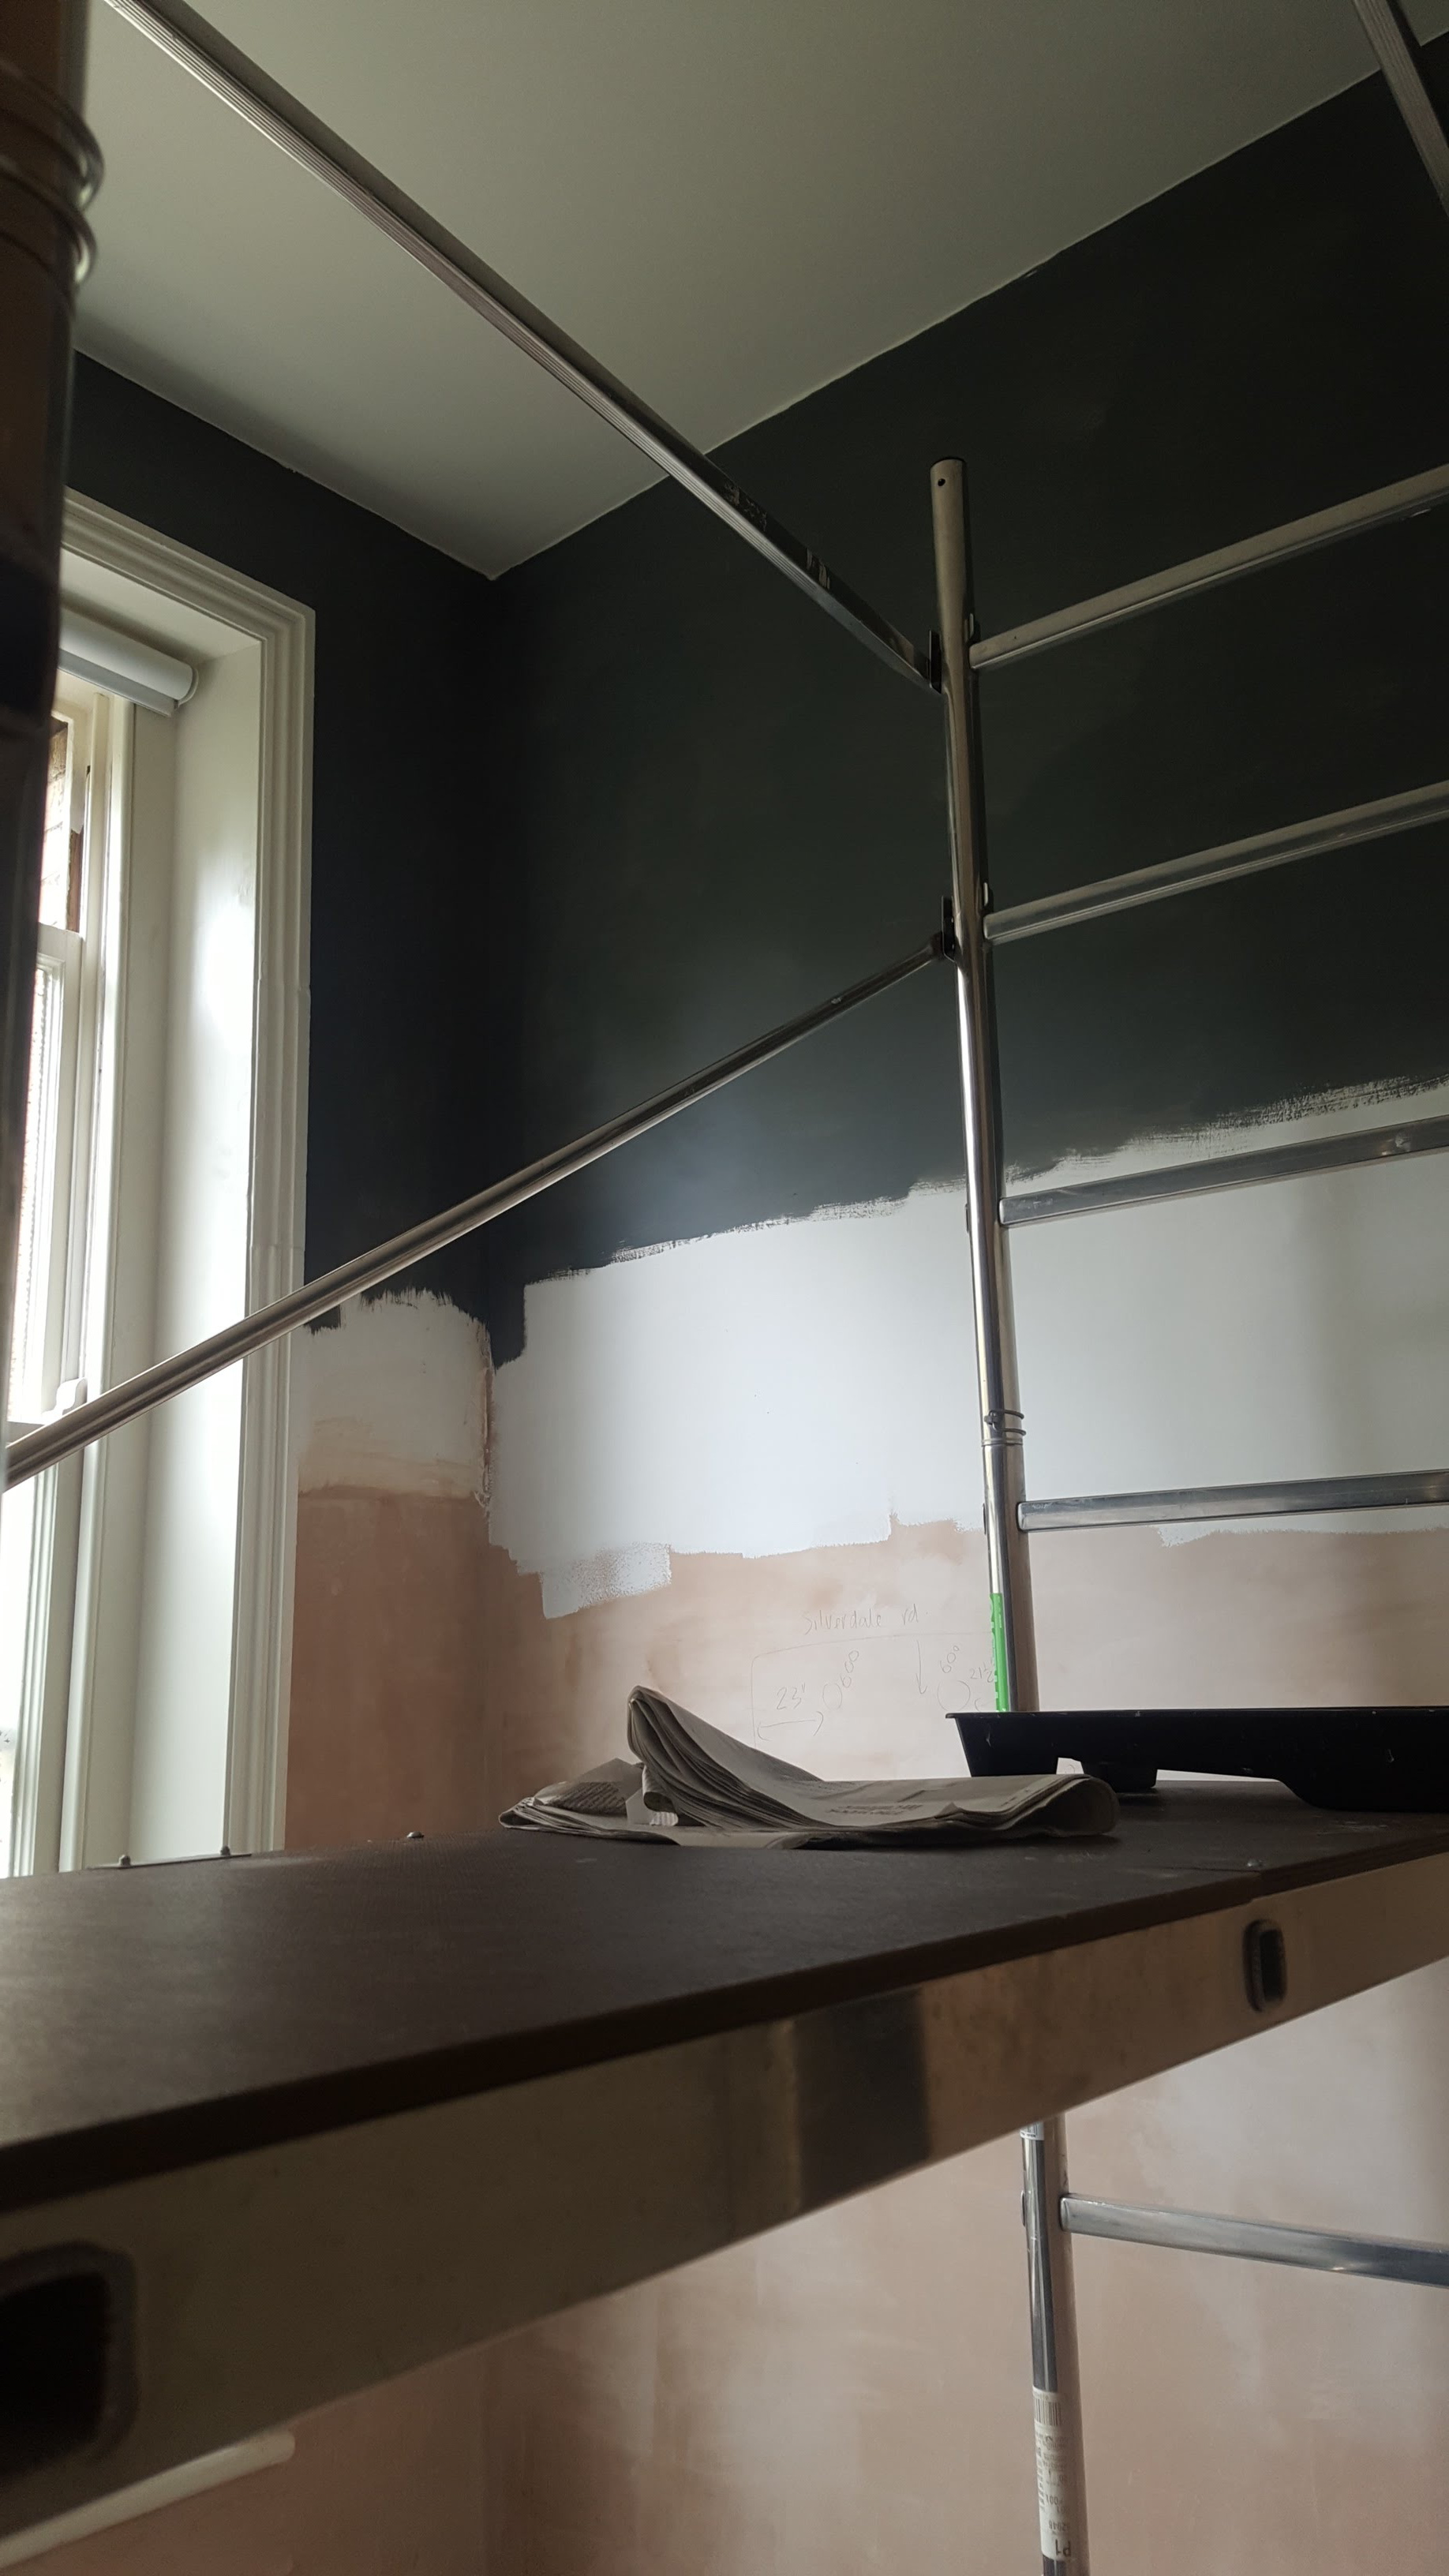
The builders vacated for a few days while we got on with painting, before the bath went in. We got out our trusty scaffold tower, and used the same undercoat and top coat (Farrow & Ball Charleston Gray) we used in the kitchen. After ordering the units, we realised we’d chosen doors that were pretty much the same colour as our kitchen cabinets, so it made sense to follow the entire colour scheme.
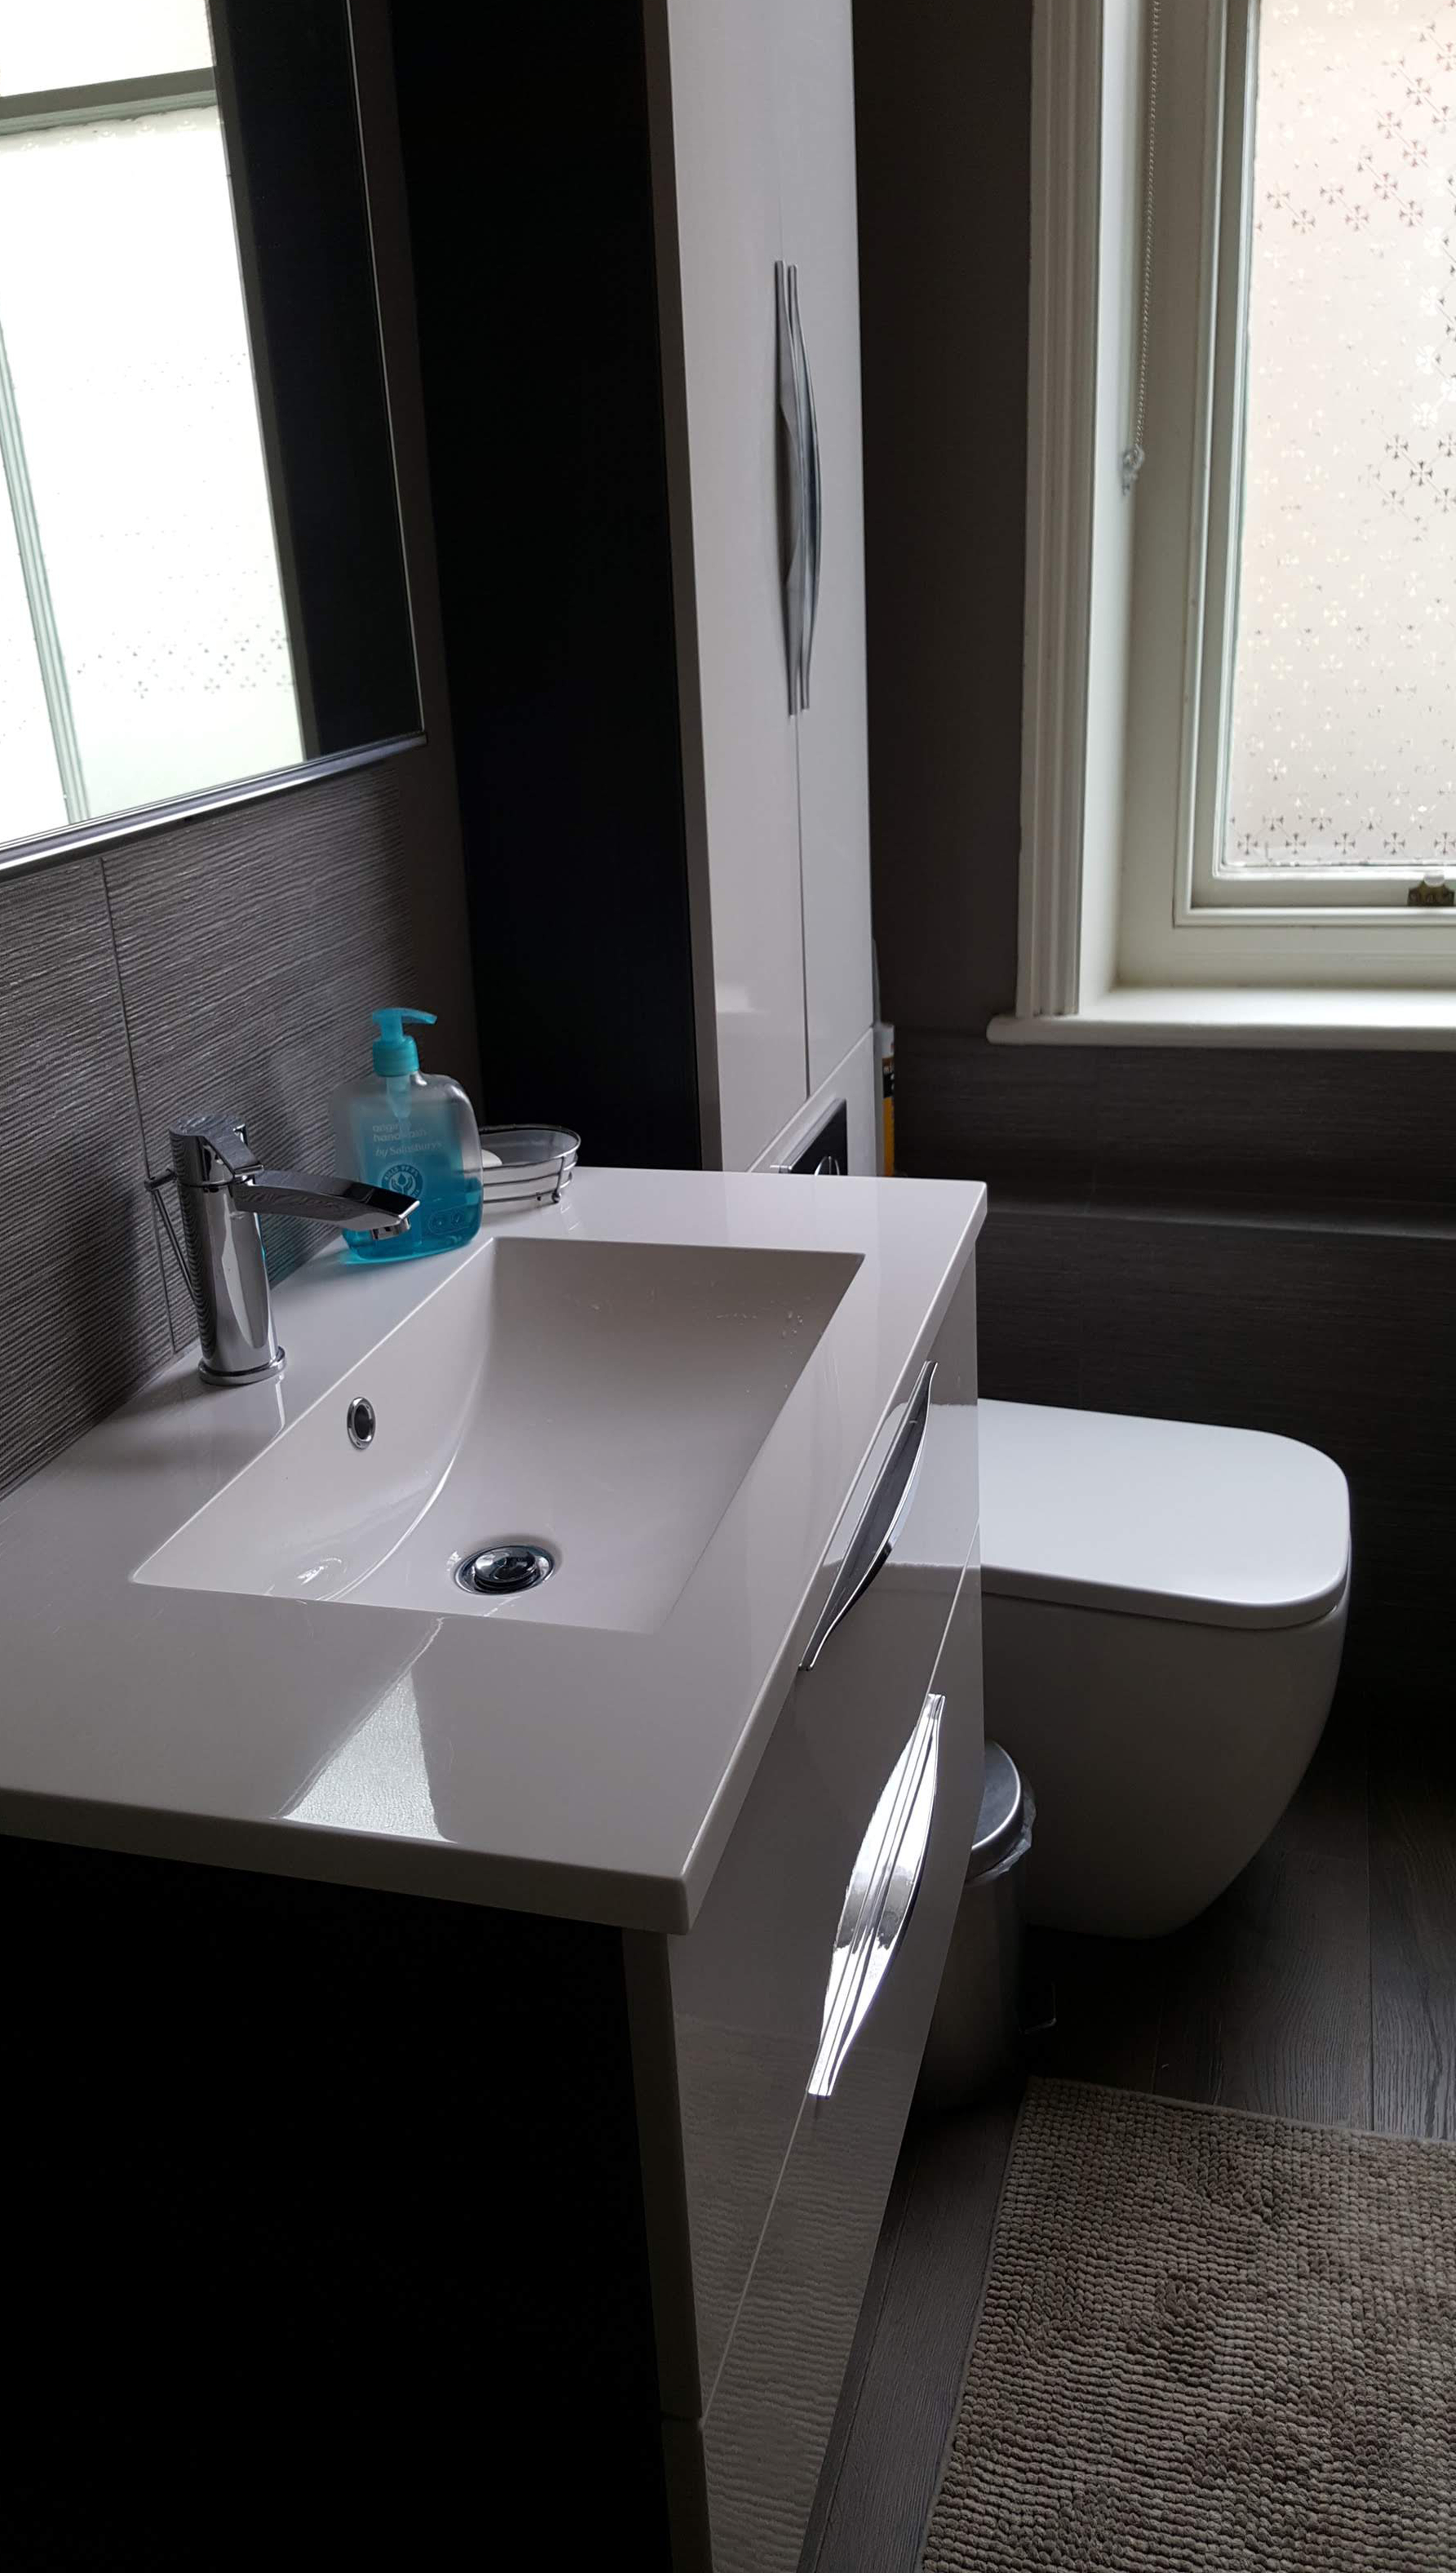
The wall-hung loo never quite felt ‘safe’! So in the end we decided to change it to a floor-standing one. Sadly this meant ordering a new panel to cover the cistern as the toilet pan was in a different position and the hole that had been cut no longer fitted. So extra expense – but it had to be done!
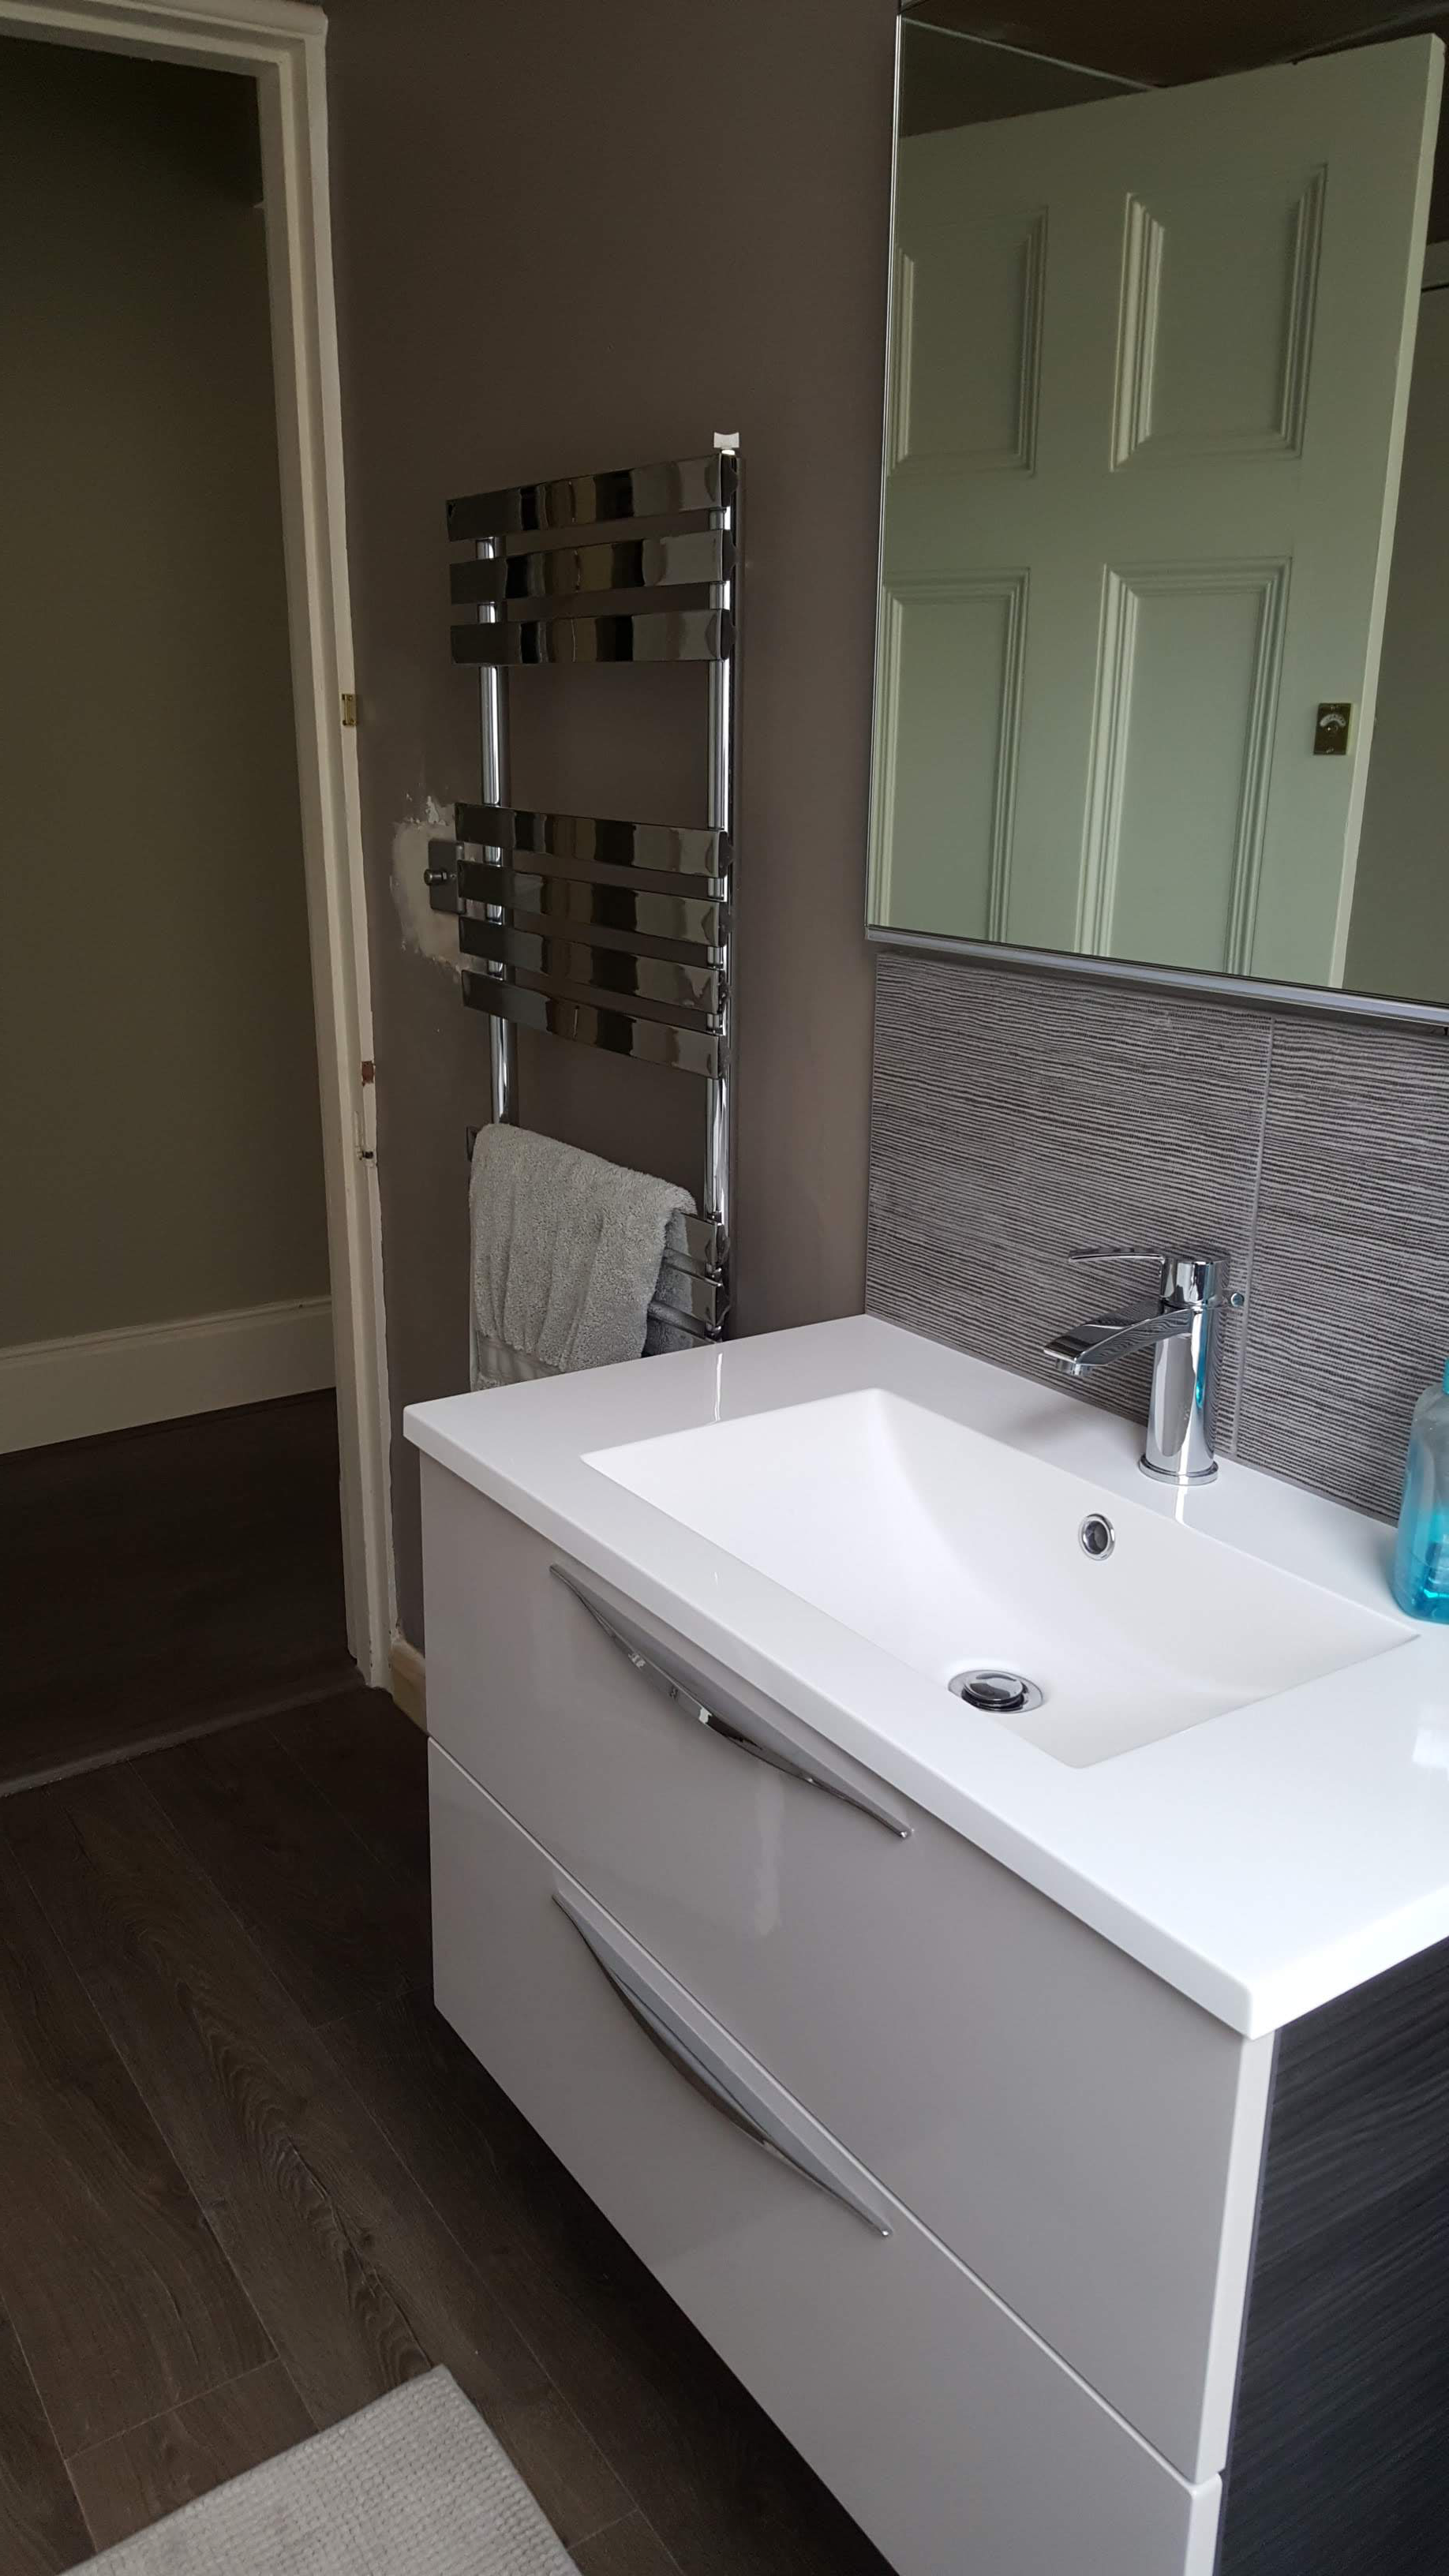
All the other units slotted in nicely, but only with millimetres to spare, so I’m glad we measured correctly….
Here’s the (pretty much) finished room:


Discover more from An Eastbourne Diary
Subscribe to get the latest posts sent to your email.
Be First to Comment