The decorative tacks arrived this morning, so I finished the stool!
Firstly, adding the webbing (in place of the hardboard in the original stool)…

Next step: the hessian…
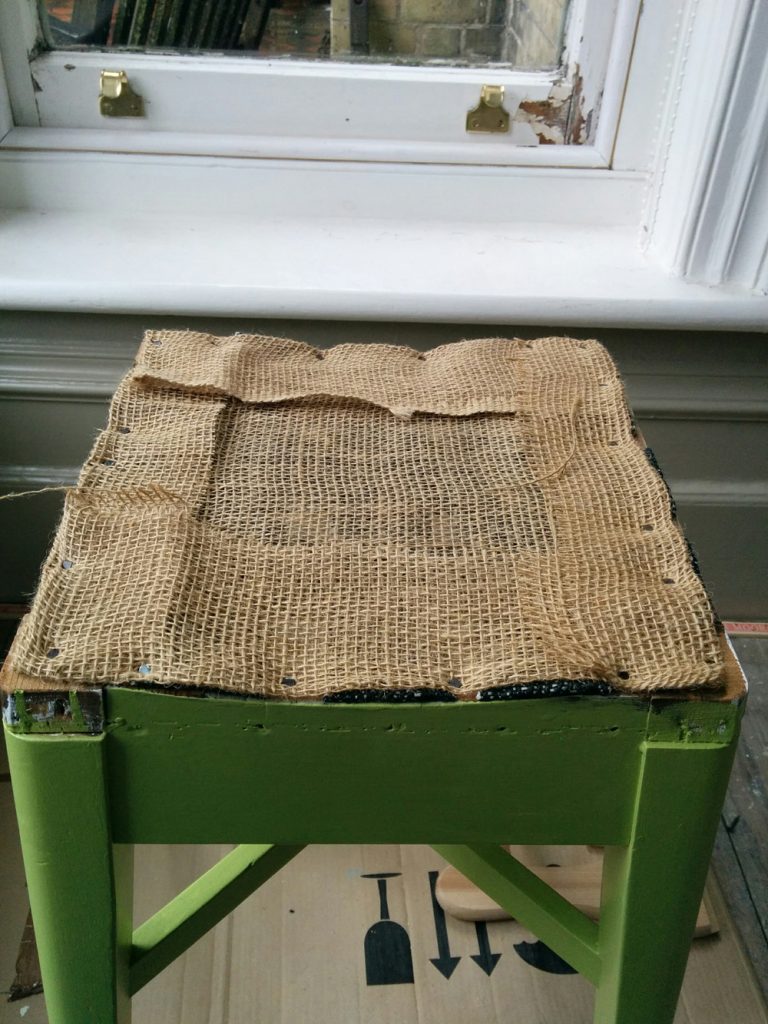
The foam square fitted perfectly, and I added some wadding to give a bit more padding and soften the corners.

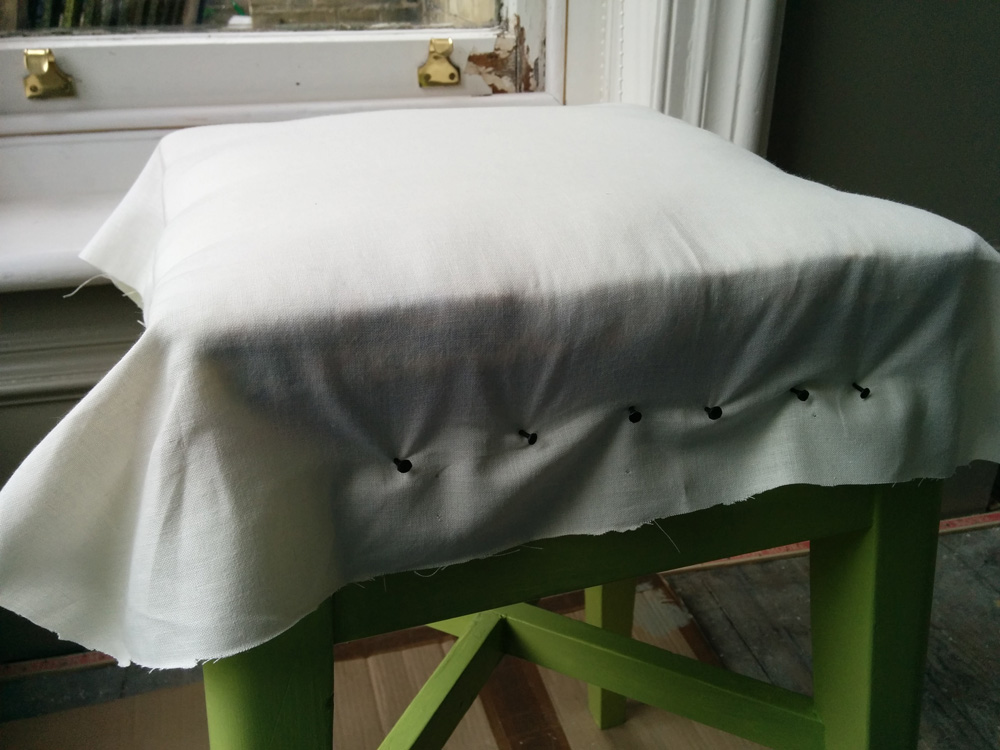
I then covered the wadding with piece of cotton and tacked it down. This is quite a tricky stage. You have to be careful not to hammer in the tacks to too far, as you are continually stretching and smoothing down the seat pad and repositioning the tacks until everything sits well, there are no lumpy bits and the fabric is taut. The last thing to do before hammering in the tacks fully is to create neat corners.
Now for the fun part – adding the finishing fabric.
I was a bit worried about ruining the surface of the shiny tacks with the hammer, but that wasn’t a problem.
It wasn’t easy though – the vinyl fabric is quite slippy to work with, and I found the corners particularly challenging. I’d decided to just fold under the edges of the fabric and tack in place, but even placing the tacks and hammering them in without them bending, and in a straight (ish) line is difficult!
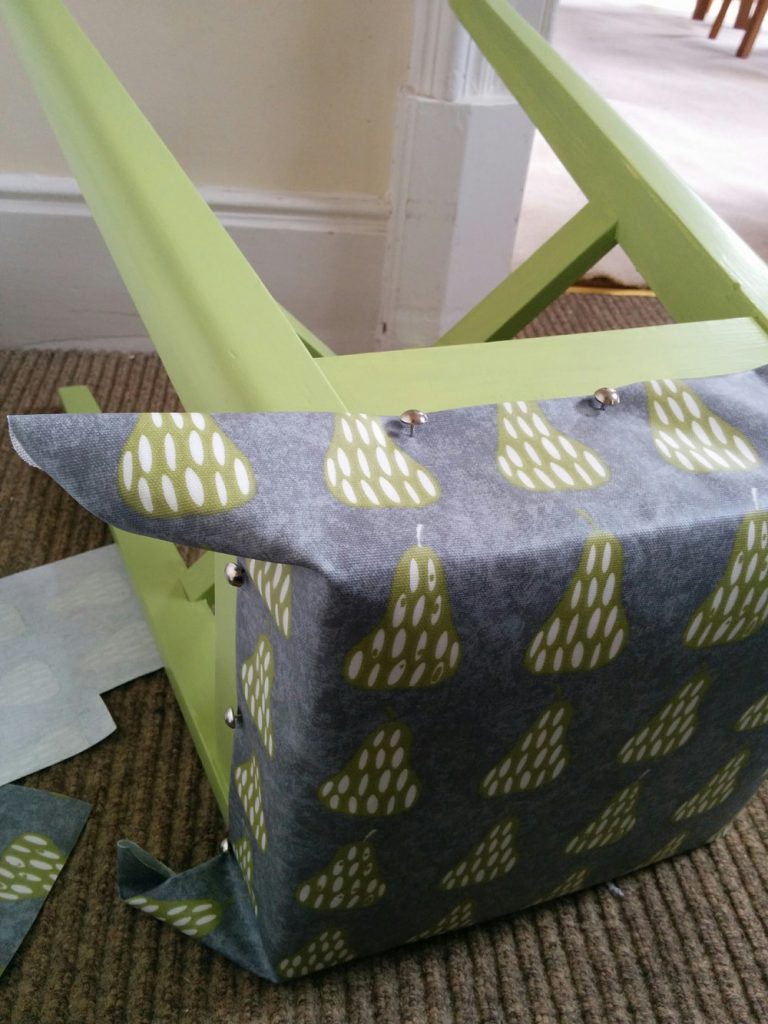
… the corners were a bit fiddly – I cut away some fabric so they weren’t bulky, but I wouldn’t say my ‘hospital bed’ corners were as neat as I would have liked! I think this stage took about an hour and a half.
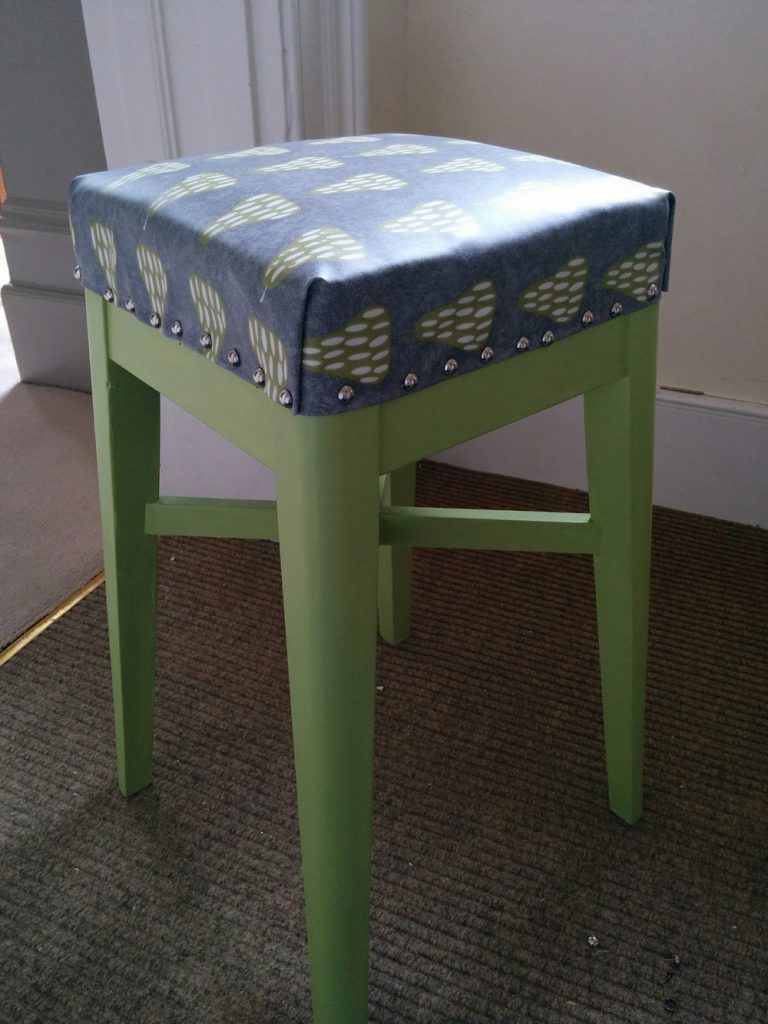
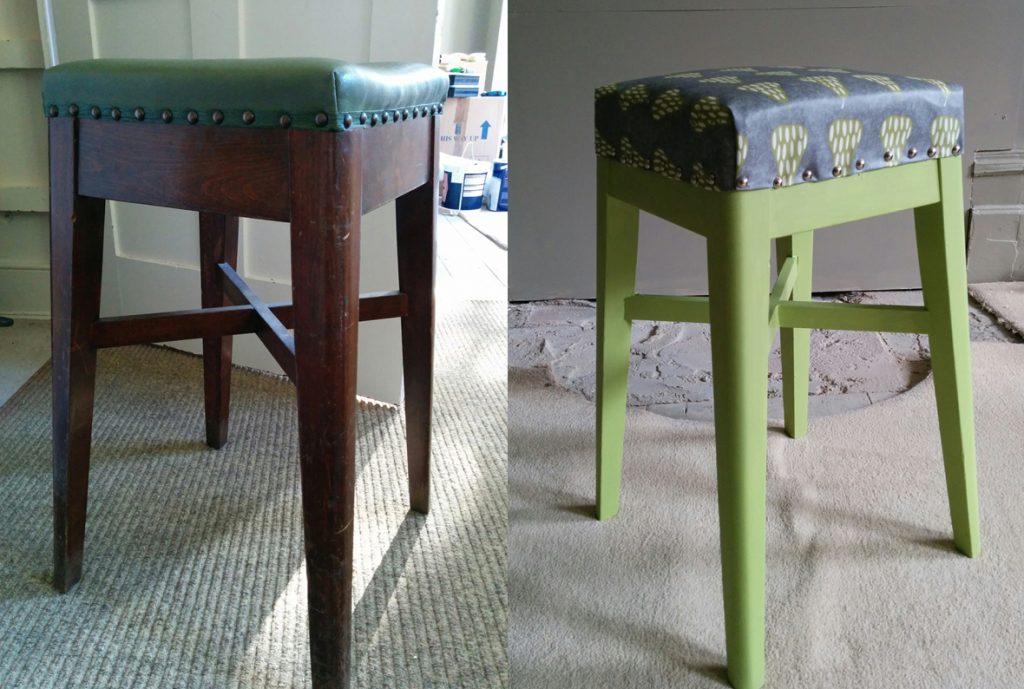
I can see there are flaws – the pattern on the fabric is slightly out of alignment and the tacks aren’t really in straight lines (!) but on the whole I was pleased with the finished article, and it will be a lovely, jolly addition to the kitchen. And nice to give new lease of life to the stool! Here’s the finished article and a reminder of the before and after.
What it cost
Fabric: £7.50
Decorative tacks: £2.99
Green paint: £3.95
Foam square: £2.50
Total: £16.94 – but there’s enough of everything to do two stools.
Other materials I already had – basic upholstery tacks, some polyester wadding, webbing and a piece of hessian.
Discover more from An Eastbourne Diary
Subscribe to get the latest posts sent to your email.

Be First to Comment