
A few weeks ago I posted some pics of our kitchen, and the shell of it after builders had ripped it all out. We’ve had four weeks of disruption, but has it been worth it? I think so!!! We’ve had a few small hiccups but we now have a working kitchen, minus the flooring (because we took so long to decide on, and now we must wait for our builder’s availability to fit it.)
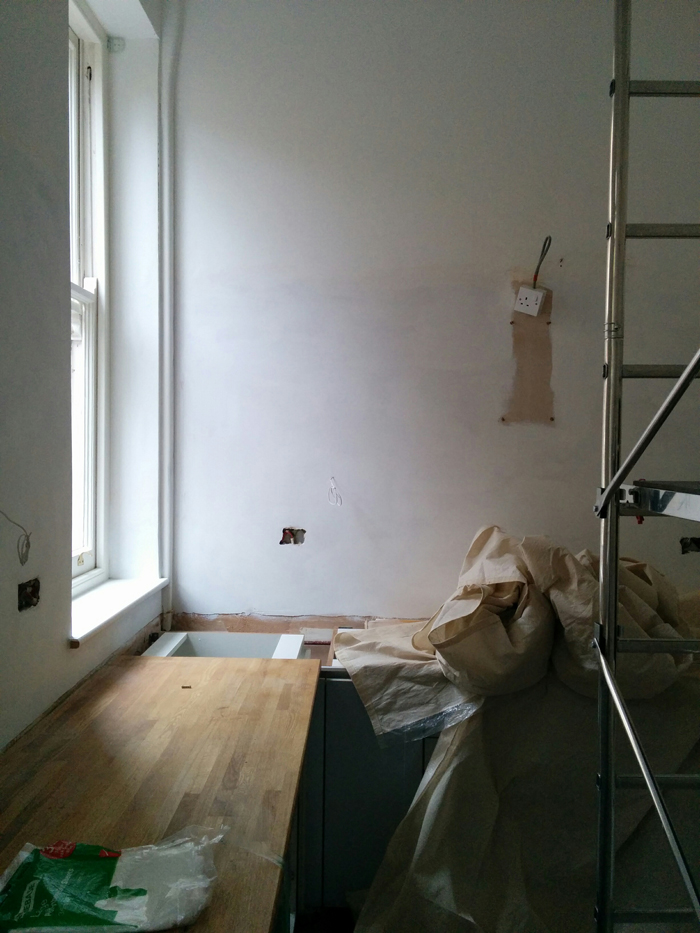
The old kitchen had a lot of tiling, and unfortunately the walls are all lined with paper. So when the tiles came off, so did the paper, and some of the plaster. There was a fair bit of replastering to do, and not easy because when plaster meets paper you have to ‘feather’ it in. Our builder decided to carefully remove the paper up to well above eye level, to pretty much the height at which the top shelves would be fitted. That meant all the walls immediately beneath the new under-shelf lighting would be pristine new plaster, with no nasty signs of the tile removal.
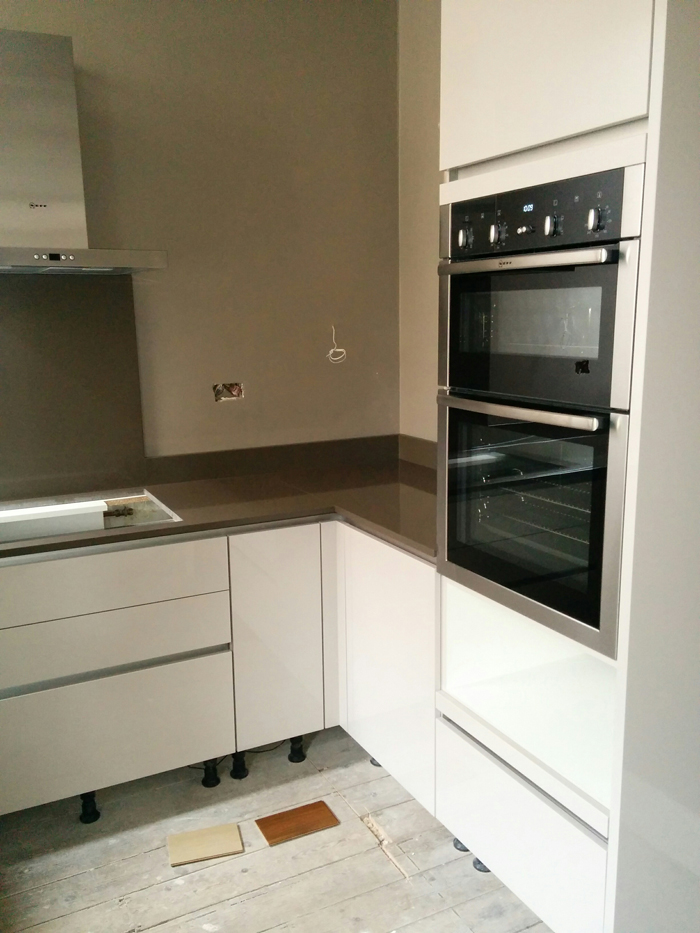
We were told that the worktop had to be templated, and then it would be 2 weeks until it could be fitted. So our priority was to be able to have the templaters in on the Monday following the start of the work. That meant the floor cabinets had to be installed by then. The builders also needed to chase in the various electrical cables needed for the under shelf lighting, but that needed to be done before the replastering. So the upshot was that the base units went in and the plastering was done afterwards. Luckily the cabinets all came with protective plastic film on all surfaces, but Vince’s plastering turned out to be the cleanest I’d ever encountered!


On the outside walls there is a plaster layer, then a cavity, before you get to the brick. We were having a double layer of floating selves fitted, which presented an issue regarding how to fix them to the (solid) wall. The wall had previously supported a large (heavy) wall cupboard, fixed to a batten which had been screwed into the brick, which could be used again. But the bottom shelf needed a support. The builders cut out a section of the plasterboard (well, old laths in fact), fitted a large wooden batten flush with the plaster, and re-skimmed. The bottom shelf will be fitted to this batten, so giving it the strength it needs. The trailing bell wire is for the under shelf lighting.

After the worktop had been templated and the walls had their final skim, the builders left us for a few days to allow the plaster to dry and for us to paint – one coat of white primer on the new plaster, then an undercoat. As the top coat was going to be quite a dark grey, we undercoated with Farrow & Ball Mid-Tones Primer & Undercoat for ceilings and walls. Interestingly, although we bought this originally at Homebase, we then realised the paint was priced wrongly on the shelf. Someone at head office had probably muddled up primer for ceilings with primer for woodwork, and priced the paint we wanted at £49 for 2.5 litres instead of £33. We took the paint back to Homebase for a refund, having bought it at the correct price elsewhere, but the staff at Homebase clearly didn’t think the issue was worth doing anything about. A few weeks later when we were in the shop, I checked – and all the ‘primer for ceilings’ paint was still overpriced by £16! I guess their attitude is a) the computer is never wrong and b) anyone who buys Farrow & Ball deserves to be overcharged. Homebase are doing quite well out of this – so be warned!
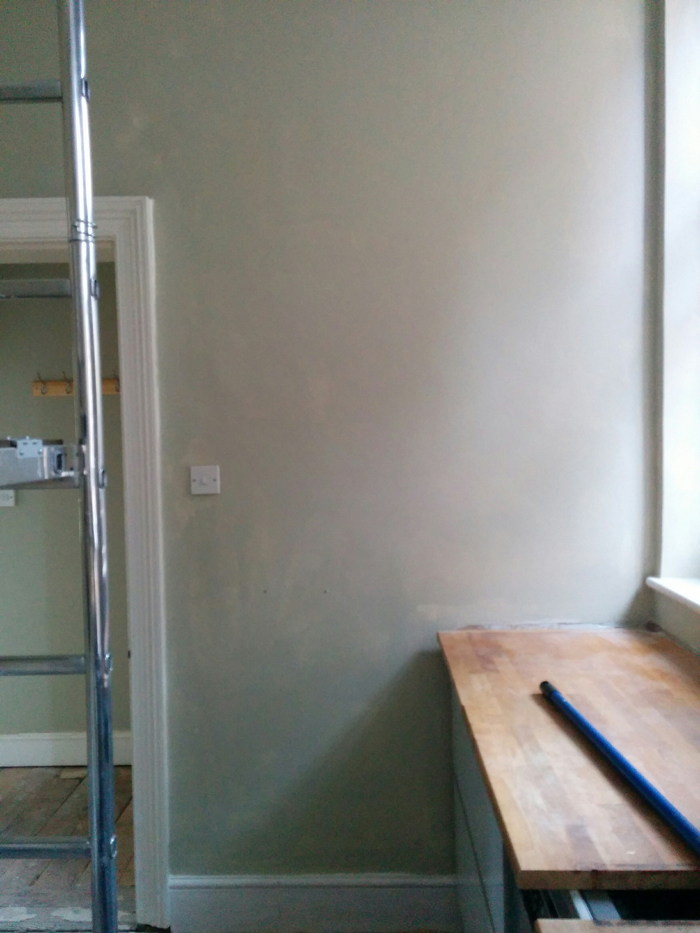
Things now started to move fairly quickly. We did two coats of the top colour – Farrow & Ball Charleston Gray – including on the radiator. We were expecting to do 3 coats, as it was quite a dark colour, but it only needed 2. We didn’t use a roller but did it all by brush, and only used just over 2.5 litres. Result!
We then had a call to say the worktop was coming a few days before we were expecting it, which was great. So the Thursday of week 3 was in the diary, and all was good, until the night before I had the sudden realisation that the under-counter lighting had been installed upside down – yikes! Plus, we’d booked a night away on that Thursday, some time ago, so we wouldn’t be around while the fitters were in. Luckily our builder was happy to come in and supervise. We had another job for him to get on with, which meant he had work to do, but could keep an eye and help the fitters if need be.

Breaking the news to the builder at 8am, he stayed calm and uninstalled the lighting units, and re-installed them just in time for when the worktop fitters arrived. The electrician would have to come back to re-do the wiring connection, but that was the least of our concerns. If the worktop had been fitted with the lighting on wrongly, it would have been completely inaccessible and that would have been it! I don’t know why none of us had understood about the lighting – the instructions that came with it were ambiguous – rather like those IKEA instructions where you have to get into the zone for it to make sense! Anyway, disaster avoided.
We left after a couple of hours but the fitters were there for around 5 hours. They needed to do a lot of precision cutting and fitting of the quartz worktop in situ – it looked like a difficult, messy and smelly job – the resins they used were very powerful. It included fixing the undercount sink not with clips or screws but with glue – sounds amazing, but there are some strong glues out there!
We didn’t see the finished worktop in place until the next day when we came back from our trip, and it was absolutely beautiful. Quartz is actually a manmade material that looks and feels a lot like granite, but it’s really a composite of granite, resin and various other stuff making it very non-porous and resistant to scratching or staining.


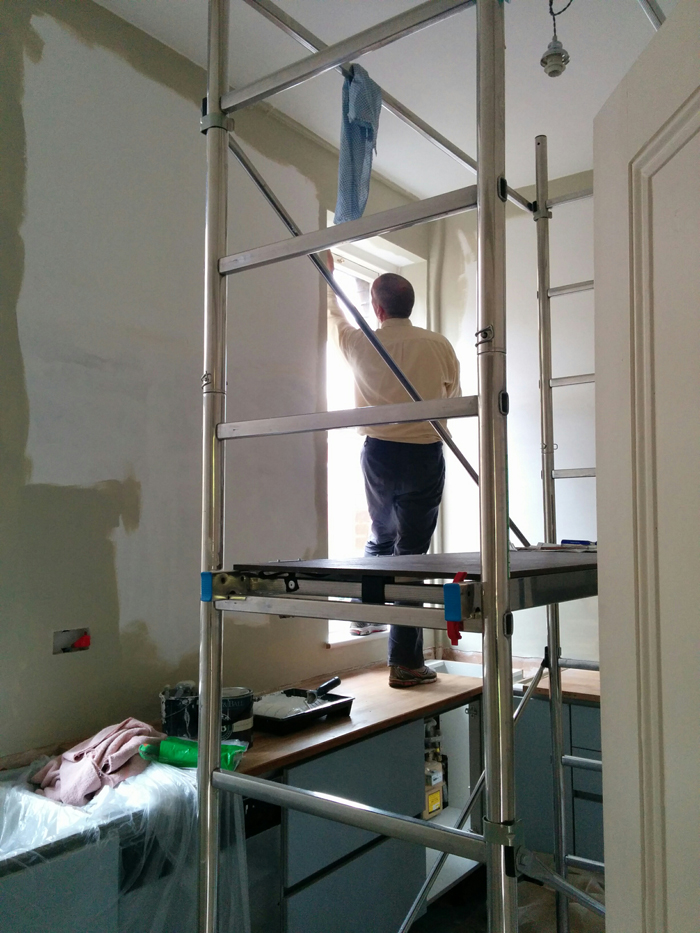
The wooden window sills are a triumph – and it wasn’t straightforward, as the builder discovered one window was slightly higher than the other, something which would have been emphasised by the line of the 10cm upstand. So he cleverly put in a shim beneath the lower one, and made good the surface, so the sills would be even. Brilliant.
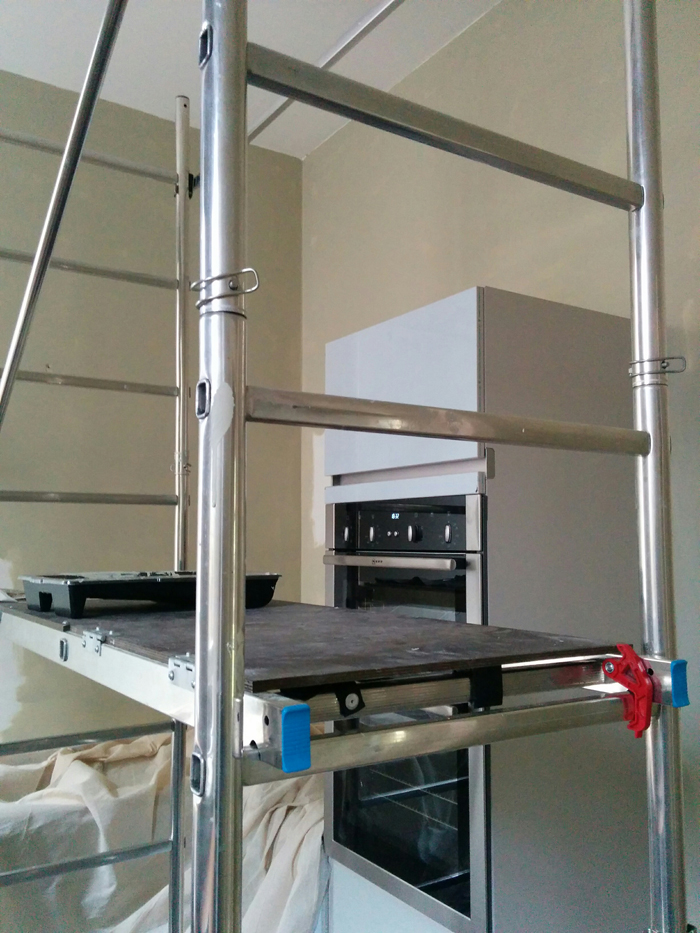
In the final two days of activity the shelves were up, the lighting all connected, the cooker hood, warming drawer and hob connected, the sink and dishwasher plumbed in, and it was done. After fixing a few snags, the builders left us to move into our new kitchen. Vince will be back though – to fit the wood flooring and the plinths, but not until the end of April. We’re also missing a wall cabinet that is supposed to go next to the oven housing, but the design was 5mm out which meant it wouldn’t go. So the kitchen company are ordering us an 800mm cabinet to replace the 900mm one supplied.
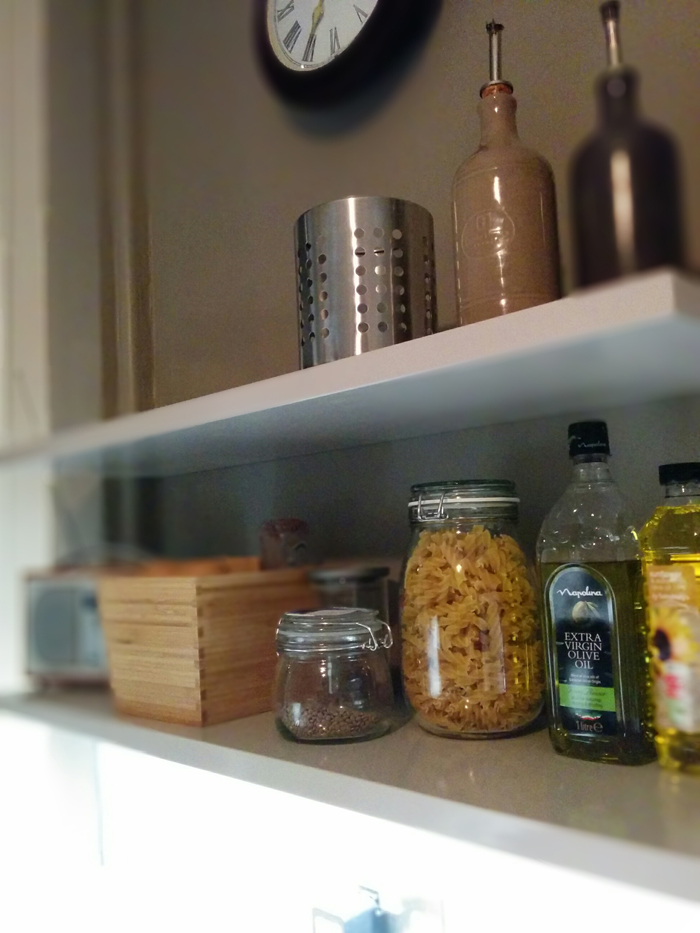
In the meantime we have a working kitchen! It’s amazing how much more spacious it feels – probably a combination of thinner and shallower worktops (only by an inch or so, but it makes a huge difference, especially in the corners where I can now reach comfortably) and open shelving. I was a bit concerned it might be dark to work in and that we might need stronger central lighting, but in reality the task lighting is brilliant, and exactly where you need it, without shadows, and keeping the cosy feel of the room. We haven’t yet quite figured out the optimum place for everything, and the shelves have more stuff on them that I’d ultimately like, but then we are missing an 800mm wall cabinet, so mugs and glasses have to share the shelf space for now.
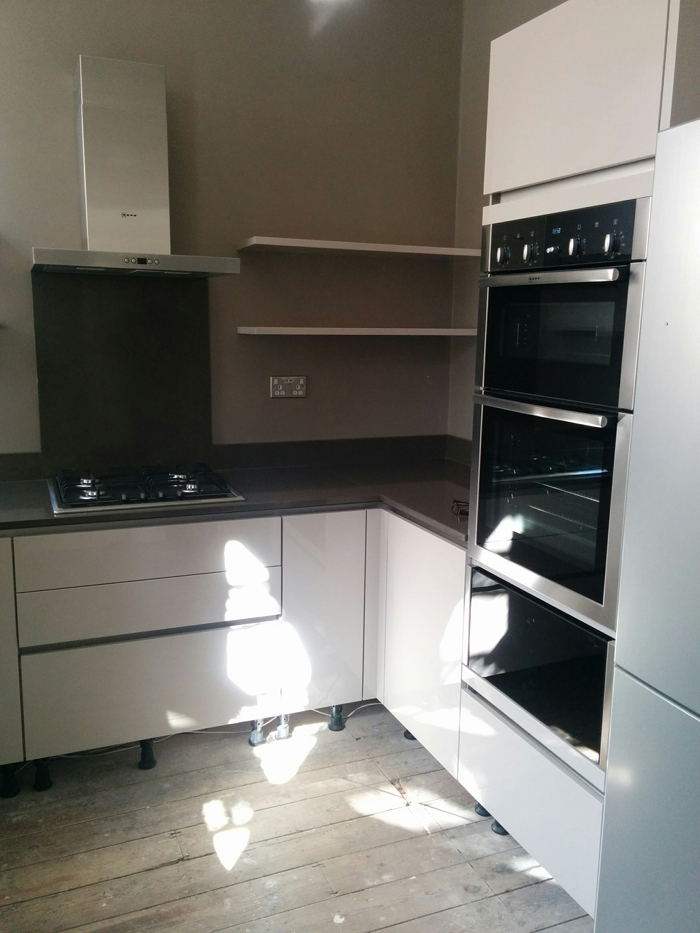
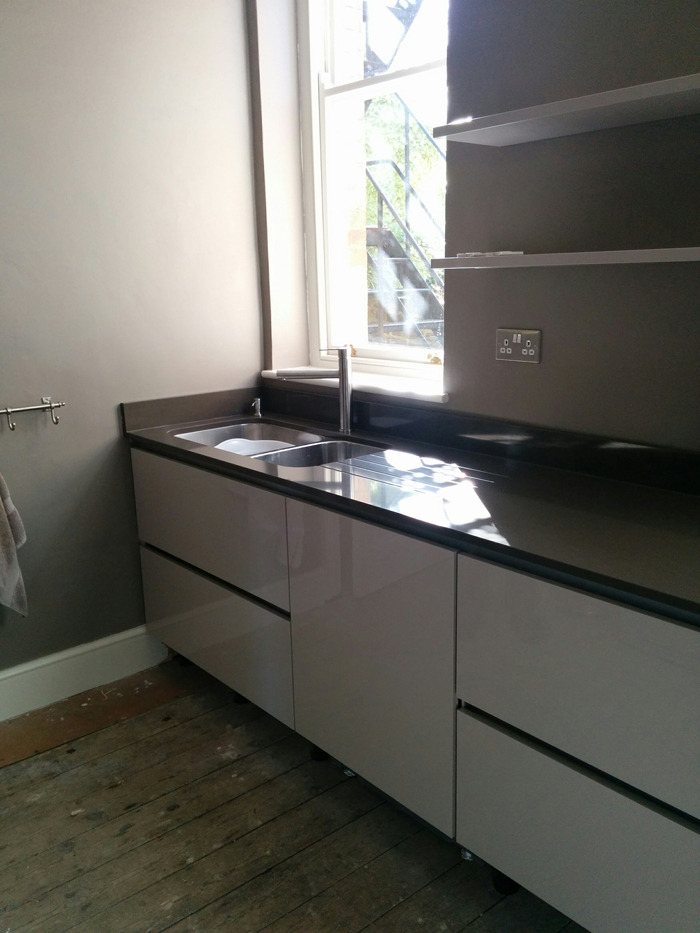


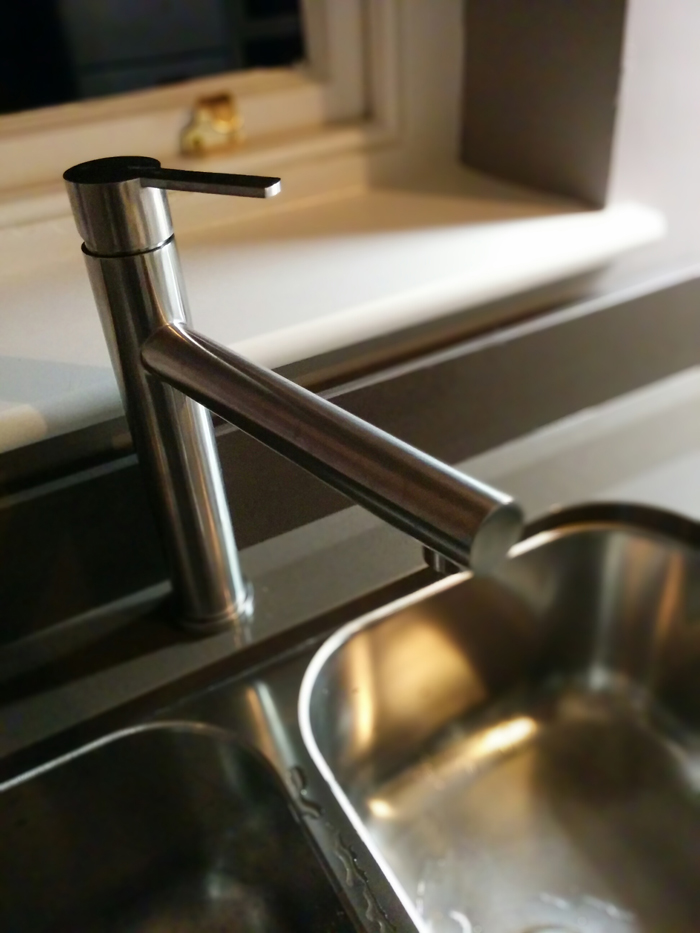


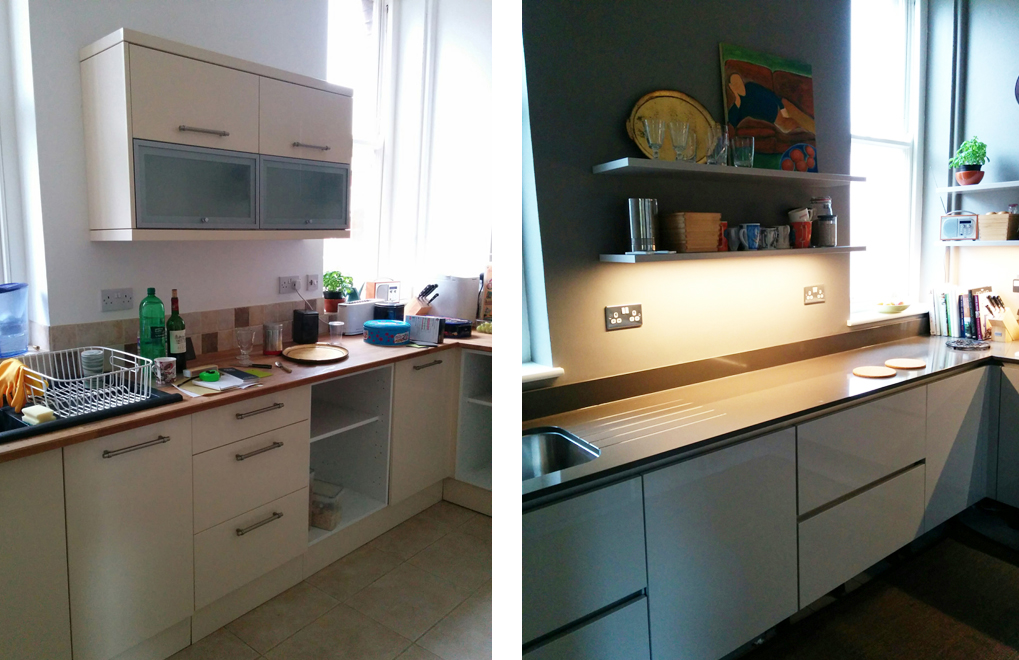
Details about the fittings etc – the cabinetry & shelving is Nobilia Focus Sand Ultra High Gloss Handleless (Line N). Quartz 20mm worktop in Tiffany Grey. Neff double oven, deep warming drawer and gas hob. Siemens dishwasher, Smeg double undermount sink in stainless steel. Mizzo tap and soap dispenser. We bought the kitchen at Schwartz Kitchens in Eastbourne and the builders were VMC.
Discover more from An Eastbourne Diary
Subscribe to get the latest posts sent to your email.
The new kitchen looks fab! Makes me want to get on with ours now, but it’ll have to wait a while. You must be very pleased with it! Must get a date in the diary to catch up, will send over a few dates soon!
Thanks Sam, yes it is a real joy to work in the new kitchen, I have to admit!