At the weekend I decided it was time to get puttying. Having had the windows draught-proofed they all need decorating. But first of all, PREP.
The living room bay window is the easiest to start with and very much in need of help. And before we can get to the interesting stuff, like decorating the interior, we have to get down and dirty with fixing the exterior – repairing the broken and missing putty, identifying and dealing with any nasties such as patches of rot.
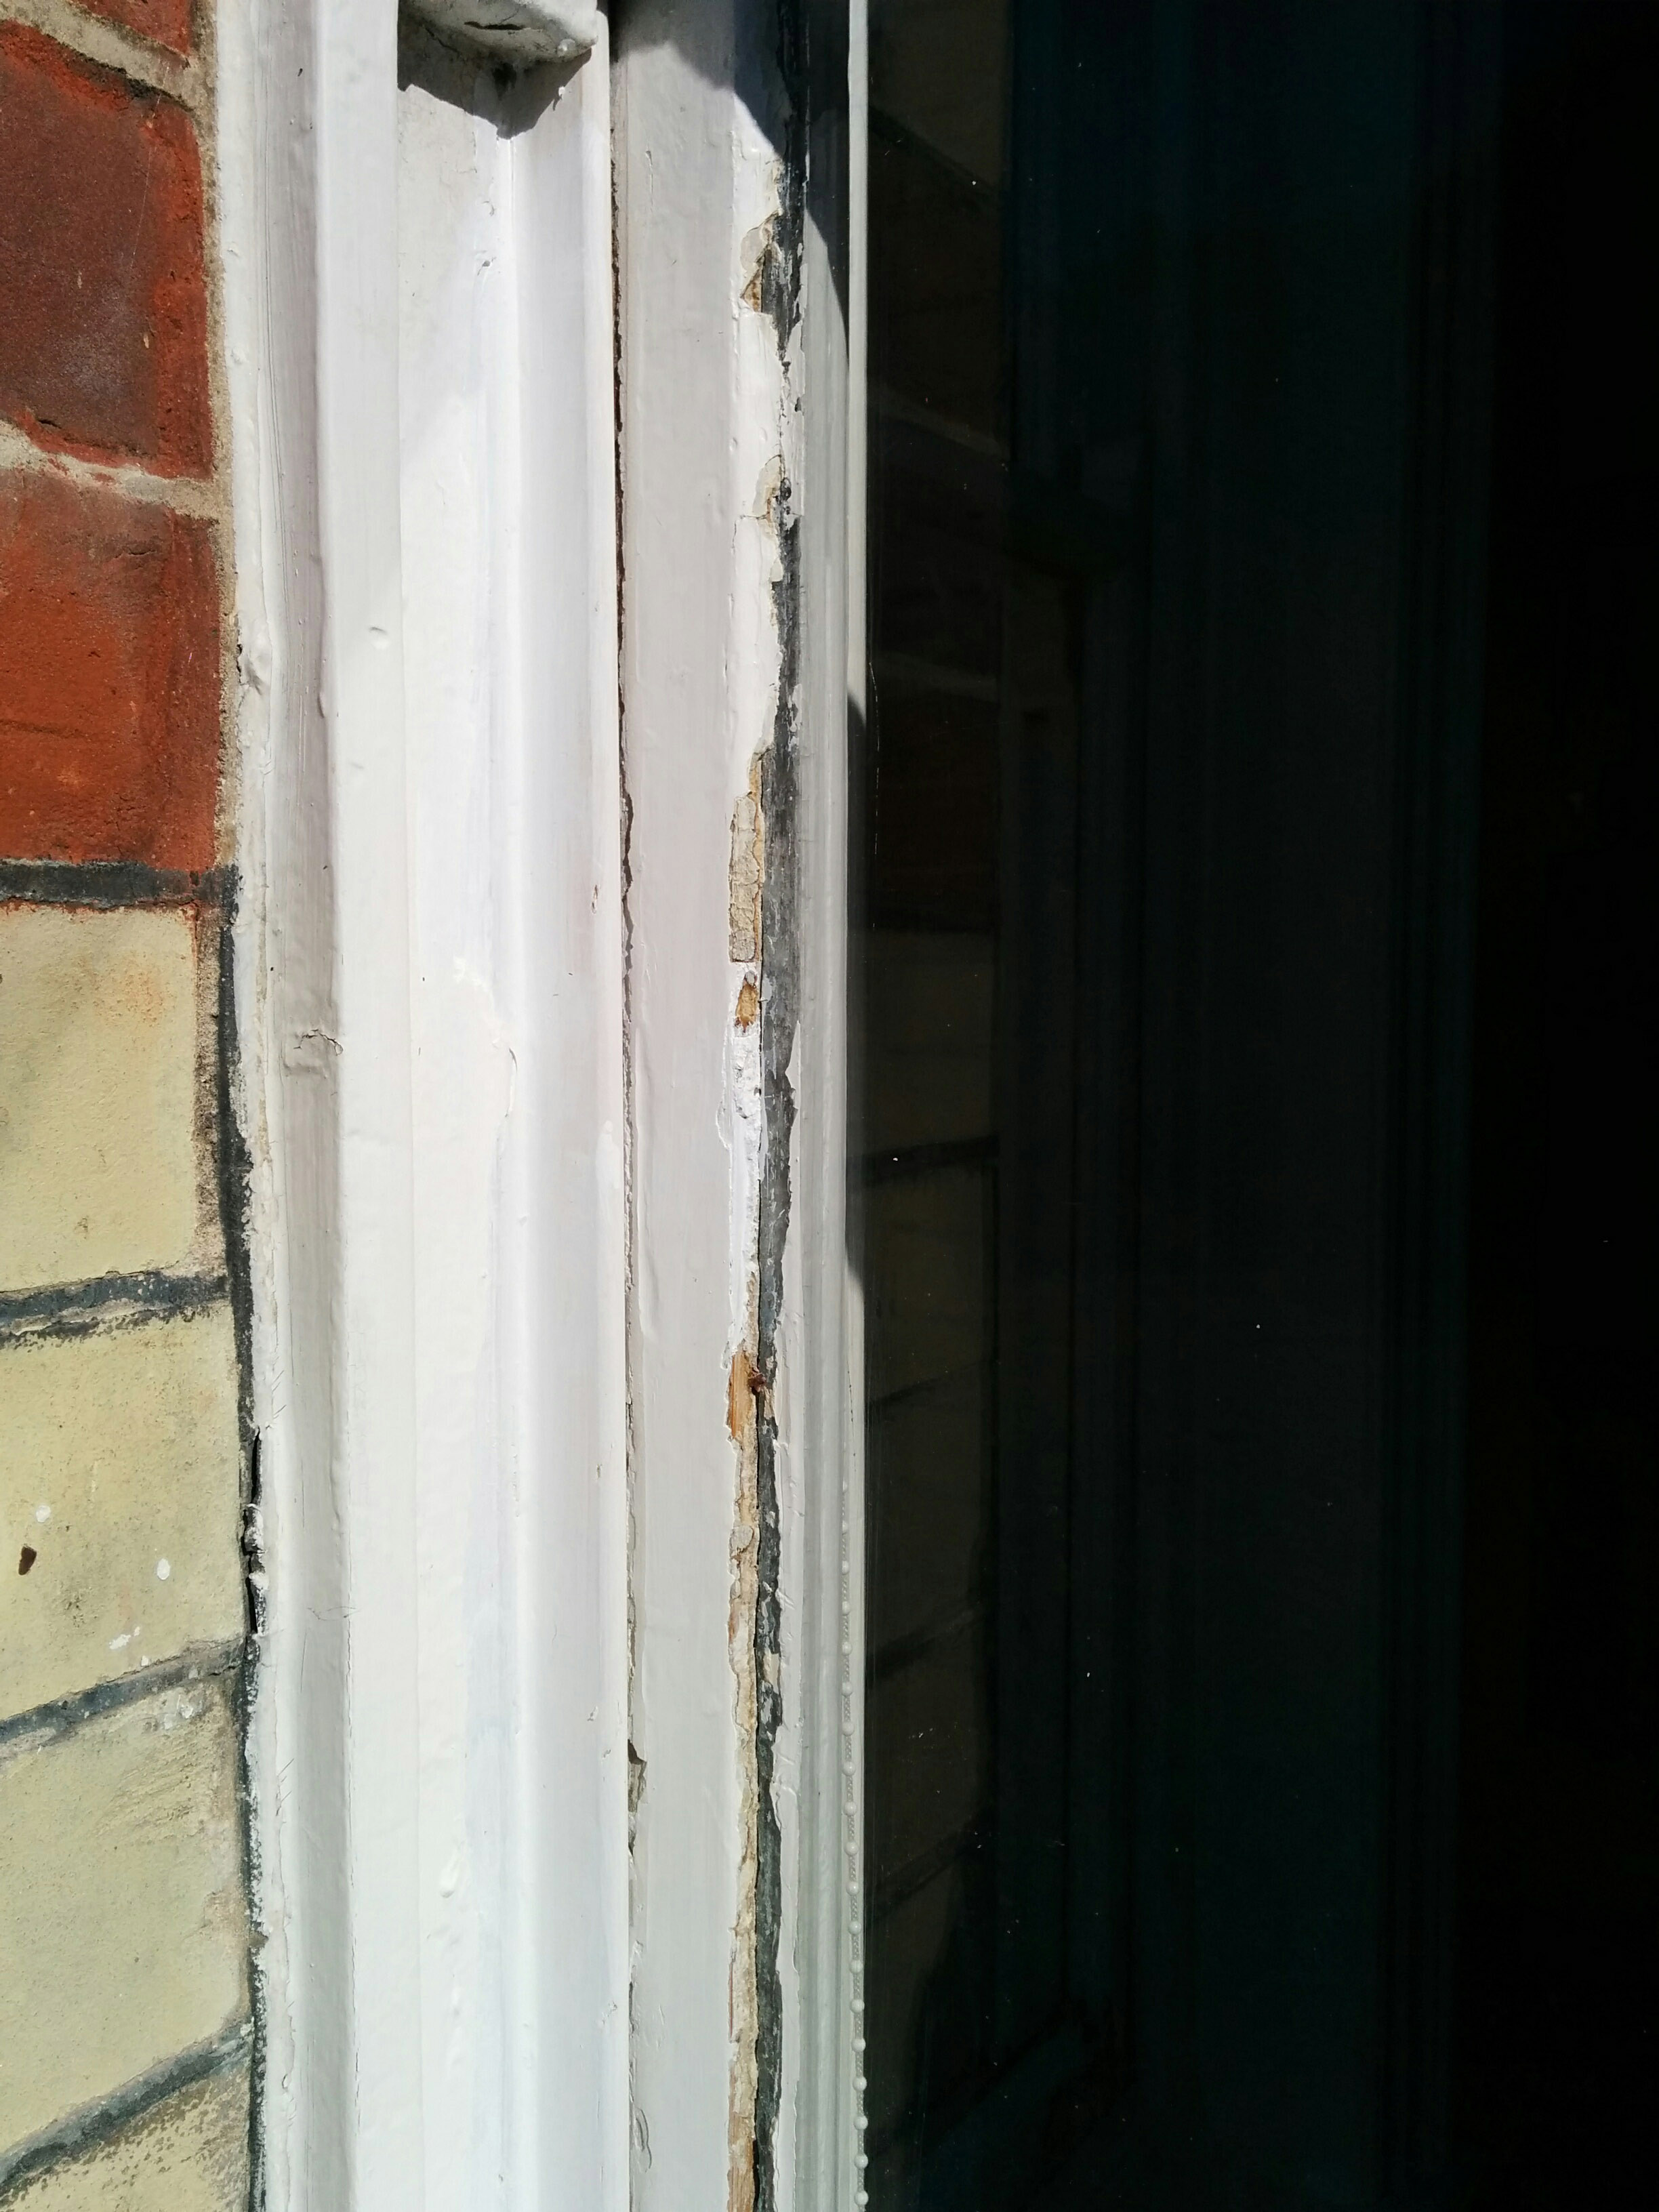
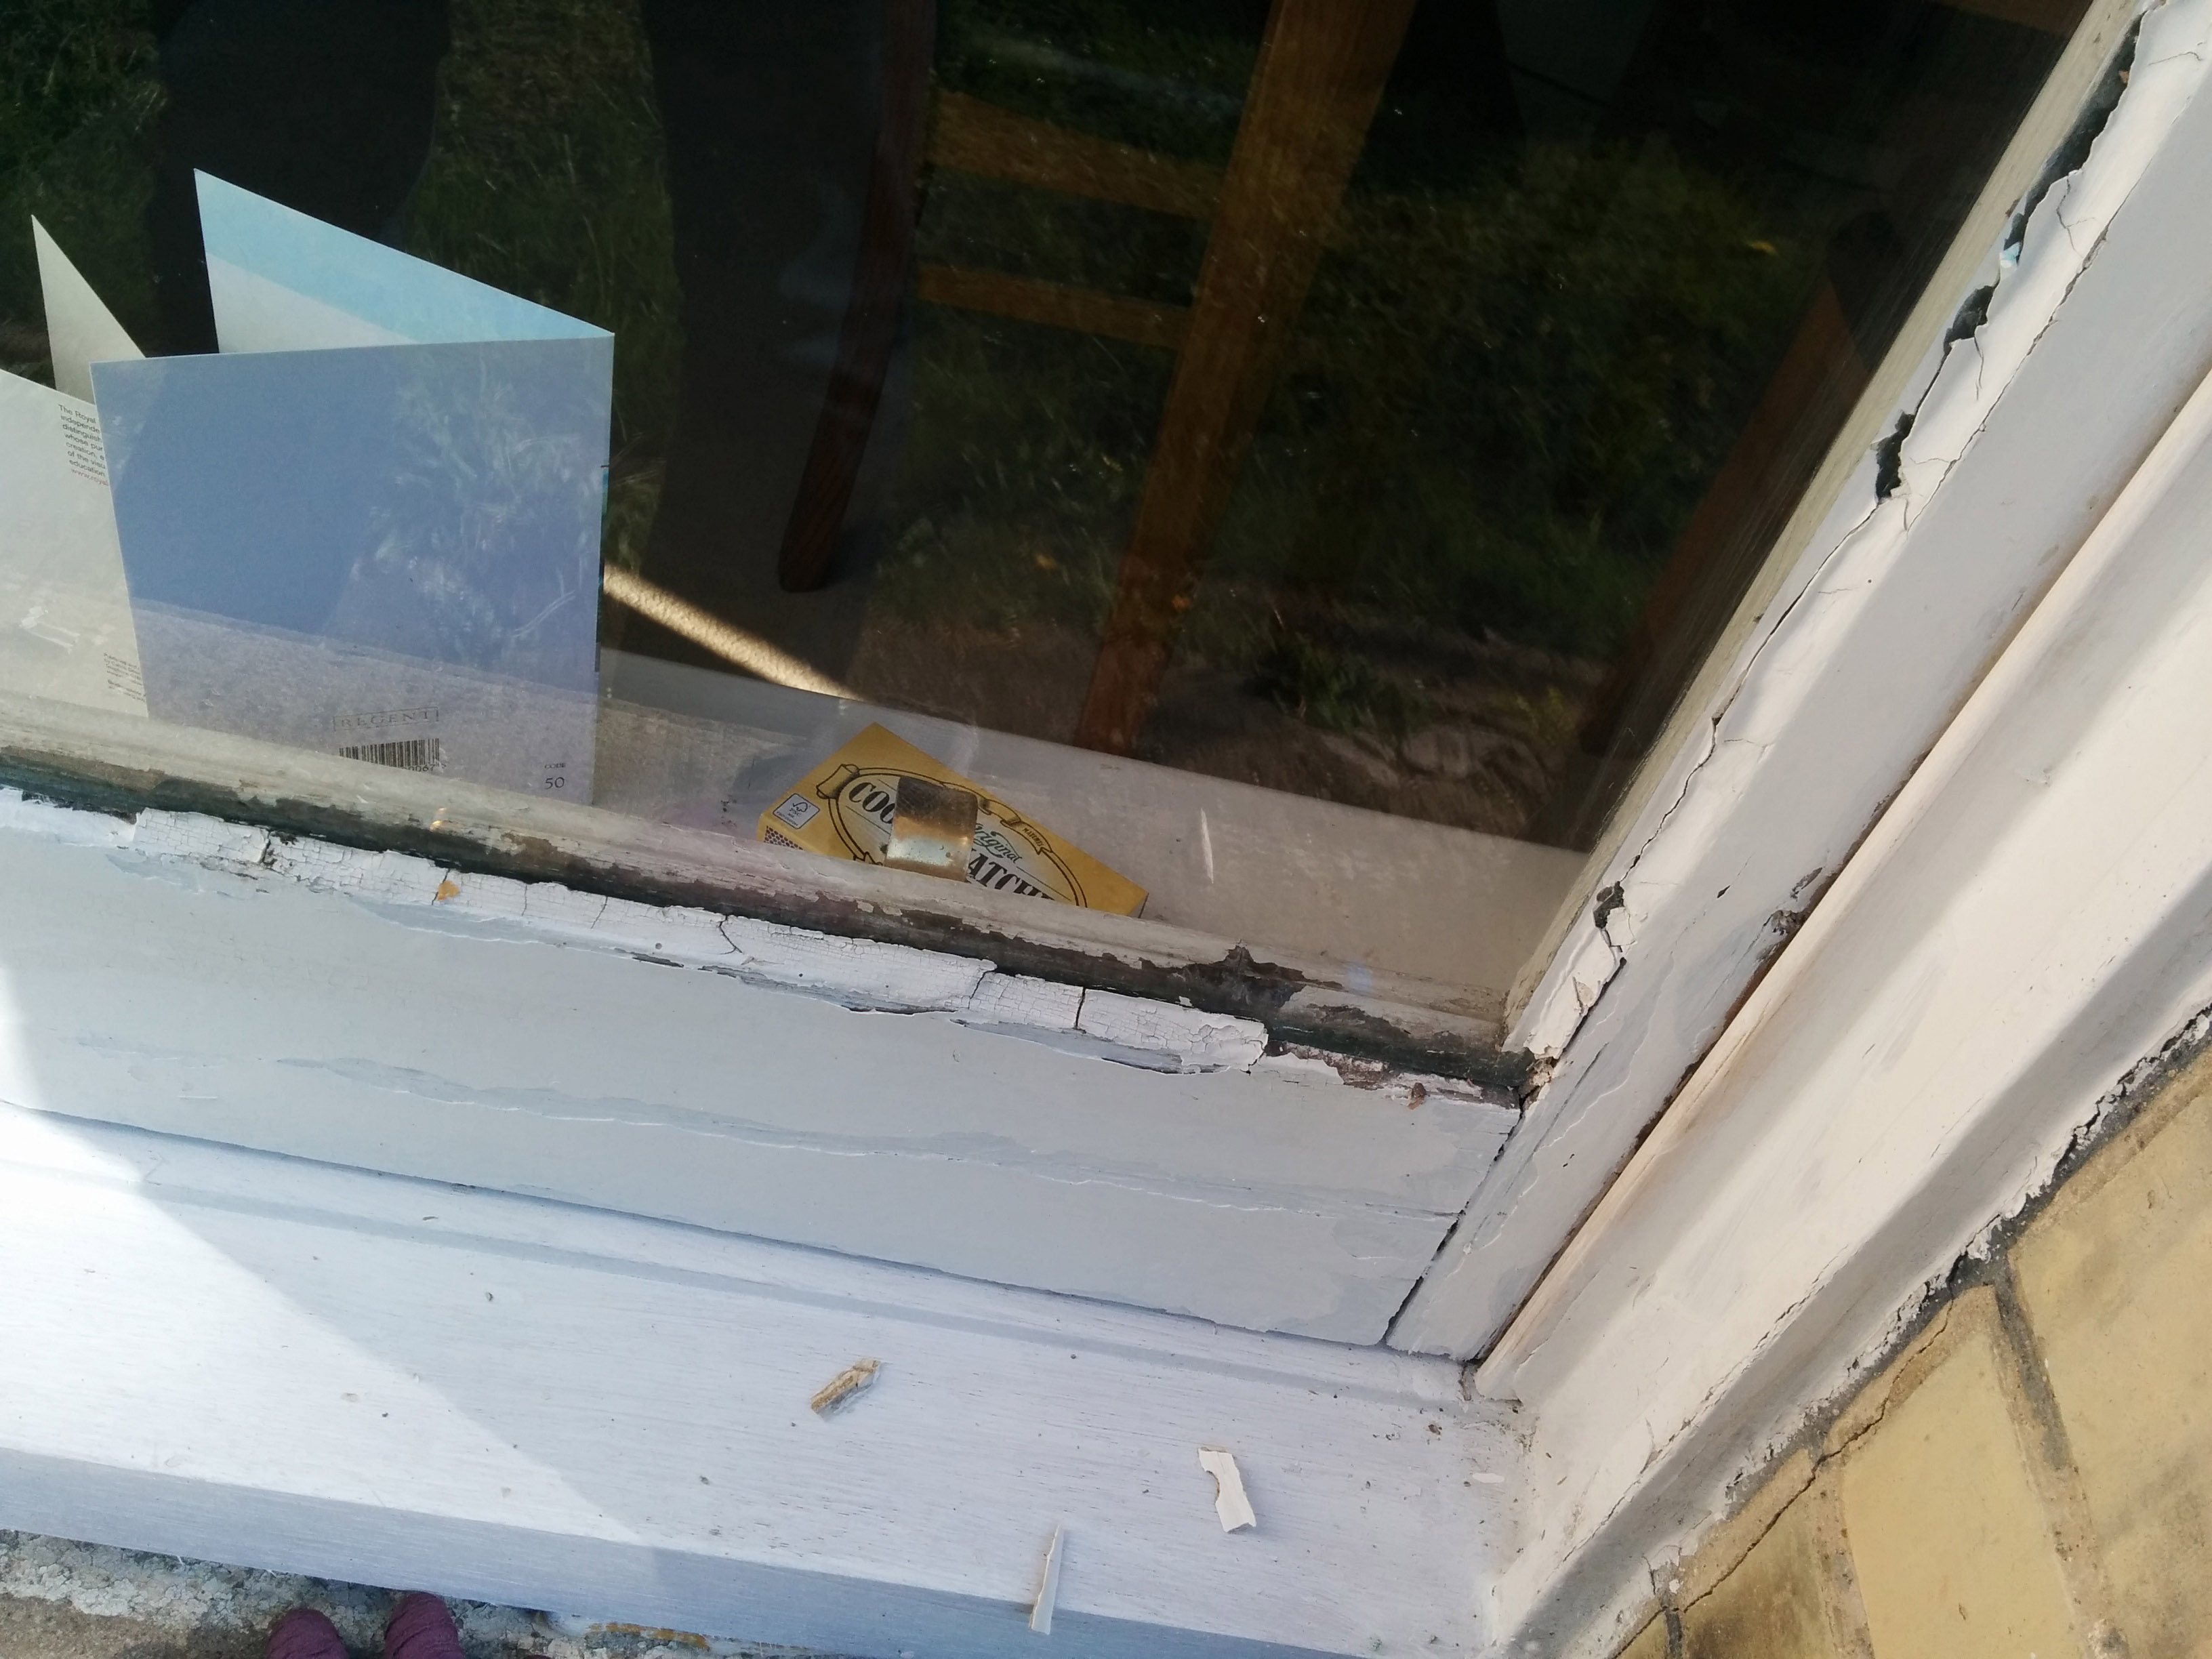 In some places the putty was either missing, or it came out with the merest of taps. I started to wonder what was holding the glass in!
But let’s be honest, these windows are 130 years old!
A bit of scraping and prepping, and things weren’t looking much better.

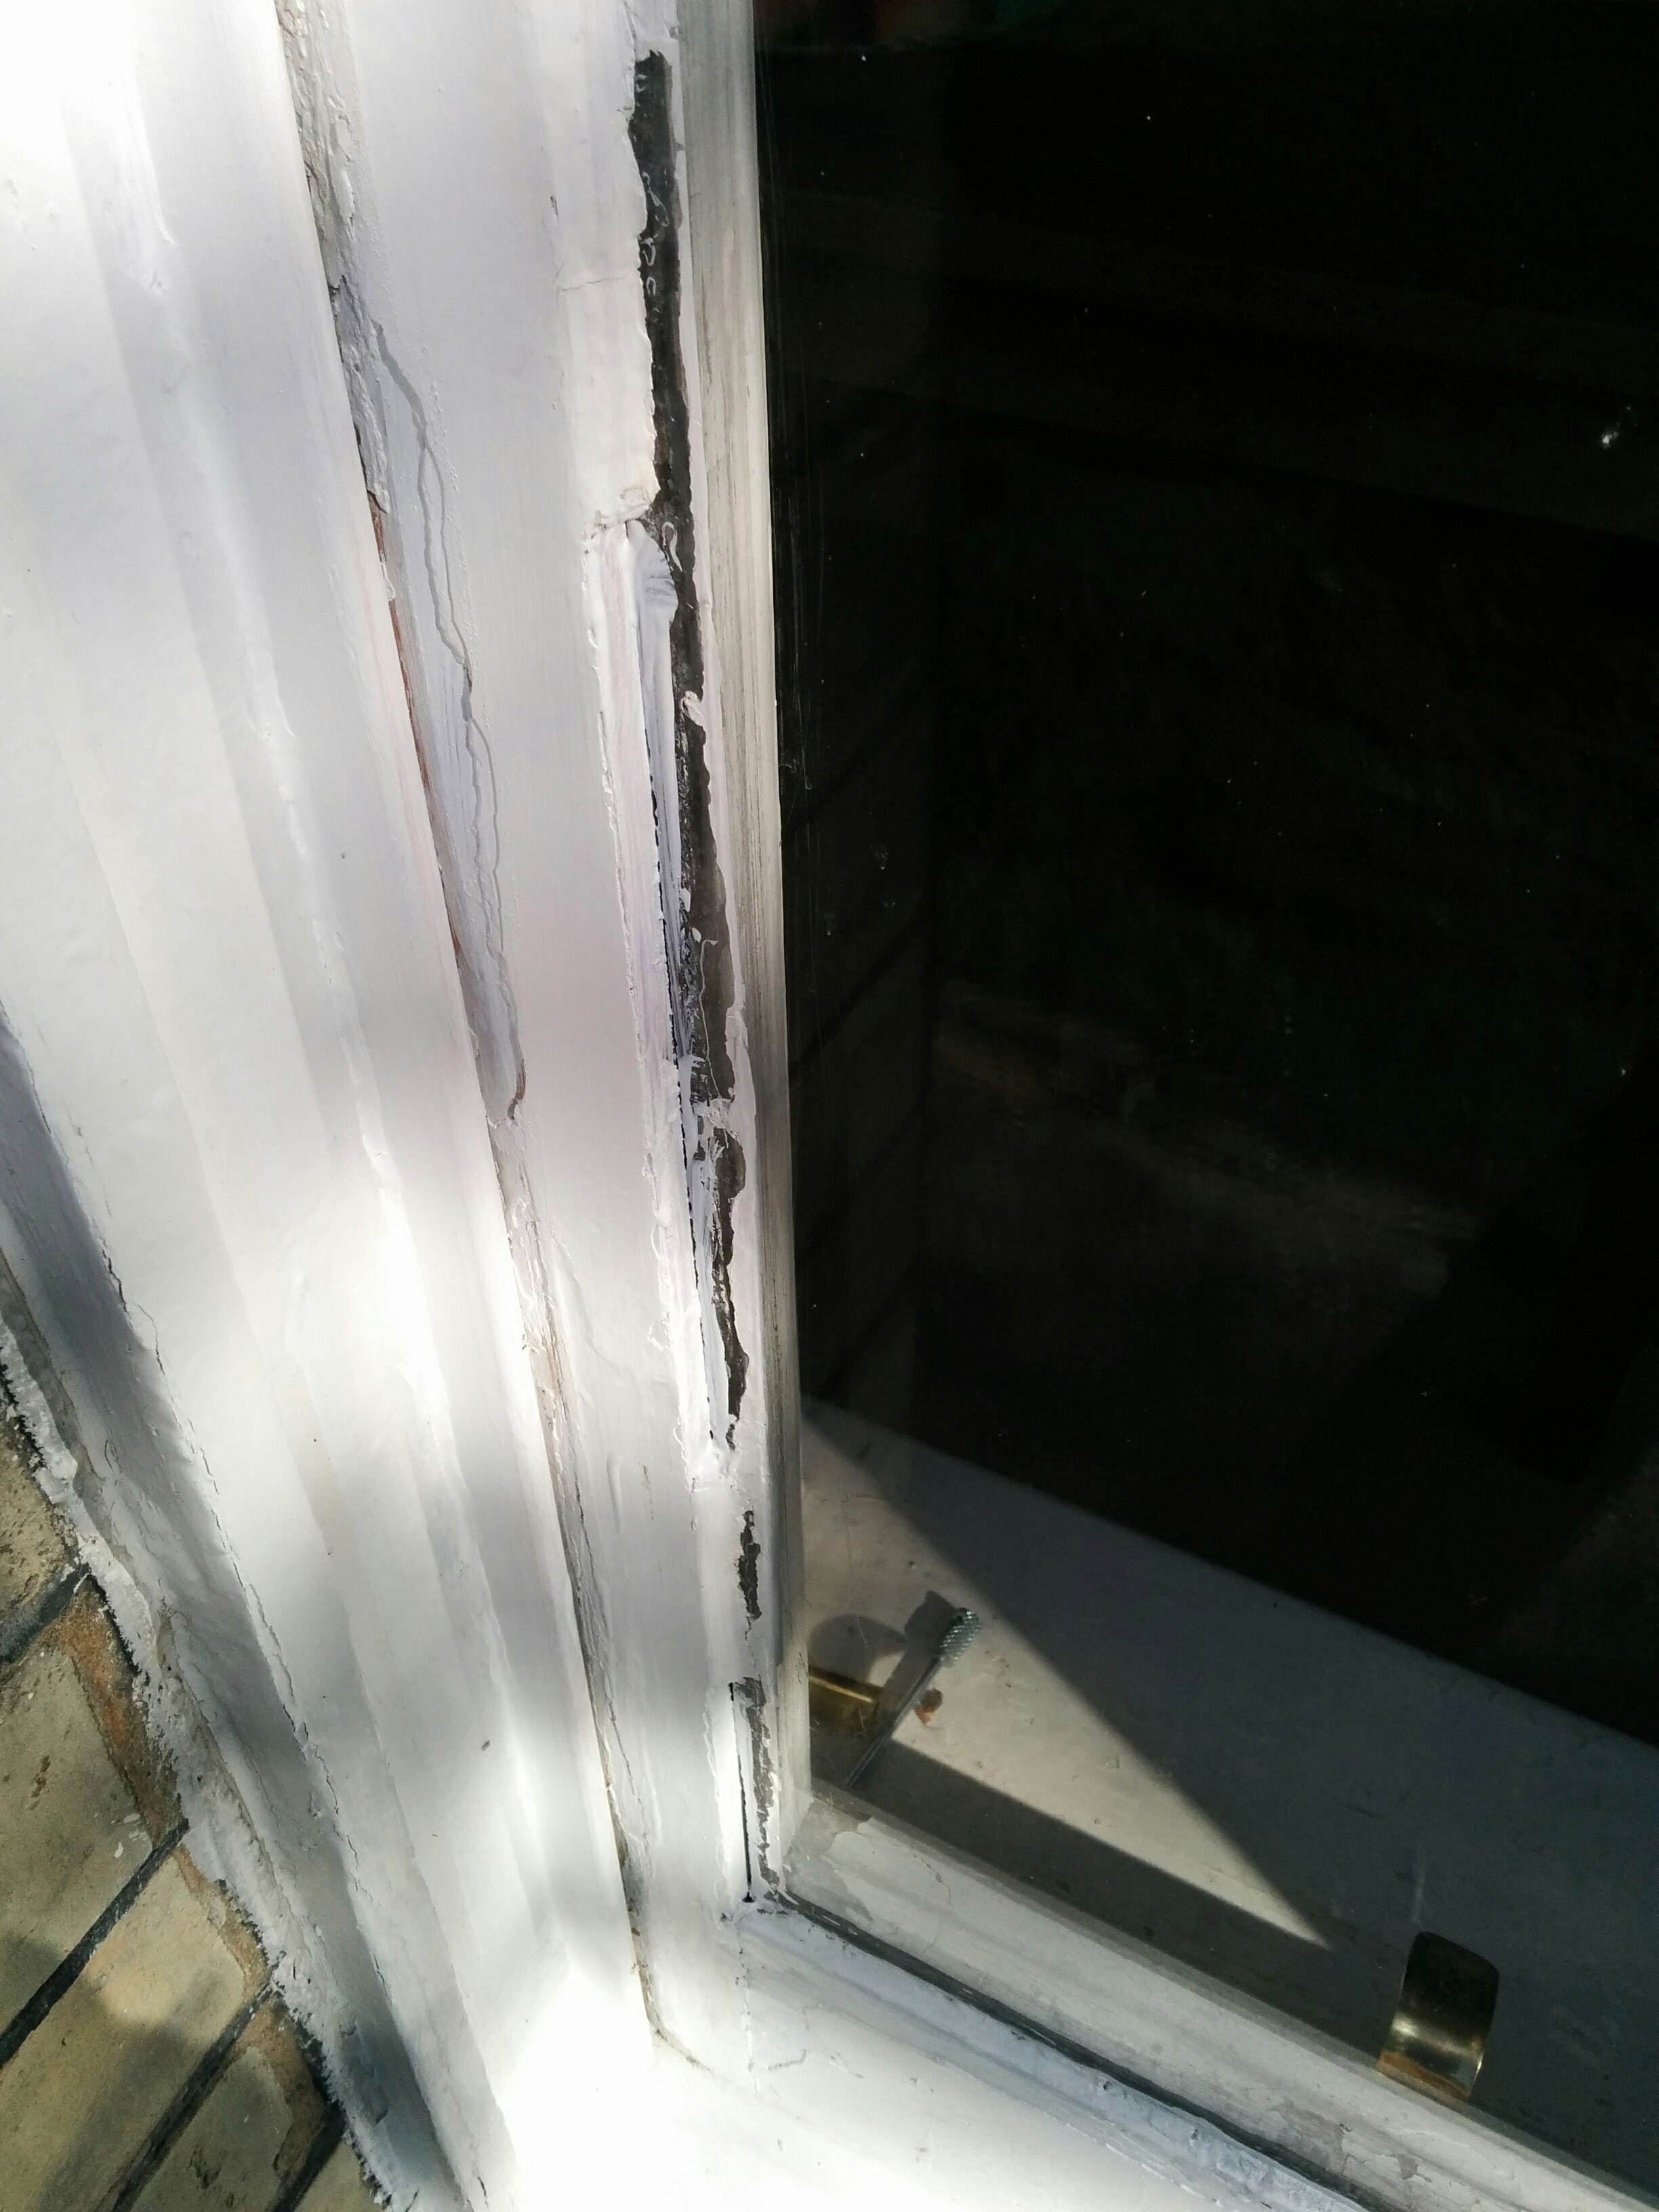
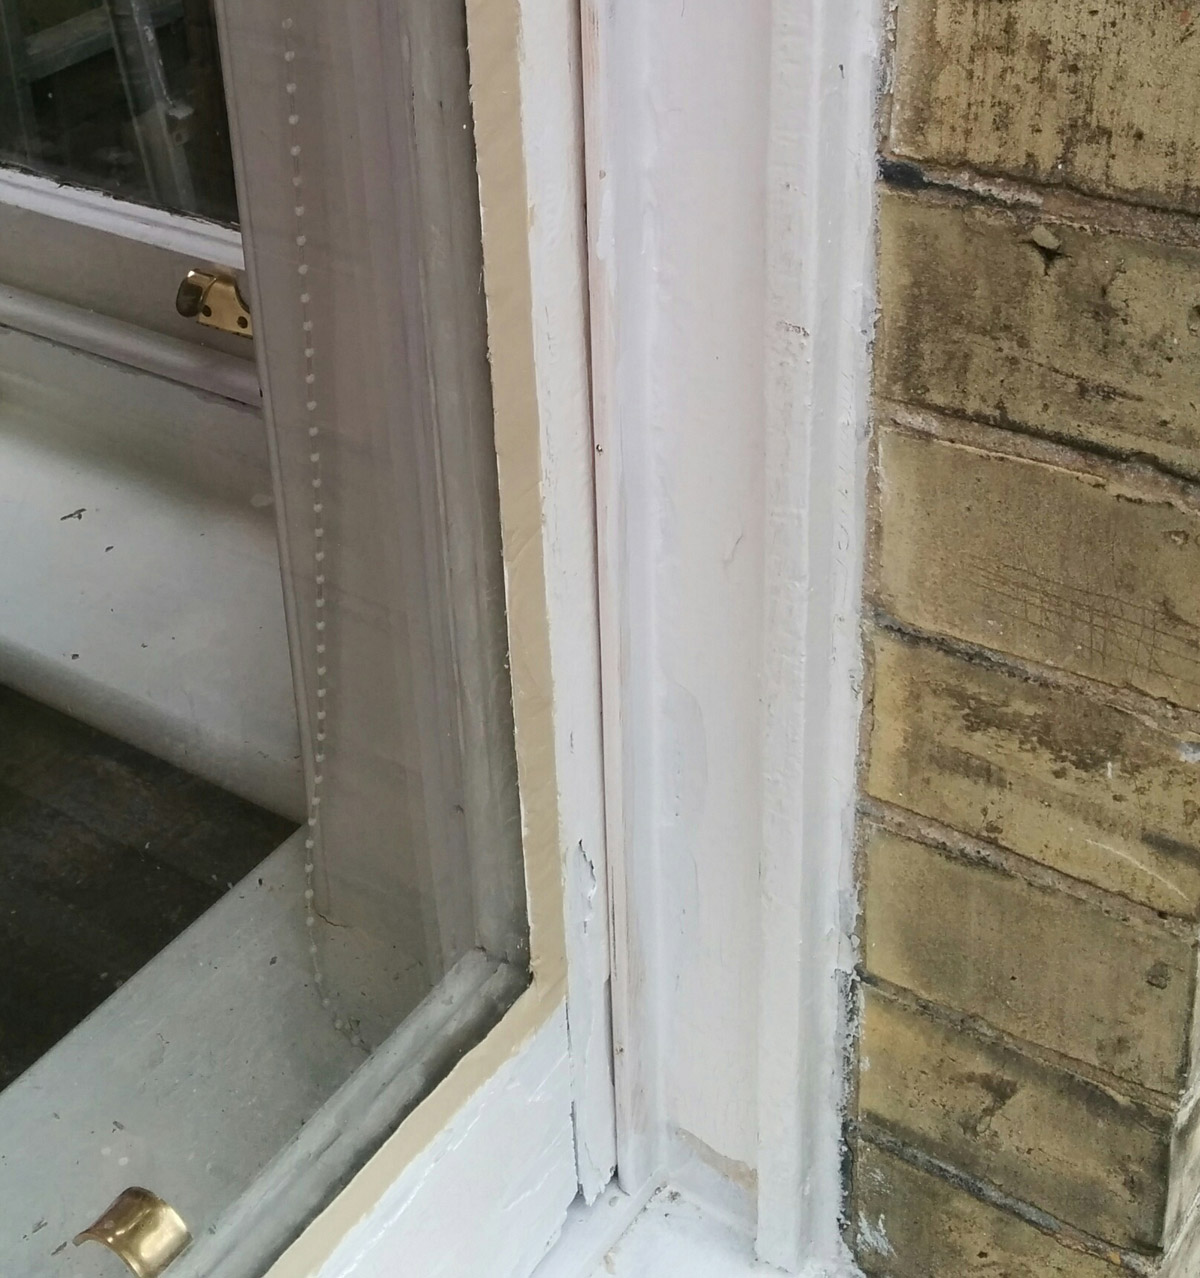
But actually once I cleaned up the mess, filled any holes and primed the surfaces, I could see the way through…
The putty is rather smelly, but nice to handle, like plasticine. I did find it very challenging to apply it smoothly though. Even with the putty knife, it kept coming away as I pressed it in. I think my skill improved a bit as I went along. Just practice I suppose. There are plenty of great videos on YouTube showing how to do this, but it wasn’t as easy as it looked!

I now have to leave it for a few days before painting, and according to the instructions the final top coat must be applied within 28 days.
Updates to come!
PS I learned a lesson – in future, remove engagement ring before rolling substance like putty around in hands.
Discover more from An Eastbourne Diary
Subscribe to get the latest posts sent to your email.
Be First to Comment