The greenhouse arrived a day early, flatpacked. The glass panes were separate.
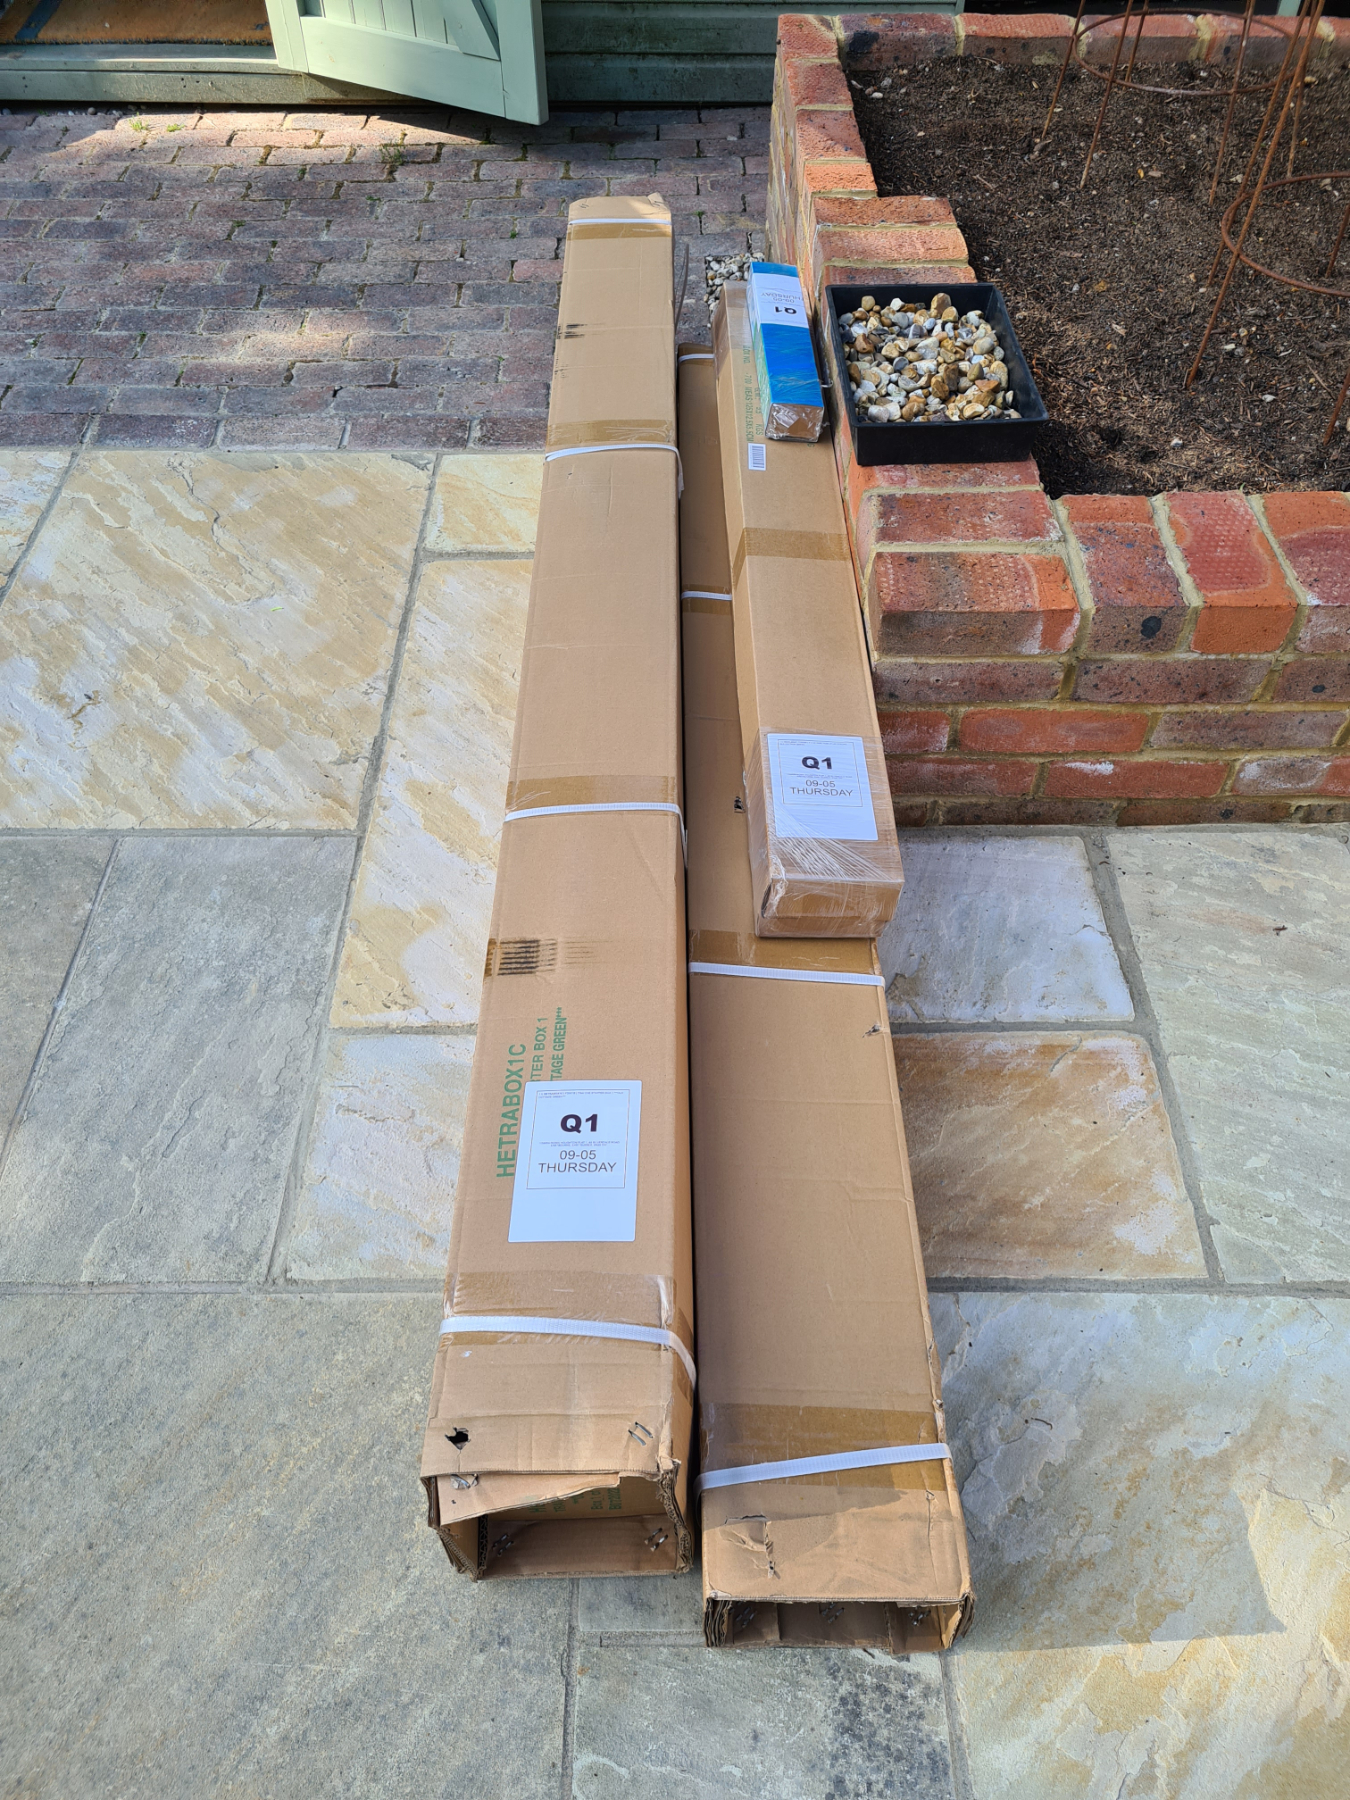
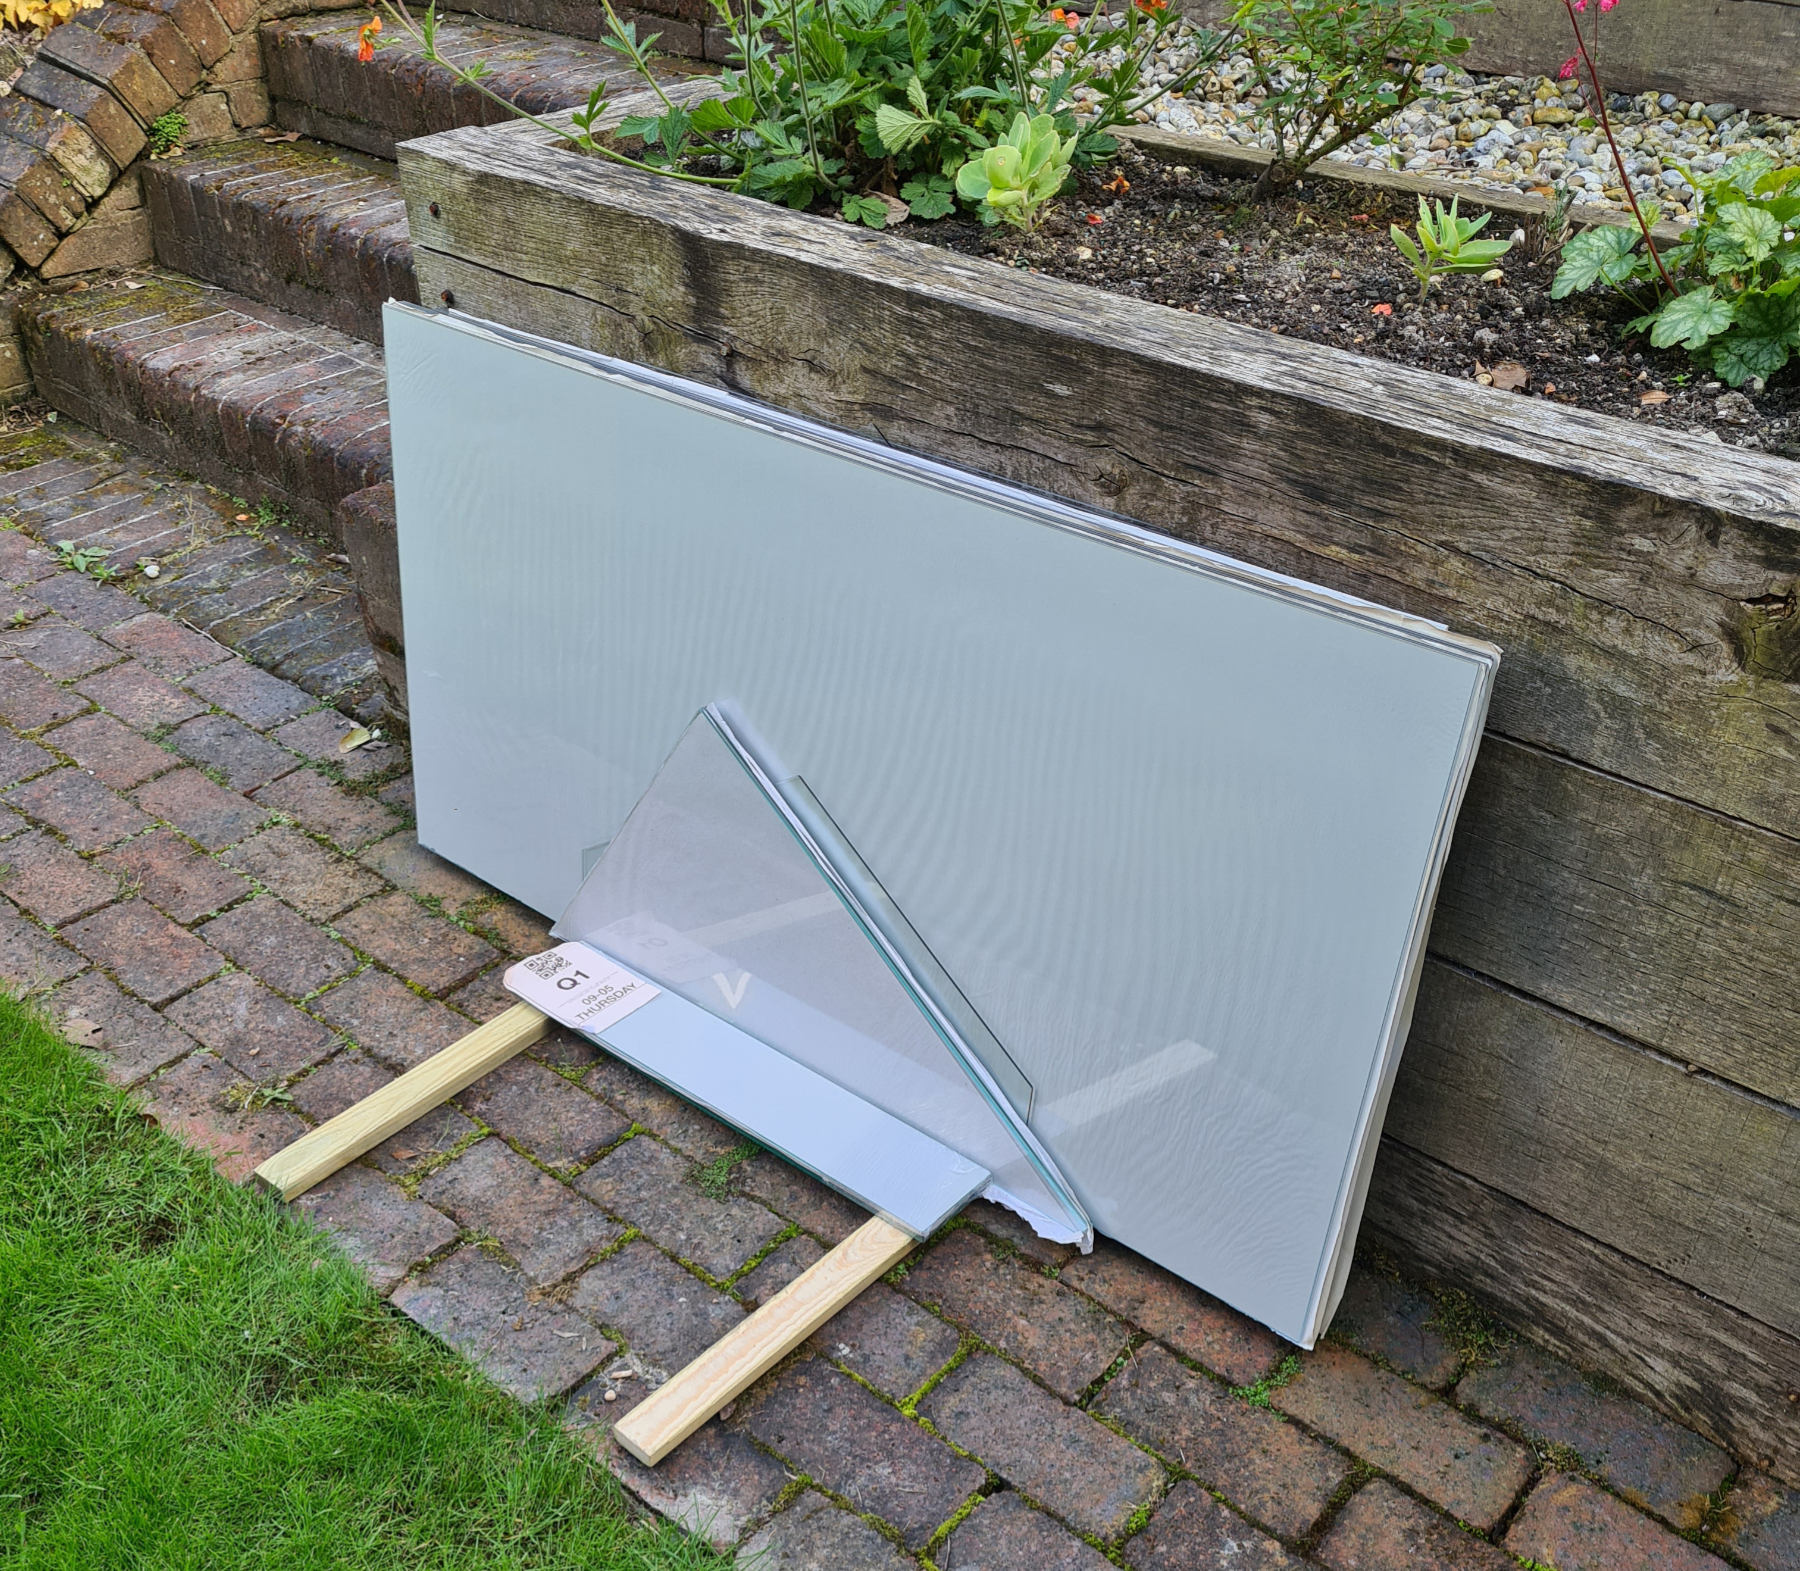
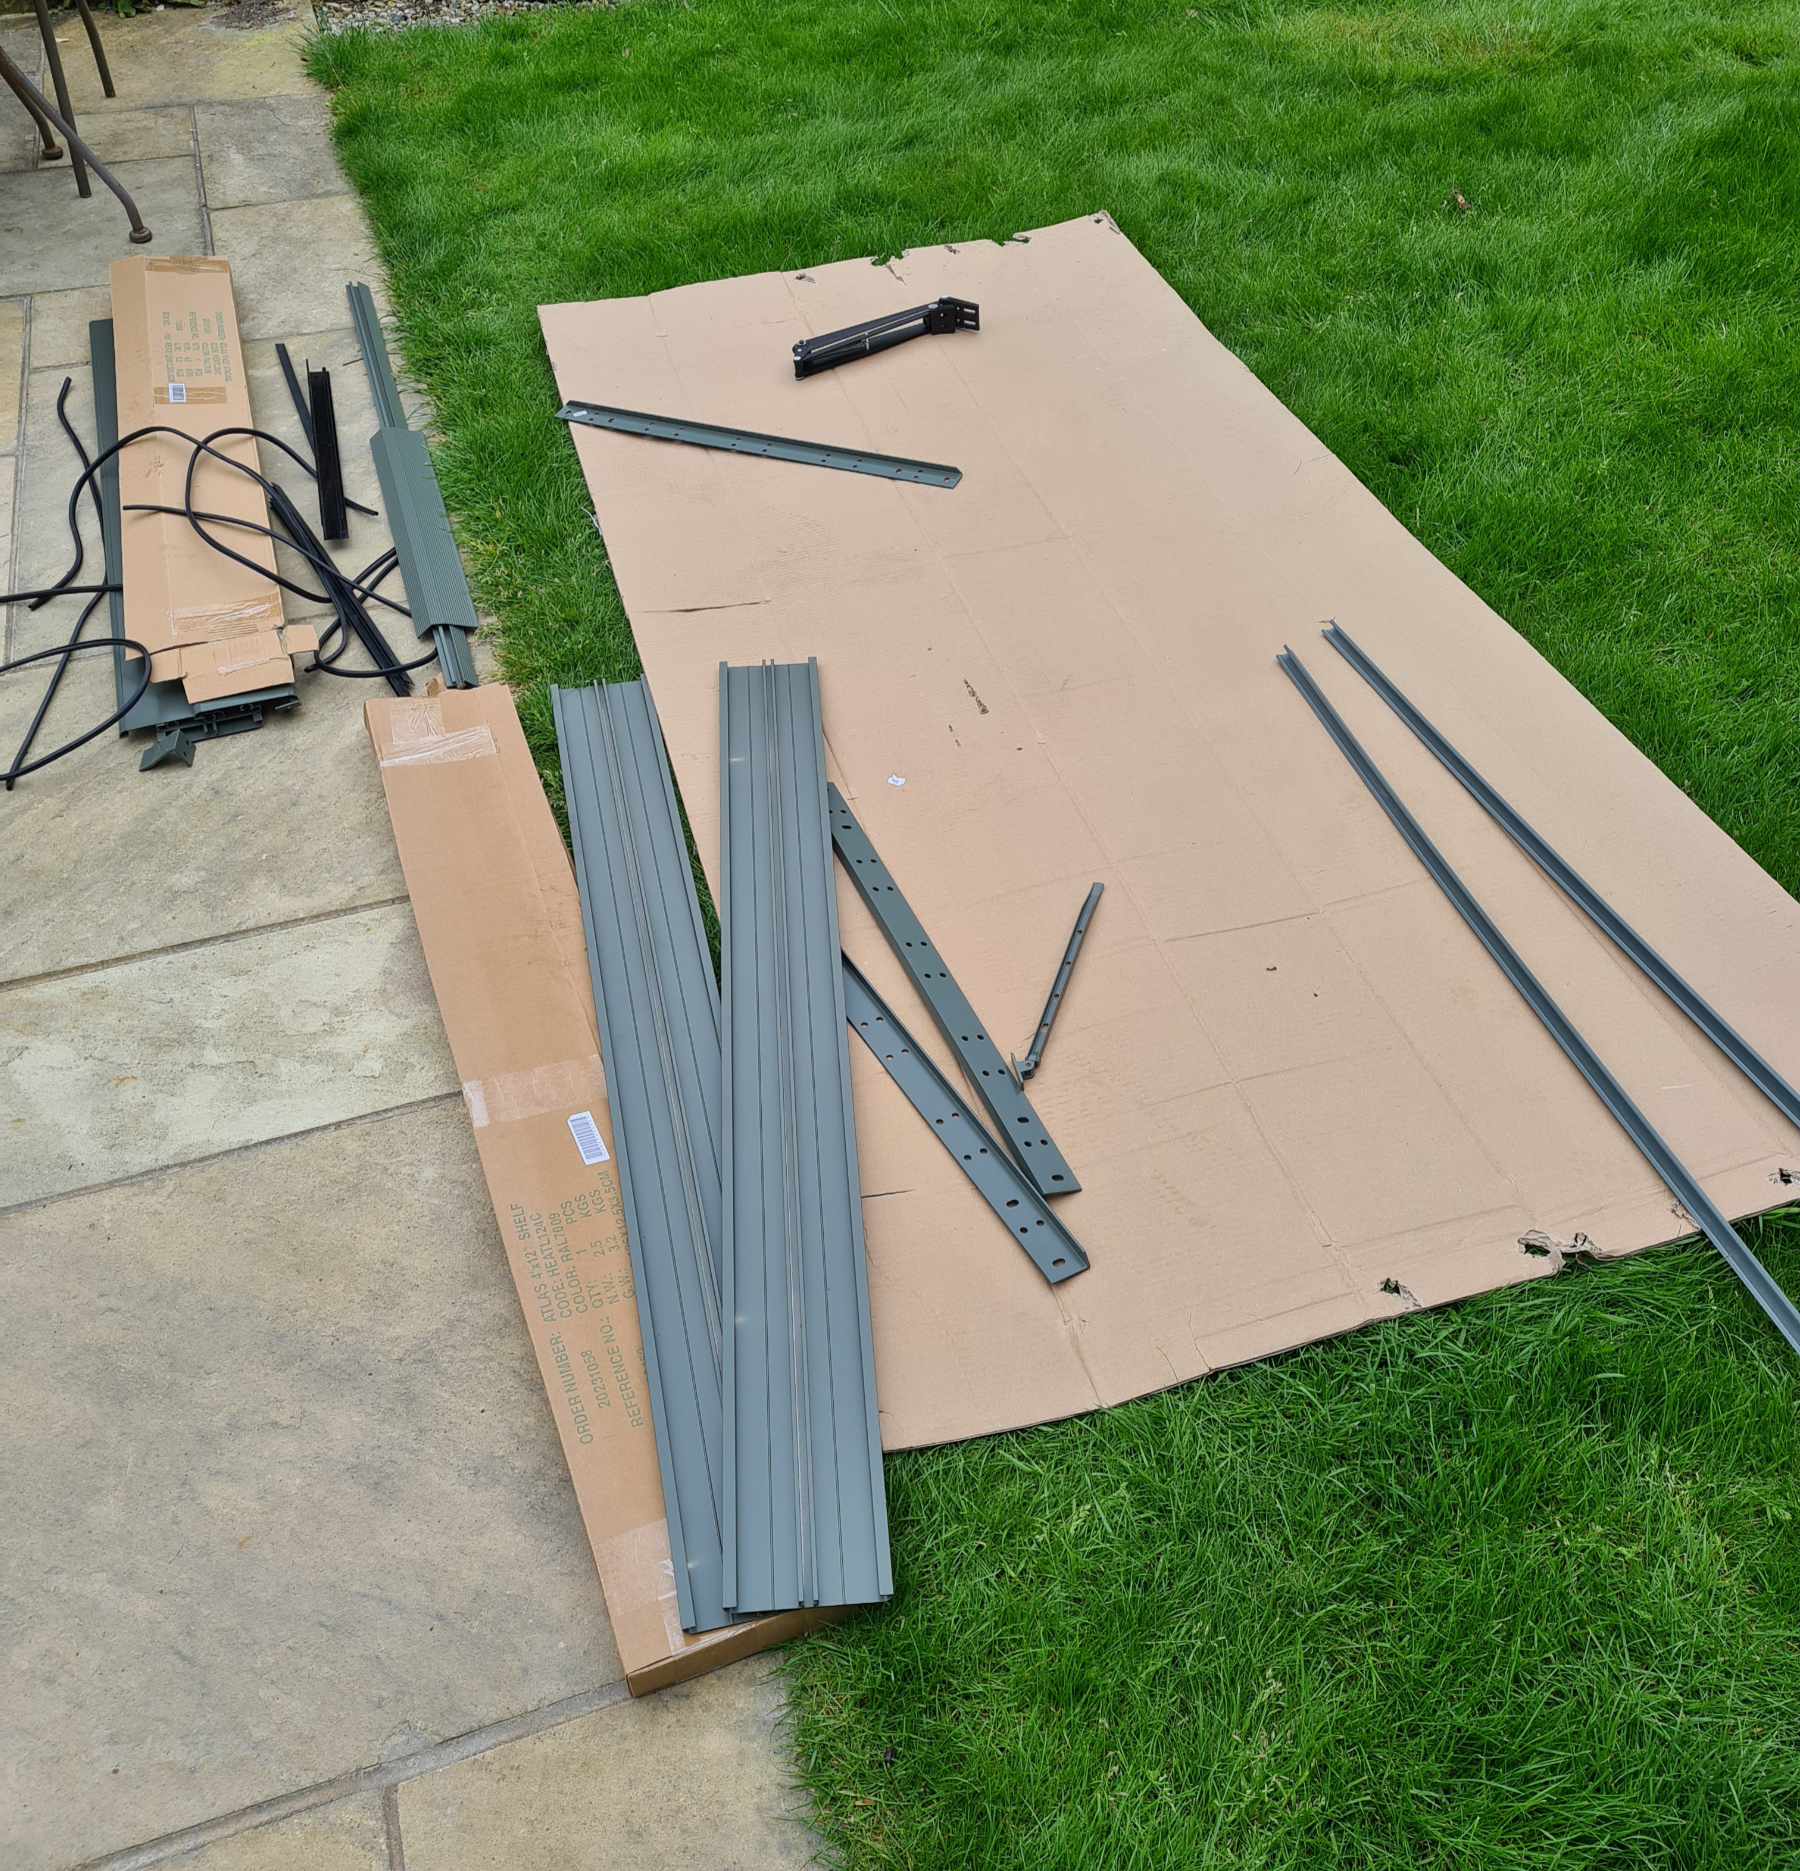
Doesn’t look like much, does it? I sent these pics to Nick who replied “is that it? I expect it up before I get home!” And there are actually 36 panes of glass in that pile…
The instruction manual was forty pages long, with a list of components that we consulted many times when trying to identify parts!

Day 1
There were a couple of dry days forecast so the time was perfect to get stuck in. There were three main boxes, and the instructions were to only open boxes one at a time, rather than get everything out at once. Each box contained a number of polythene-wrapped packages that were also numbered: one for each side, one for the door, etc. Each polythene package contained all the pieces of that part of the frame, plus a zillion nuts, screws and other tiny bits that looked almost the same but weren’t. Being more inclined to follow instructions that is Nick, I sat and went through each list and made him count all the parts before starting assembly. Start as you mean to go on!
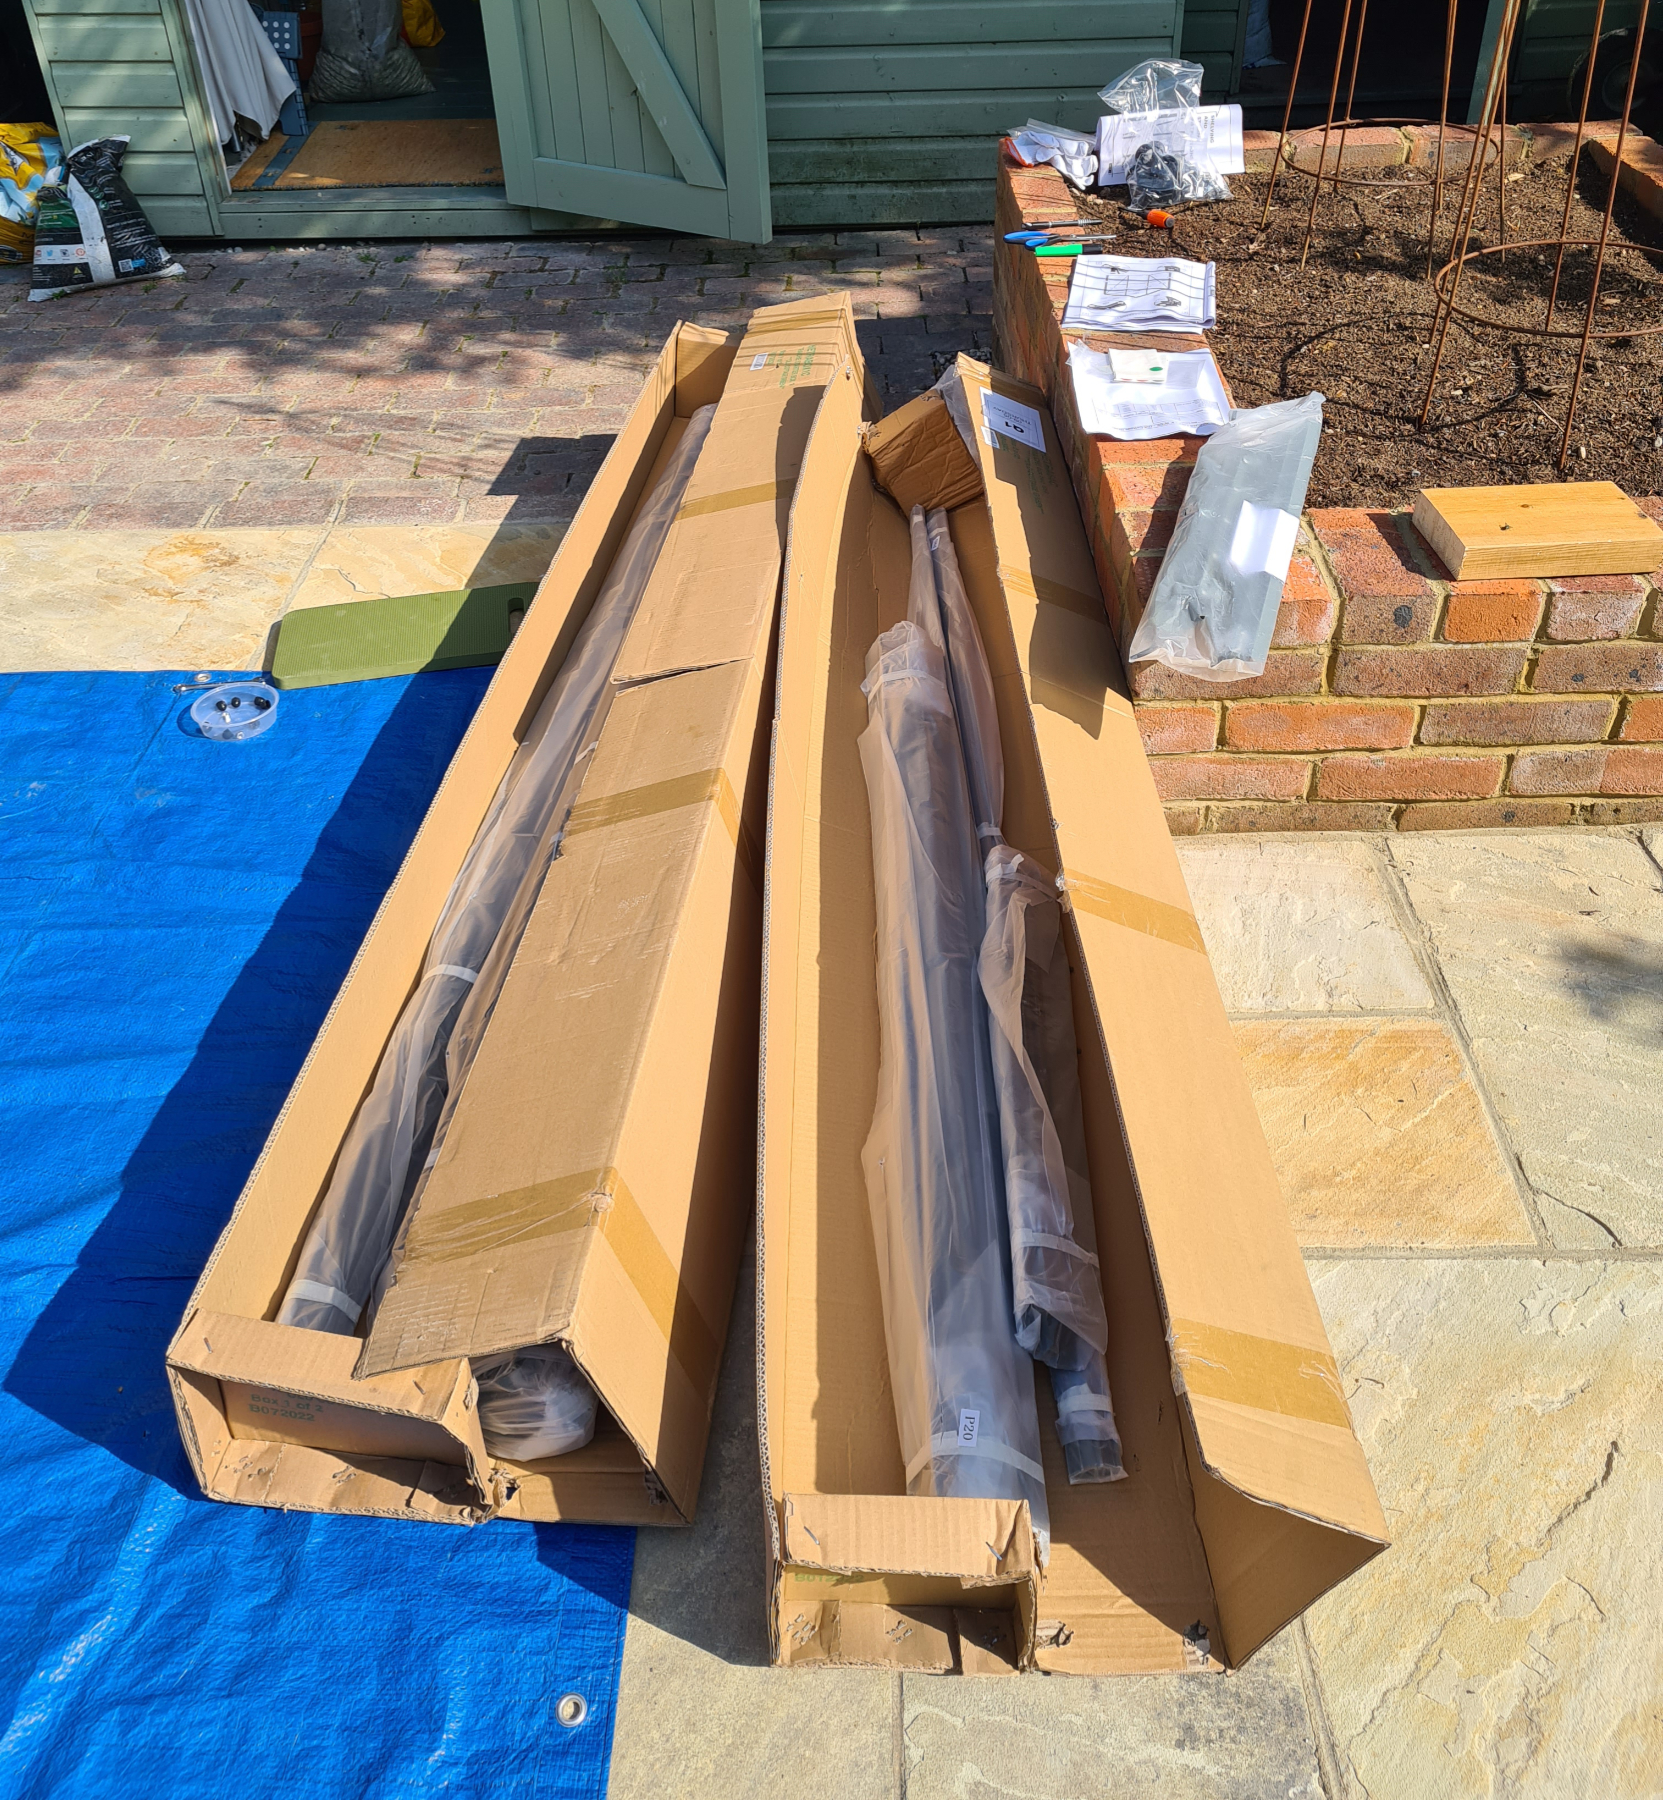
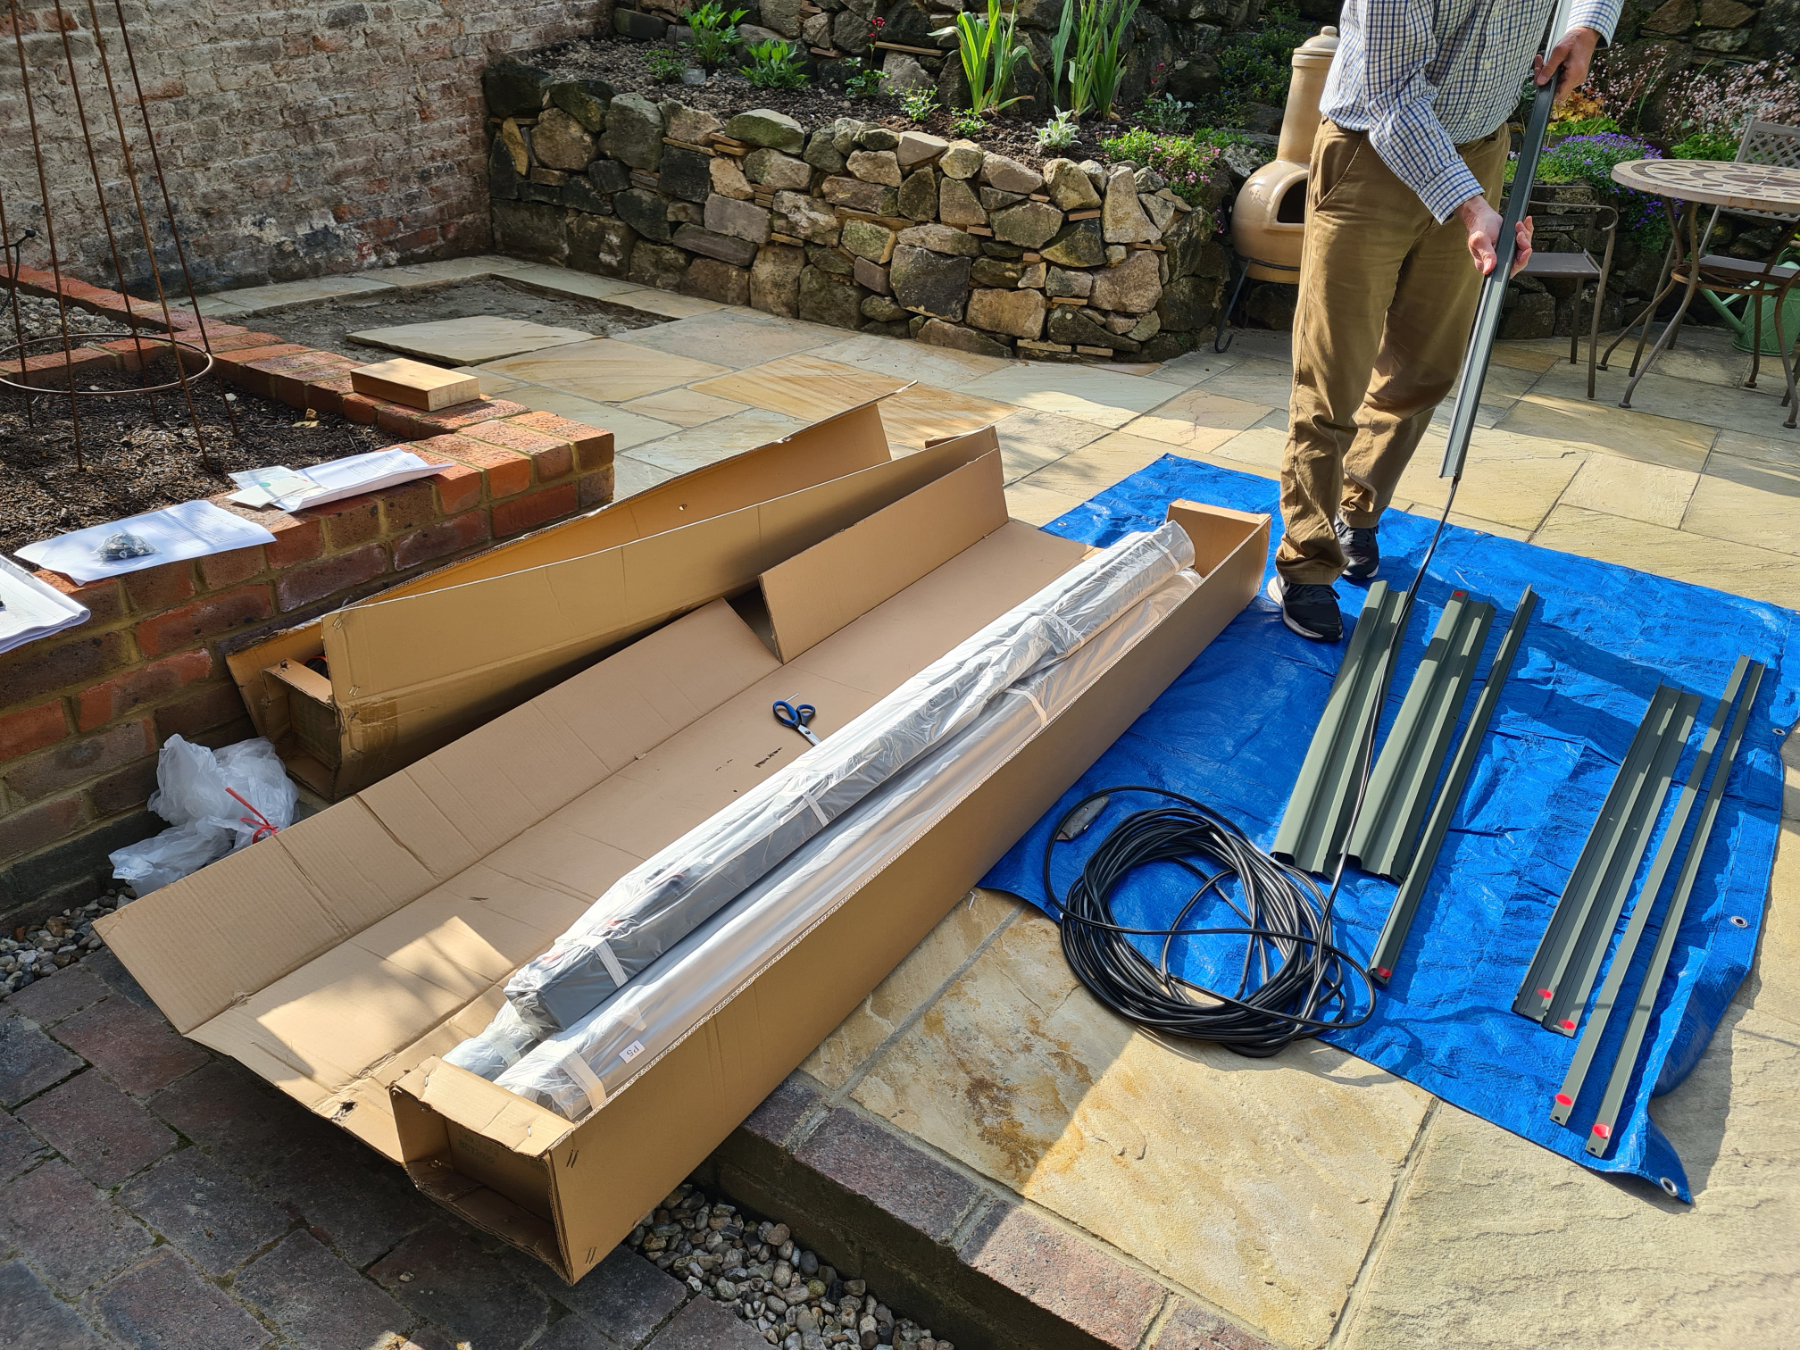
That coil of rubber is what has to go between each pane of glass and the frame, so you insert it and cut it to size as you go.
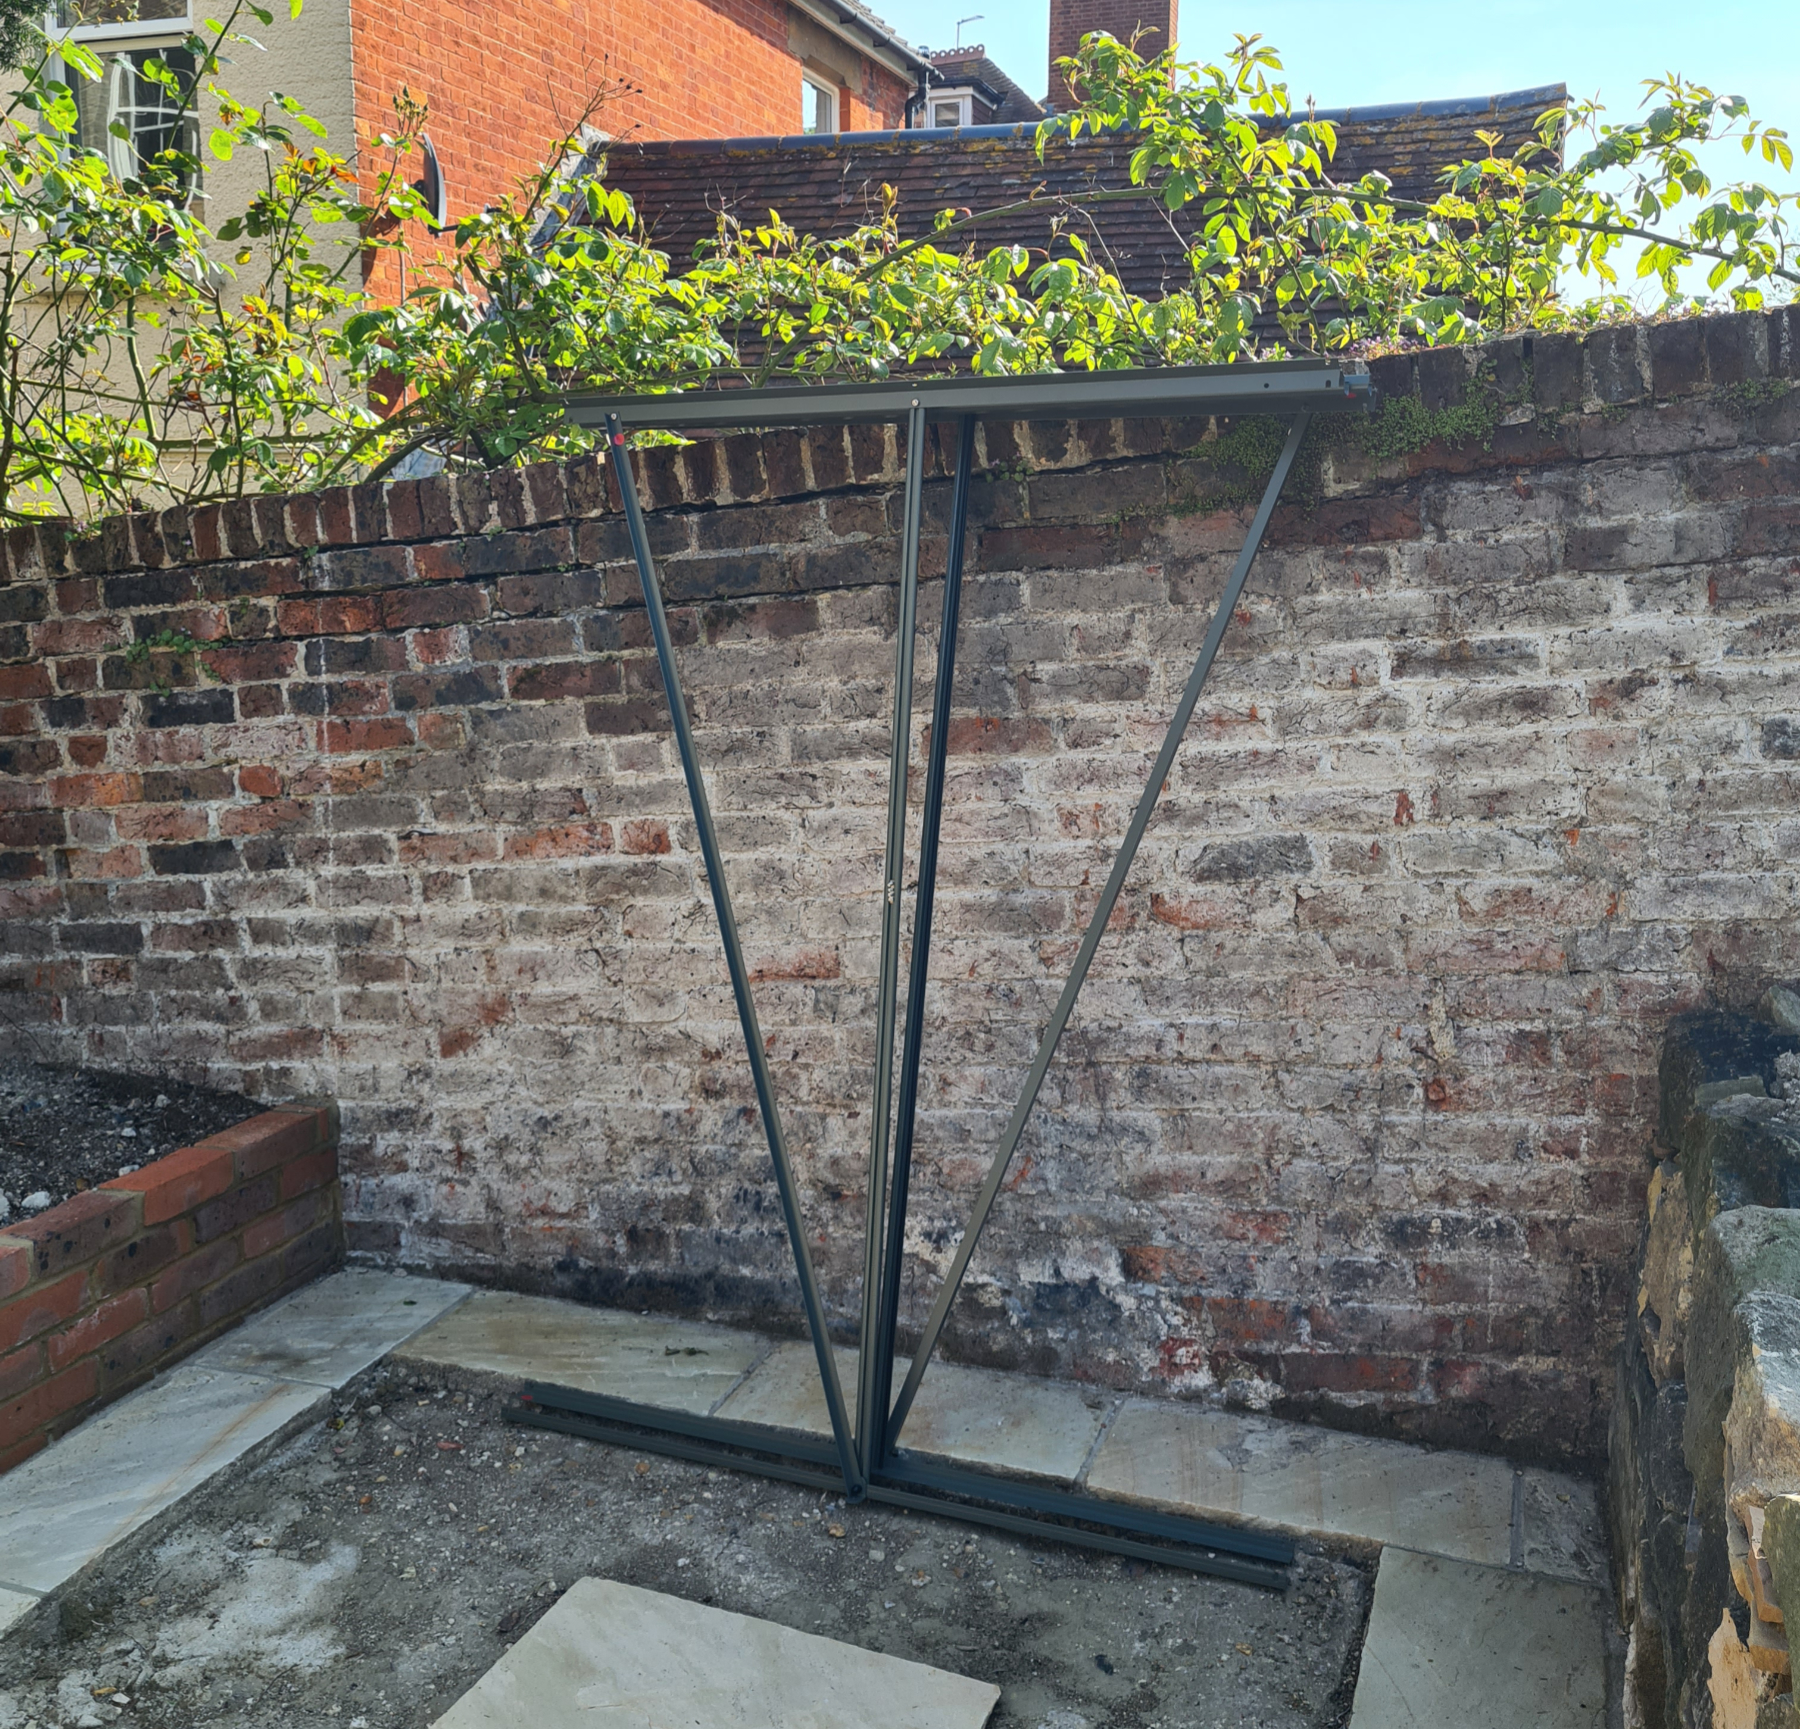
The first things to put together were the sides. Being a 4-foot deep greenhouse, this was a quick win. But the front and back were a bit trickier.
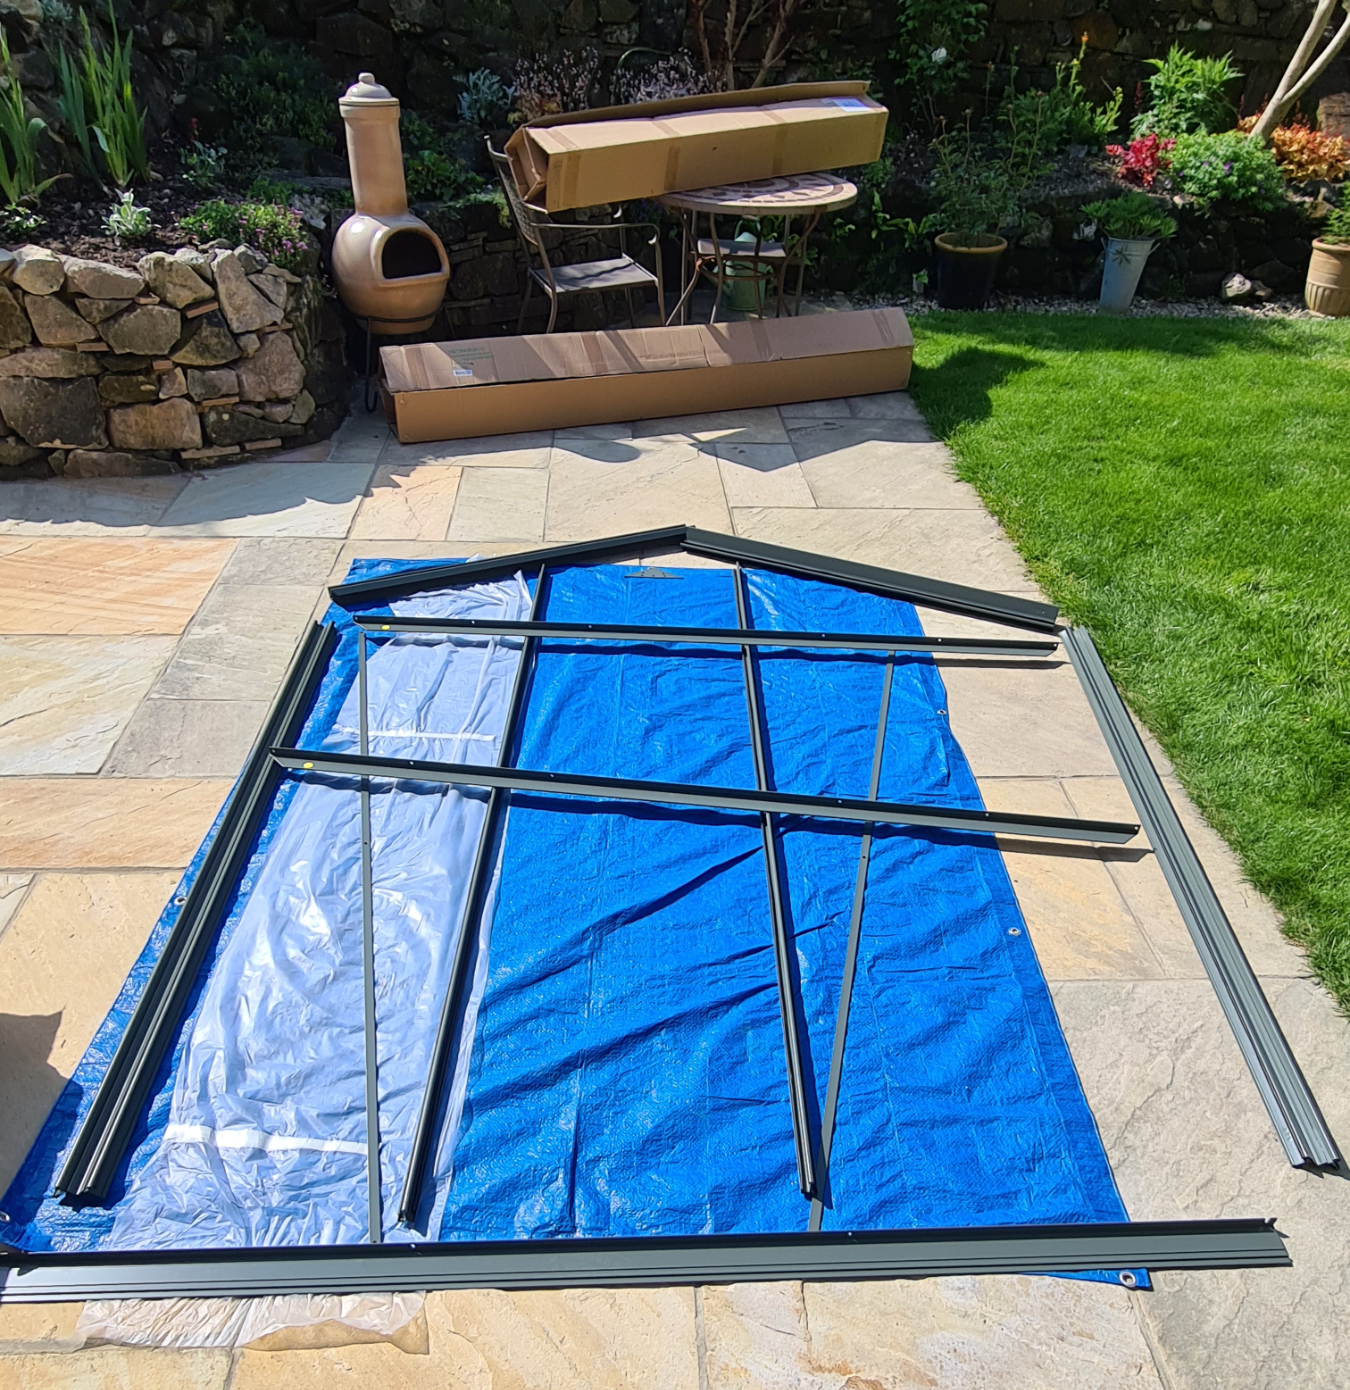
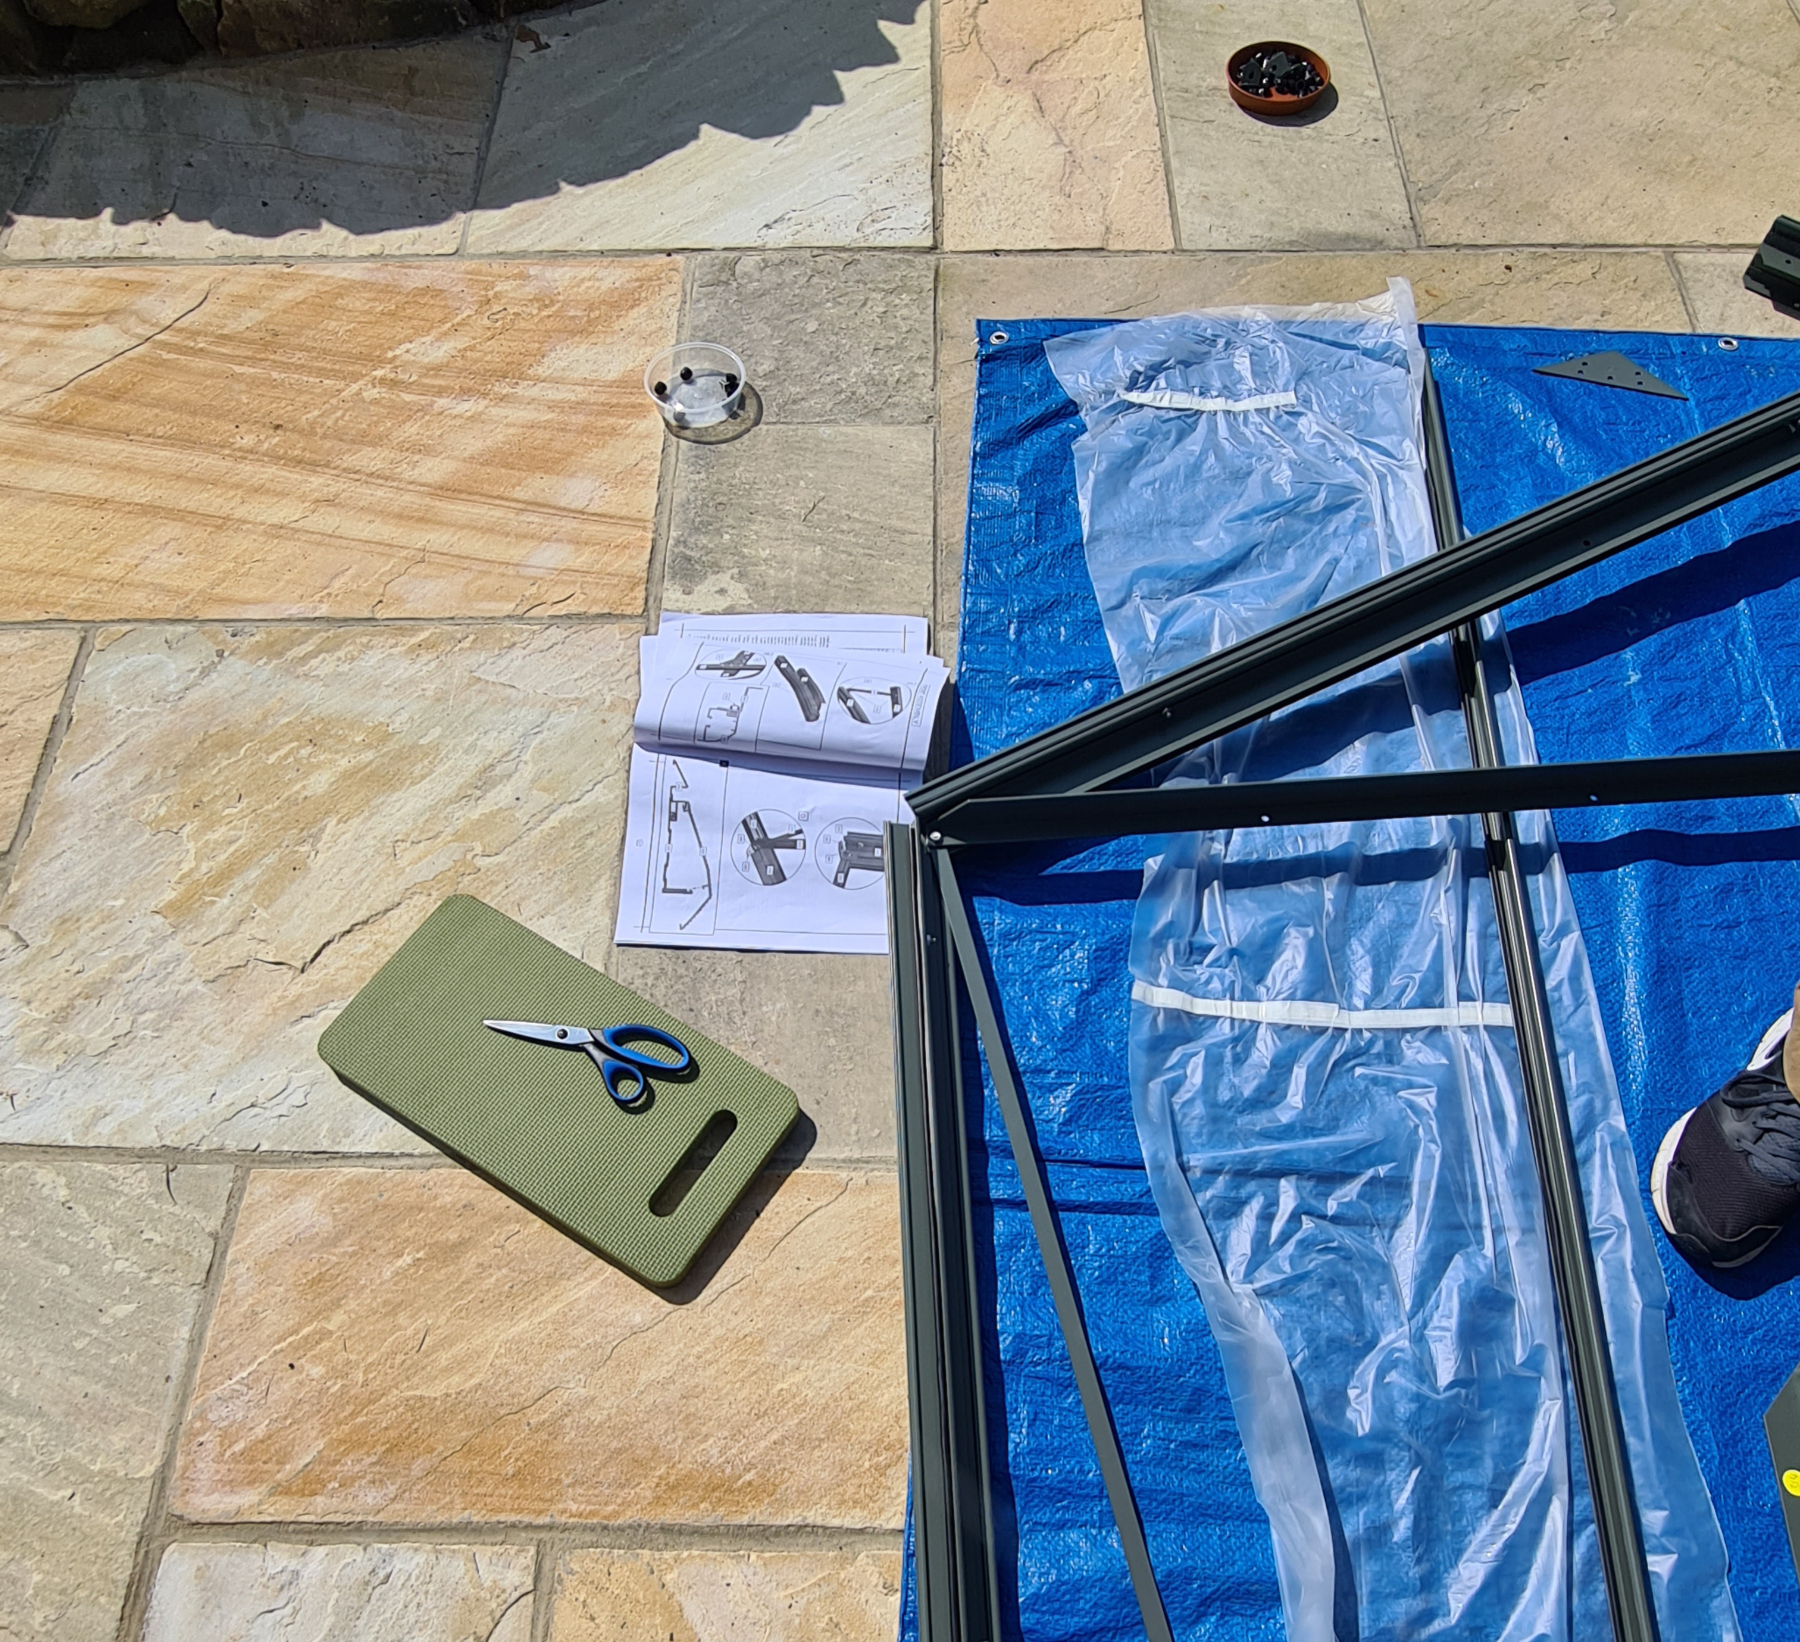
I was glad of my gardening kneeler pad. Day one was all about the kneeling.
By now re realised that WD40 would make it much quicker to side the rubber seals into all the channels where the glass would go. So we took a break to go buy some, which meant by the end of Day One this was as far as we’d got.
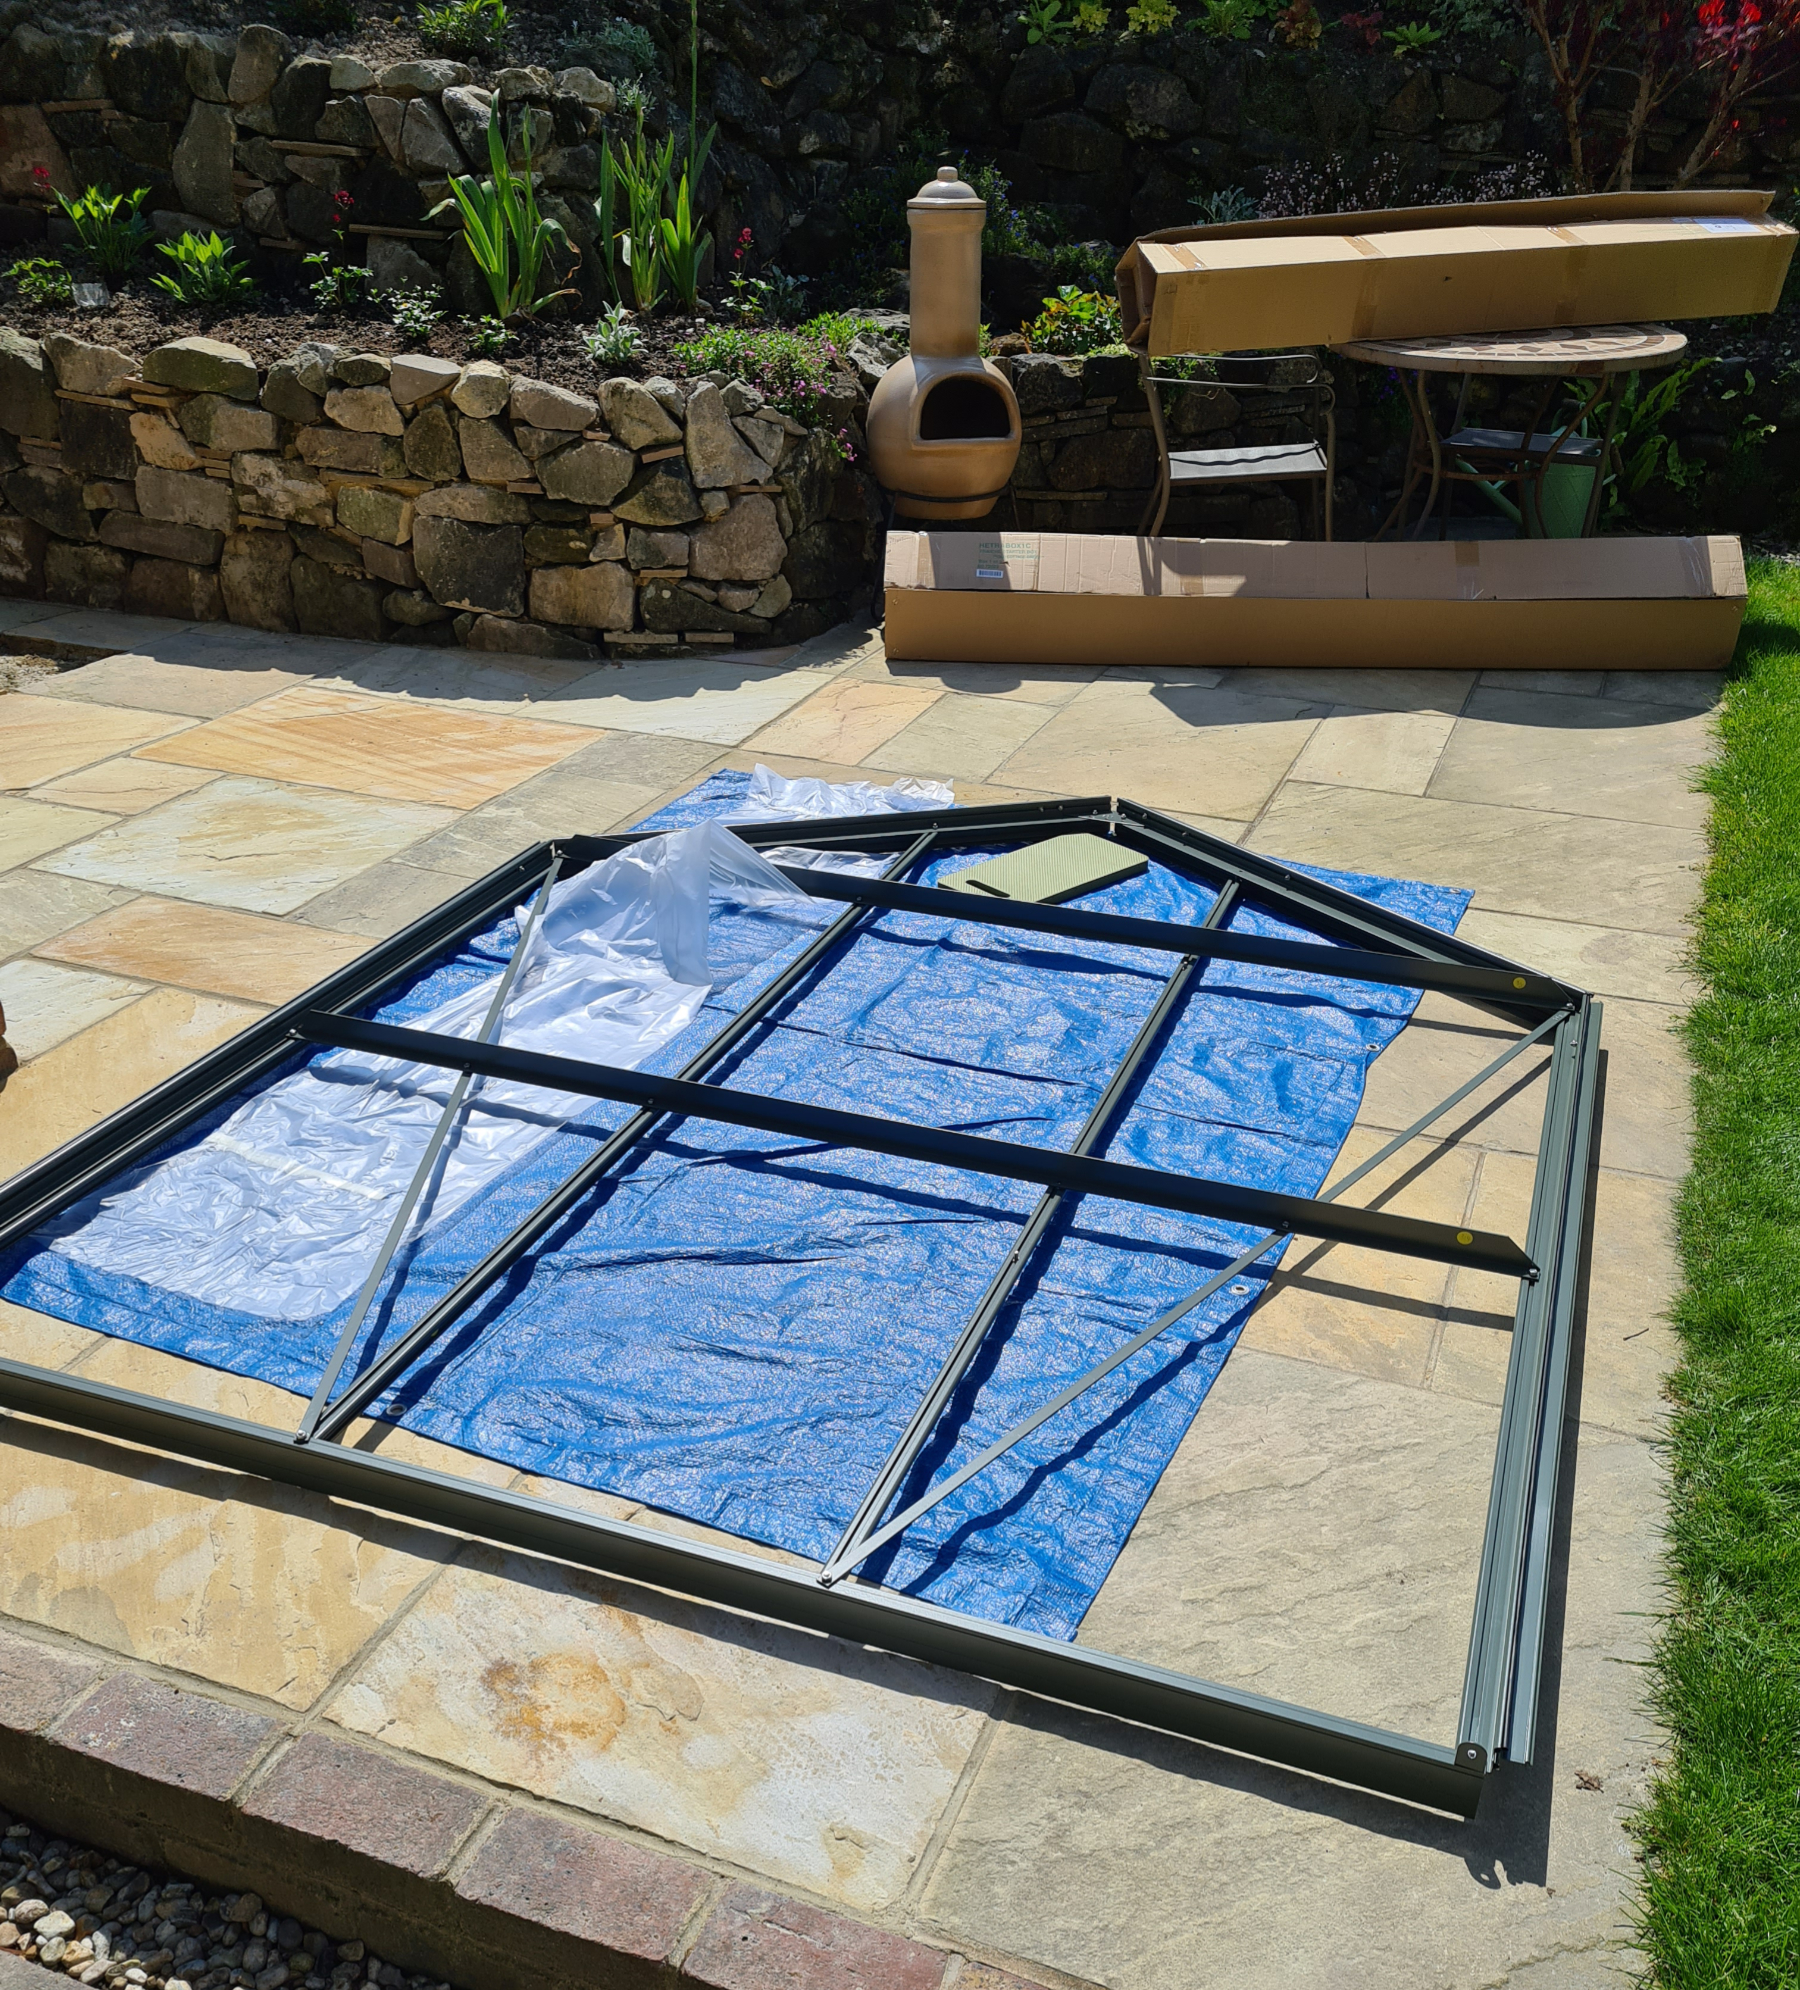
Day Two
More sunshine! Yay! It turned out we were undertaking full-on manual labour on the three hottest days of the year. We started early. First job: the door.

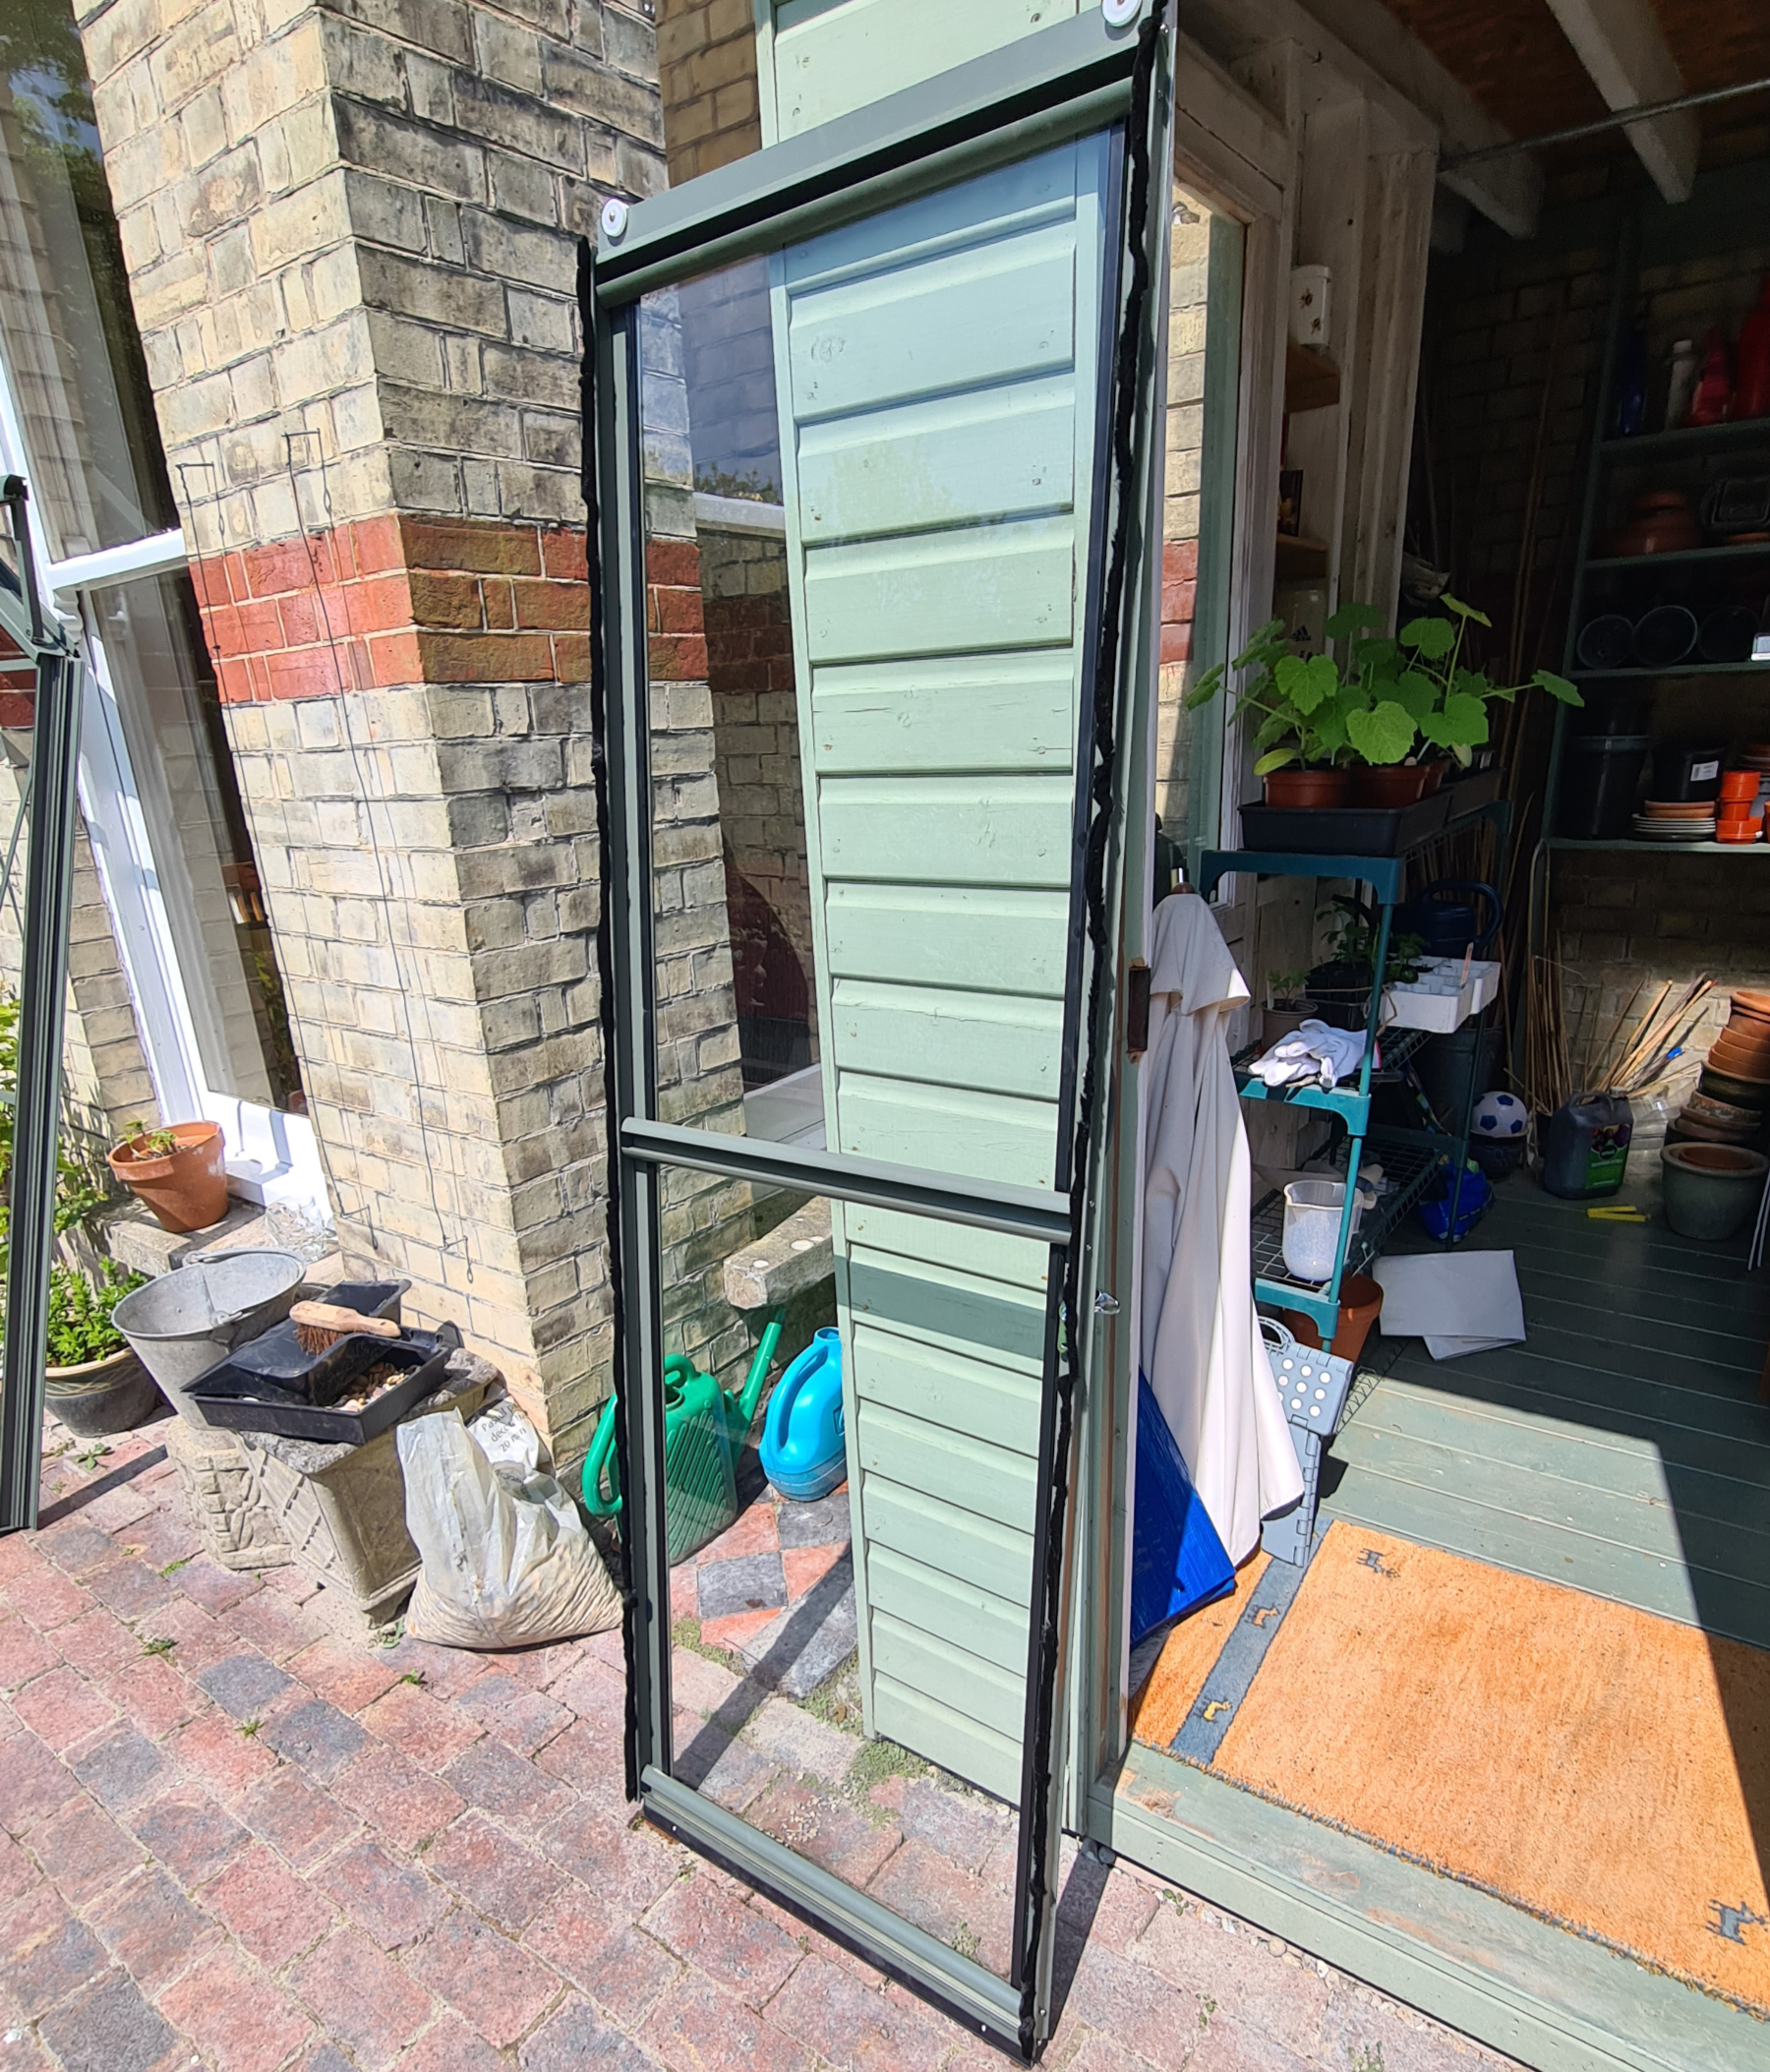
We set it aside, as the door only gets fitted once the structure is up and glazed.
So now to the front…
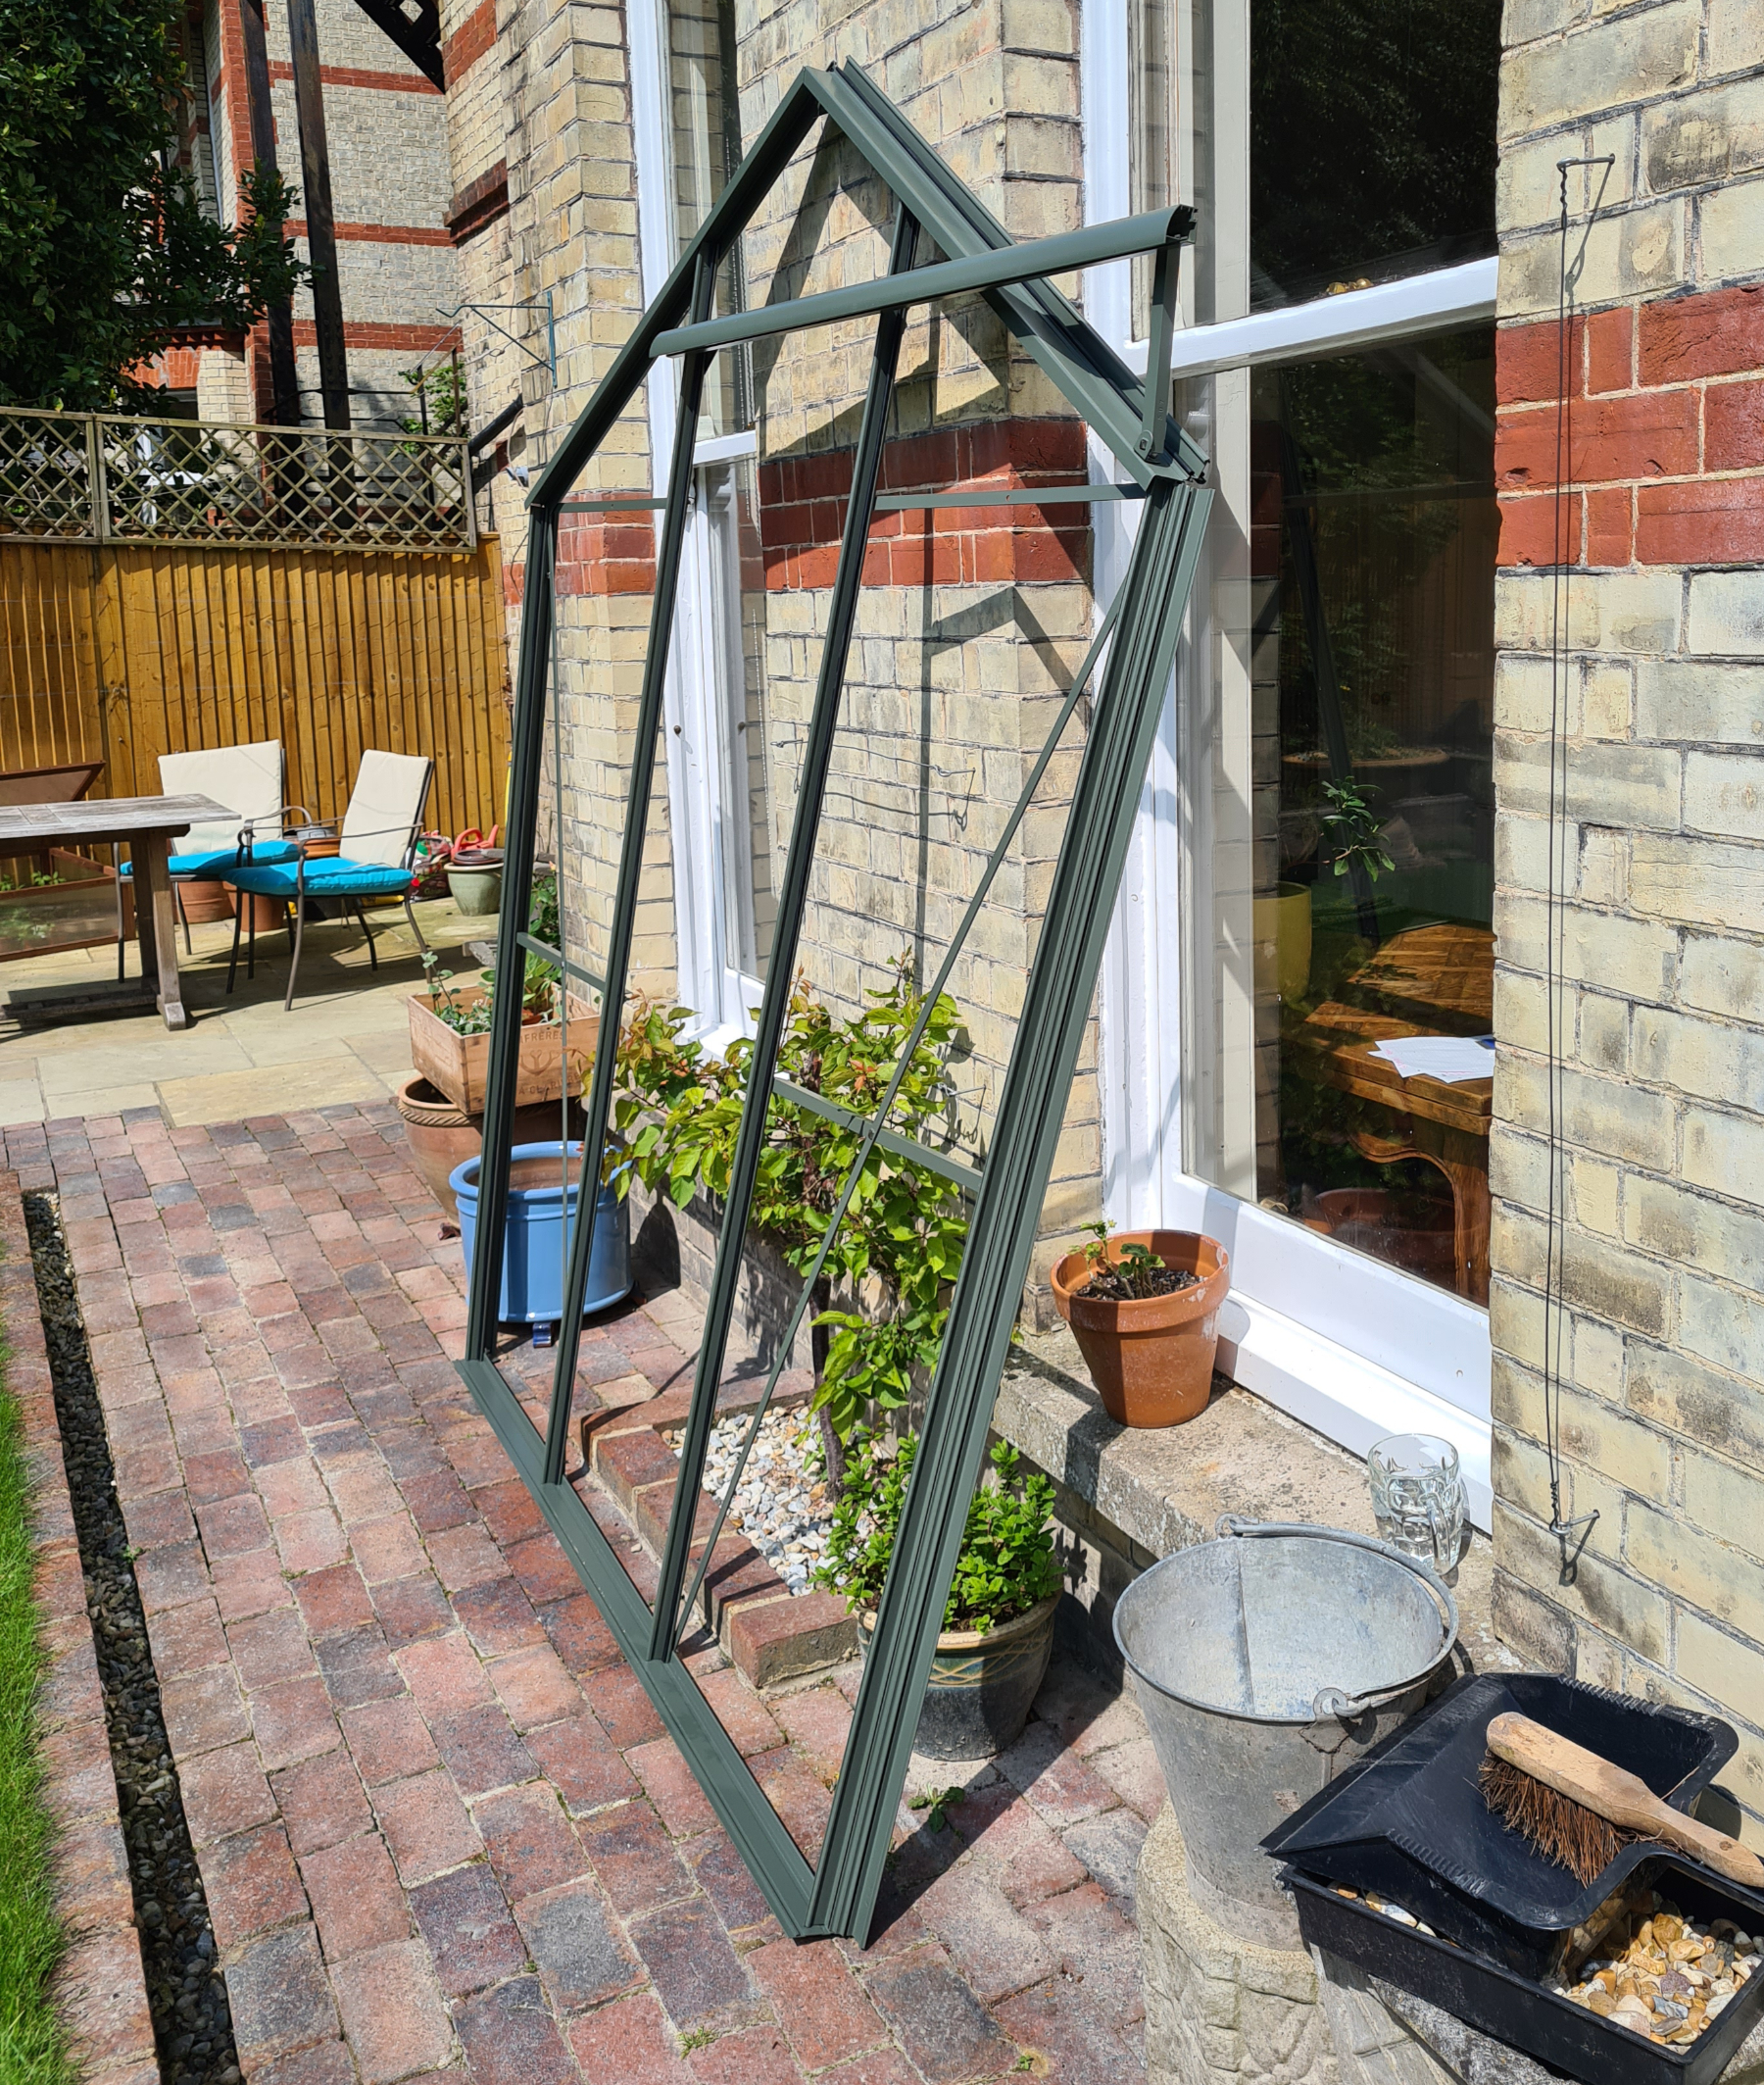
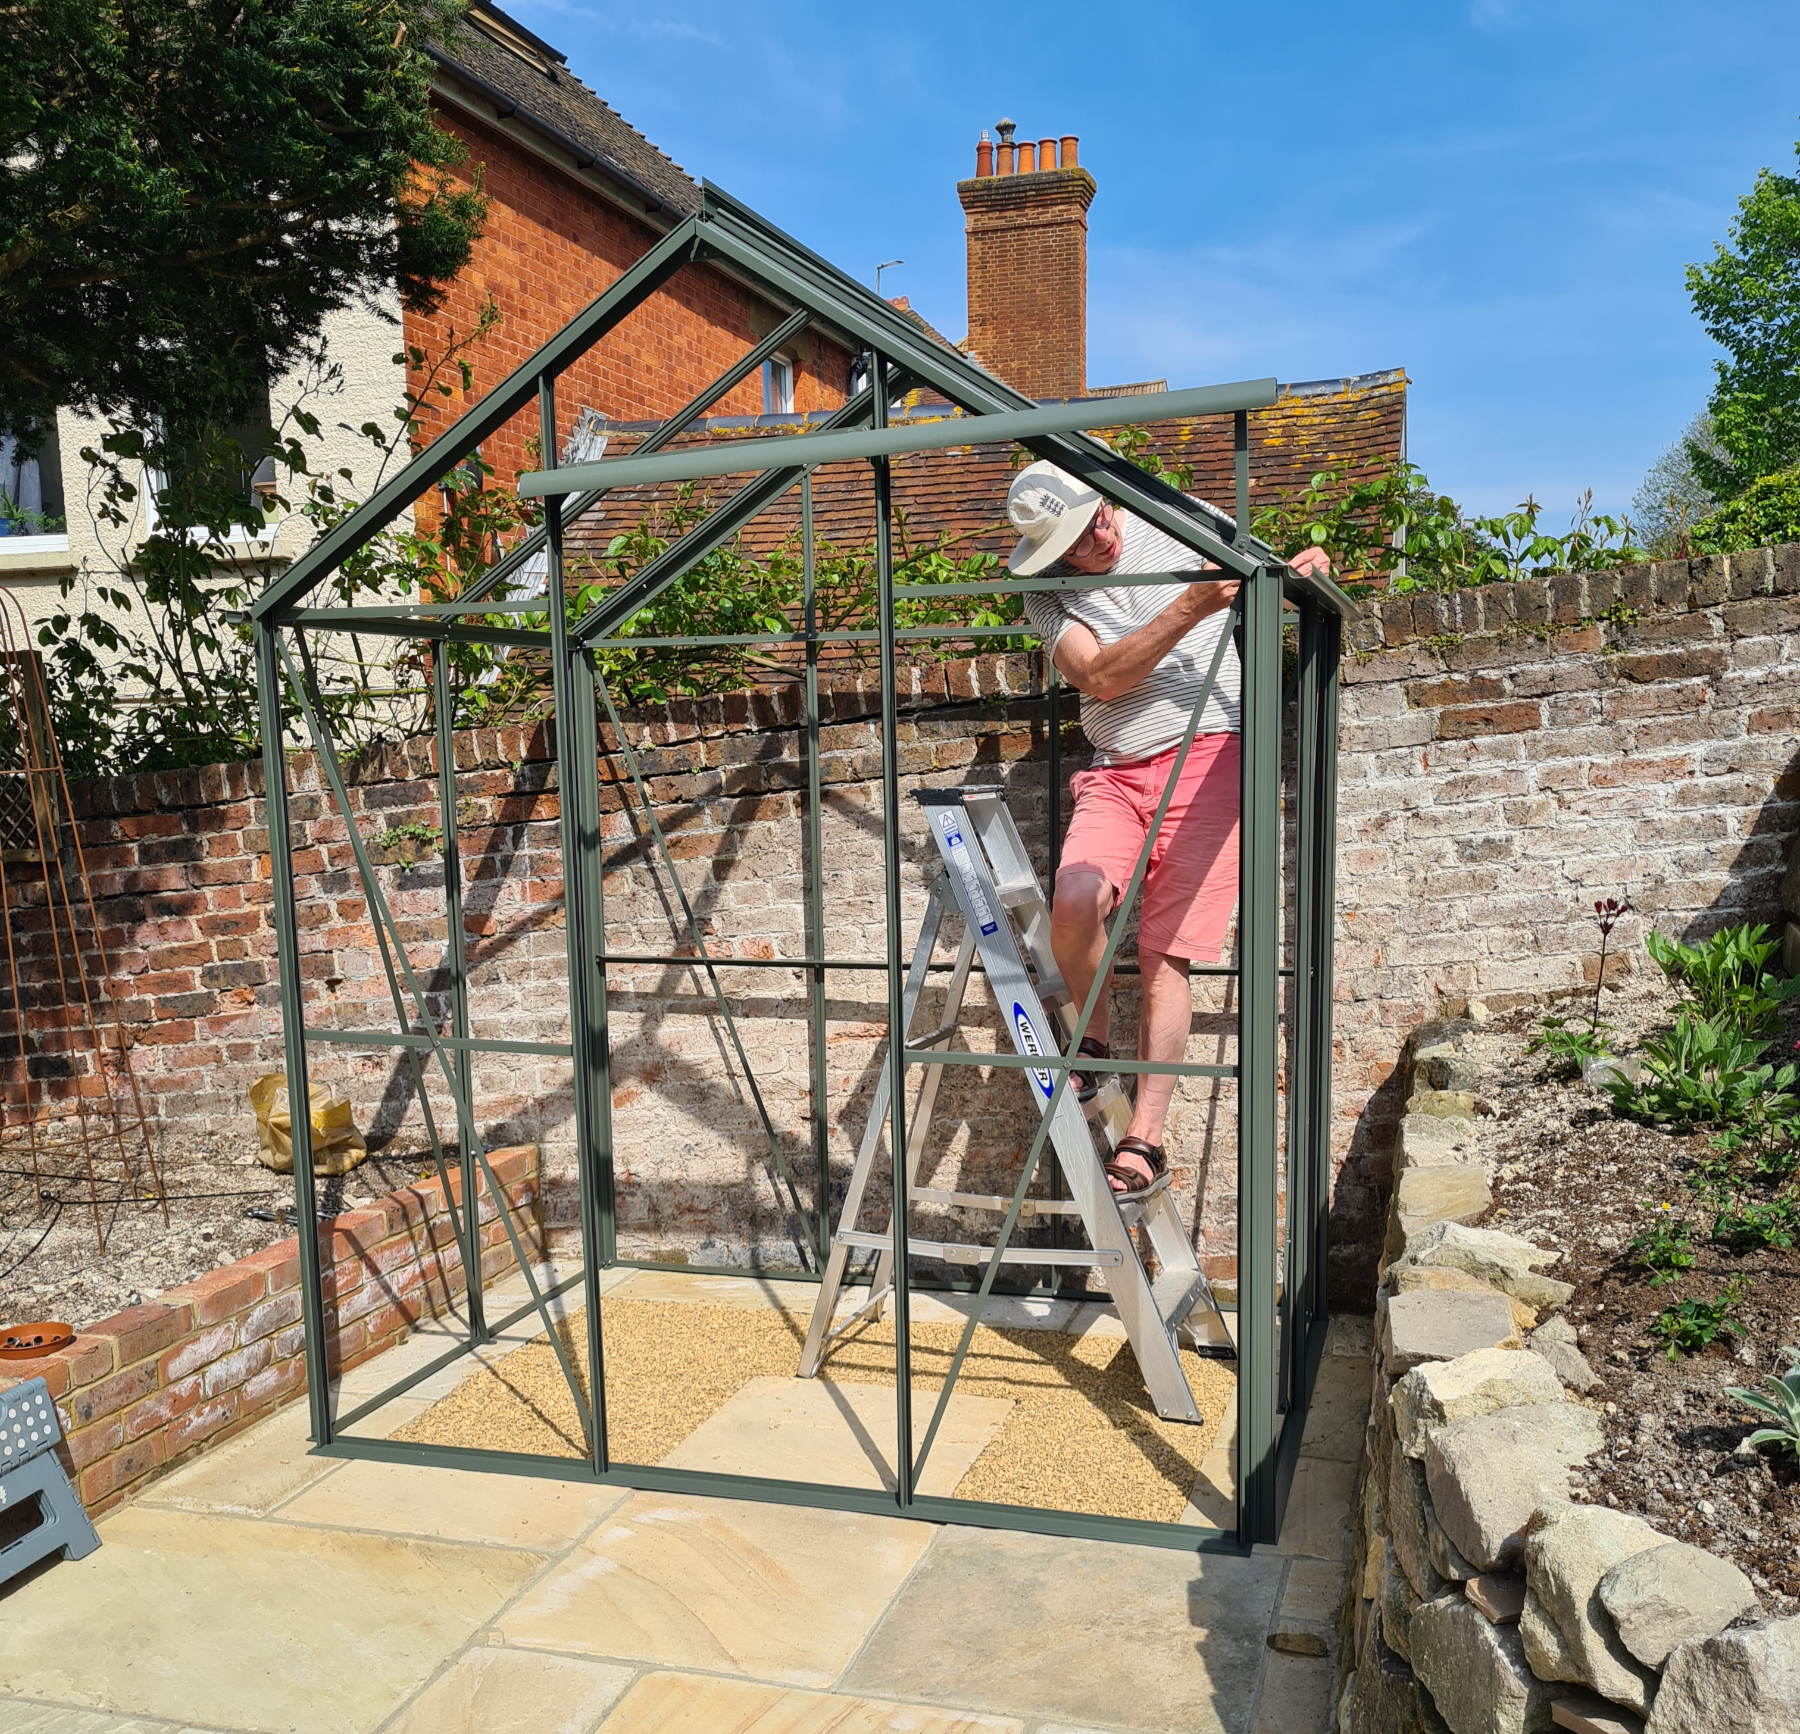
With the front done, we could start putting the four sides together. If we could find the right screws. There were those that slide into channels in the various glazing bars, and those that you could push in afterwards… except those had smaller heads and fell out as soon as you tried to tighten the nut. We did a great deal of fiddling, faffing and jemmying along the lines of ‘you hold it still with a screwdriver while I hold this end and tighten…hang on, can you get that piece tight to that and if you can just slide that end…get it in there…’ And so on.
Then we met our first real problem. However we looked at it, a nut would not go…so I called the tech helpline and sent them this:
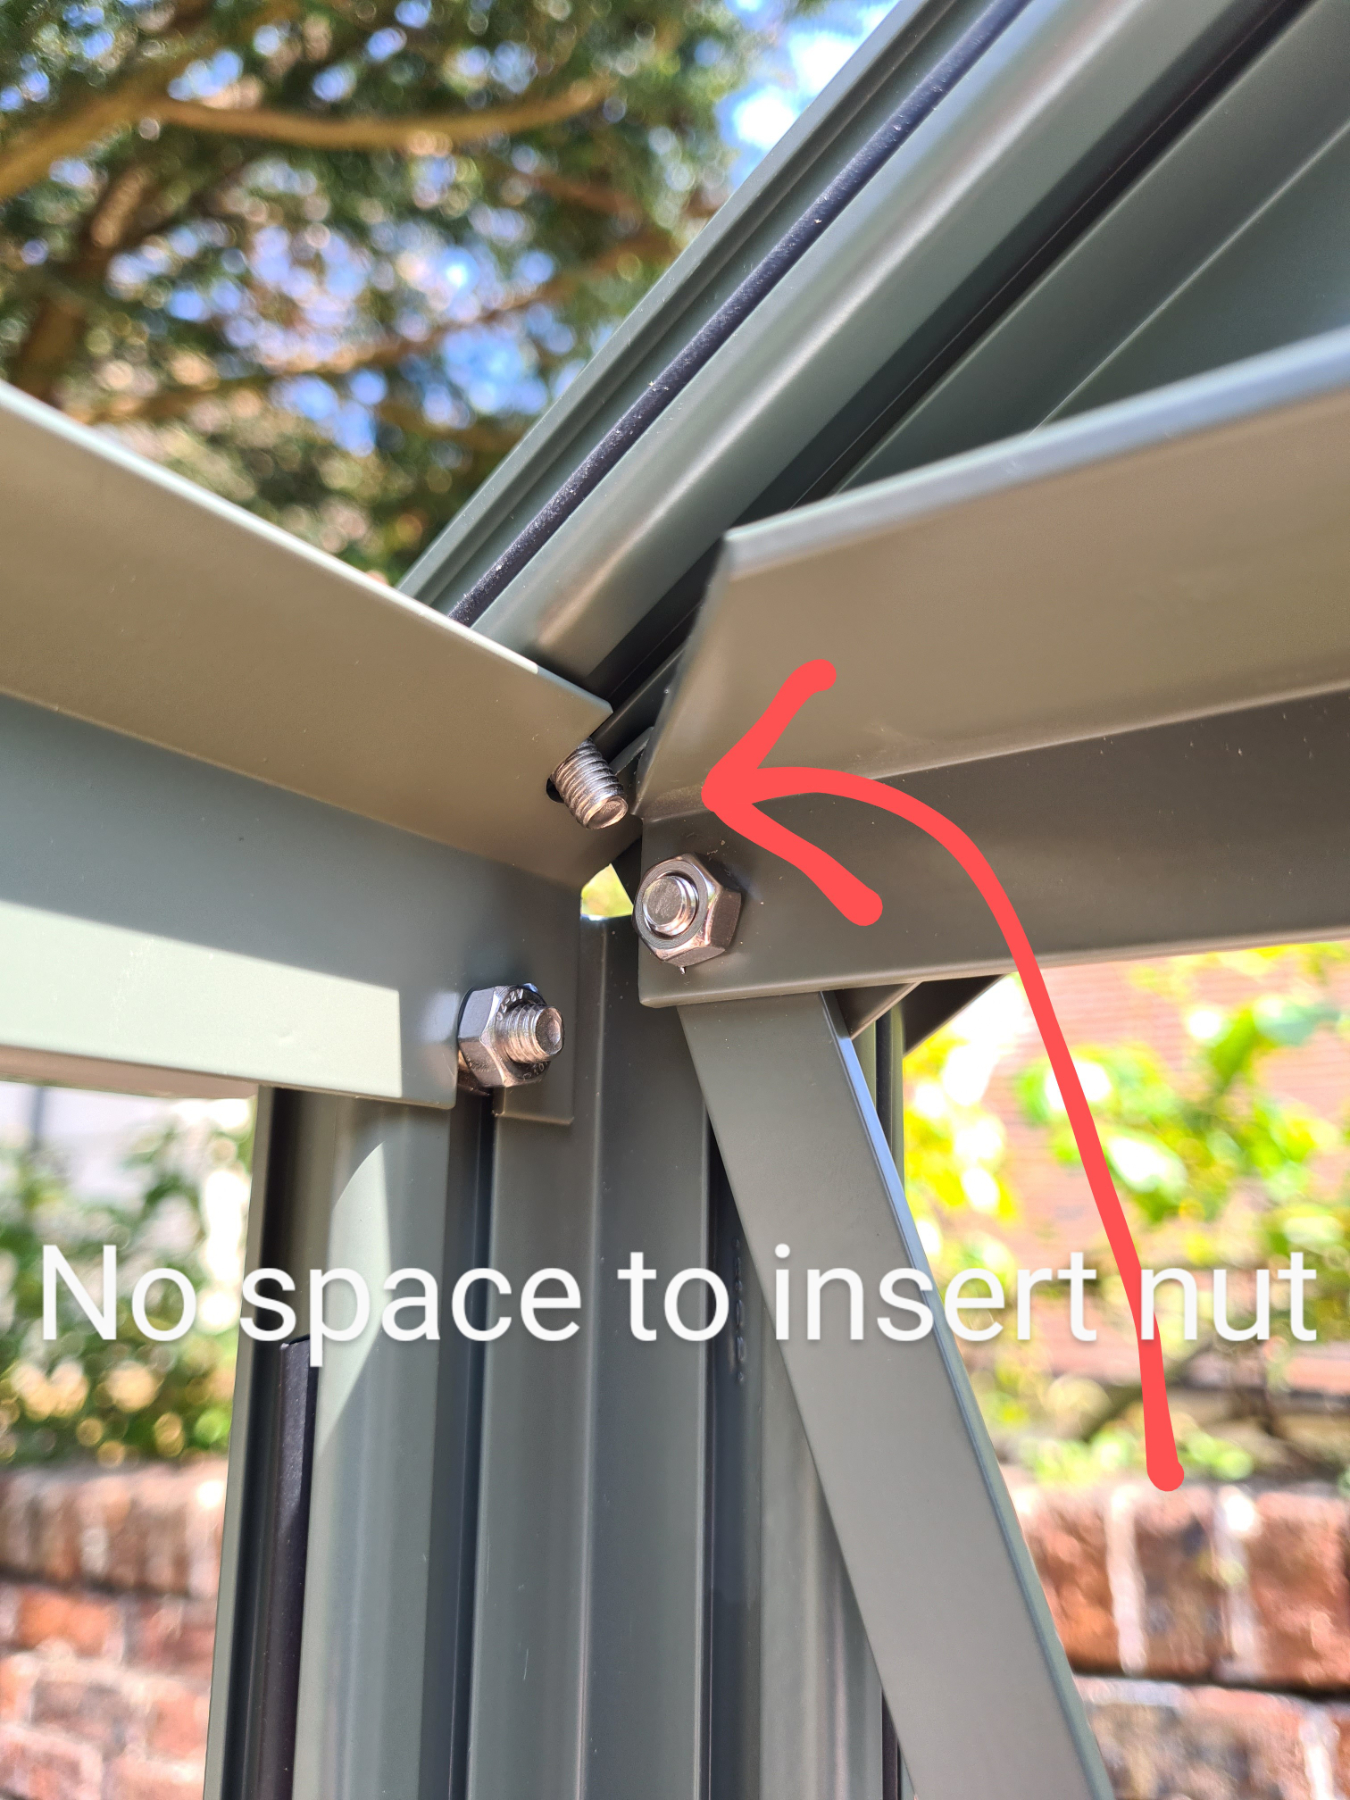
Turned out we had the L-shaped bar on the right upside down. So we had to detach it (and various others), turn it round and … voila. Easy when you know how.
While Nick was on the main frame construction I put together the small vent window and the louvre section.

At the end of the day we’d built the basic frame and it looked great! I was exhausted, but Nick simply had a shower and nipped off to take a choir rehearsal.
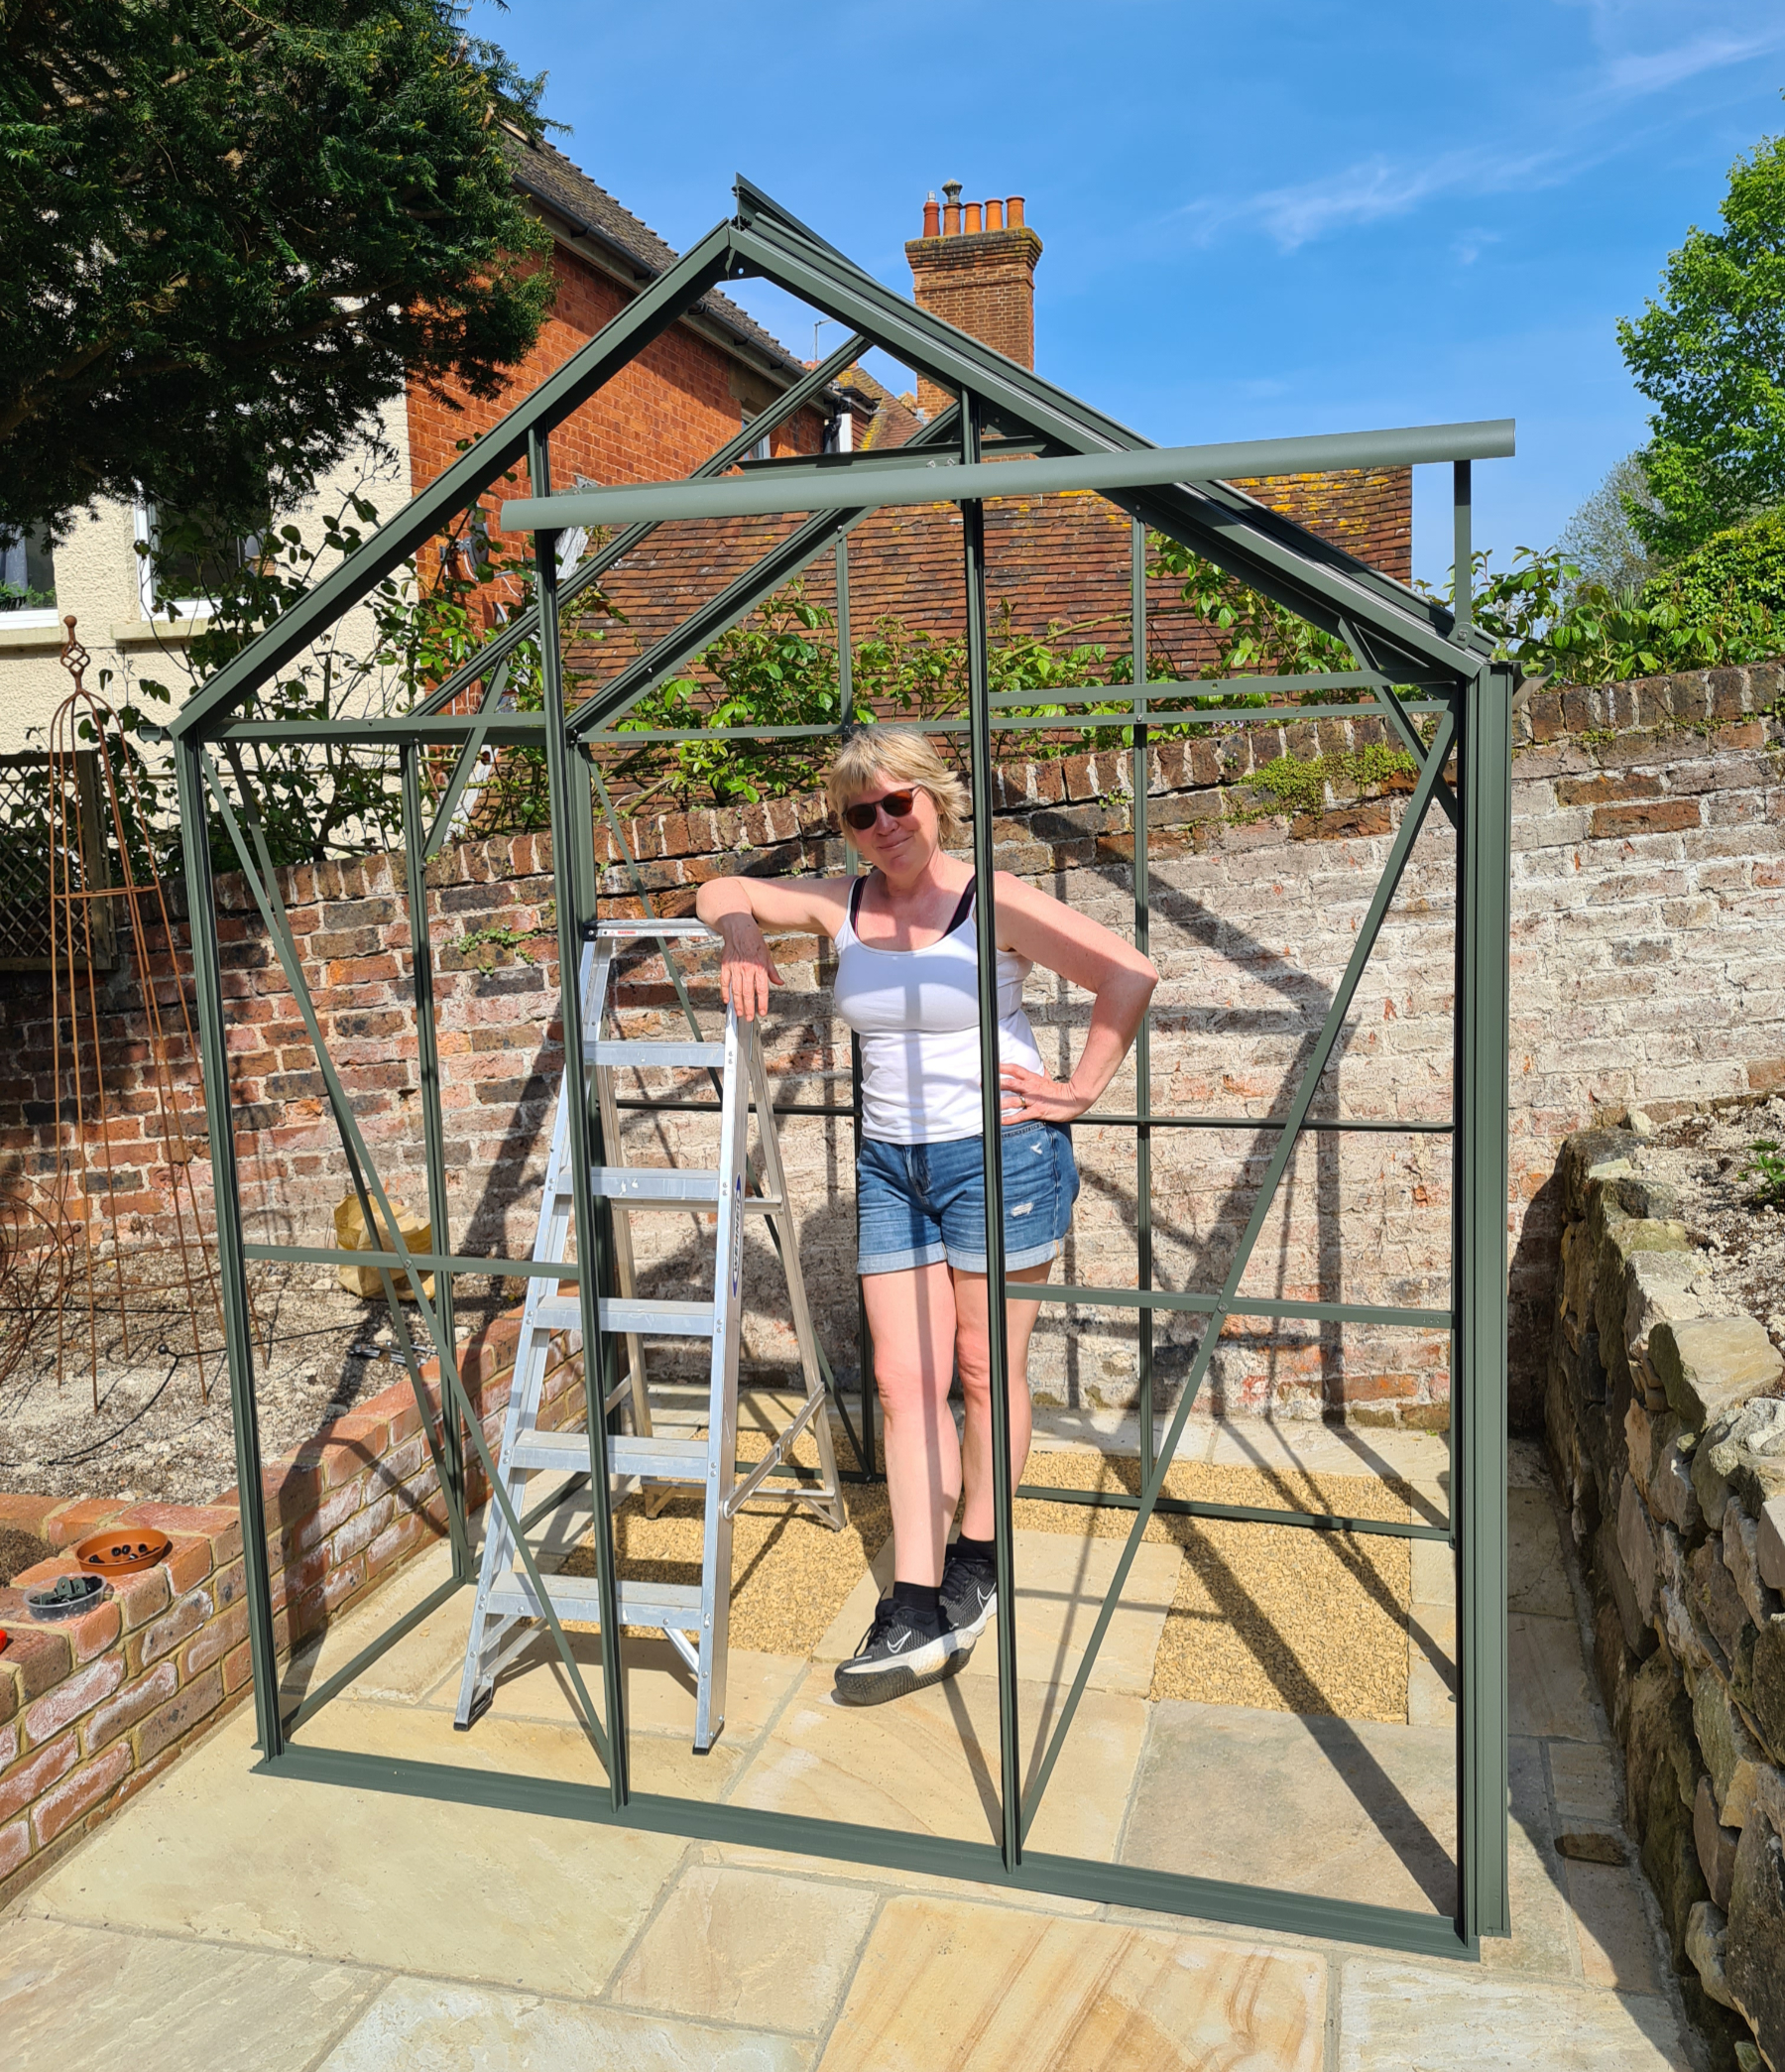
Day 3
We were hoping to get it finished on day 3, but the job of glazing just couldn’t be rushed. It was also a sunny Saturday, which meant the neighbours were in garden and (for me, anwyay) our work took on a performative quality.
Sliding in the glass was nerve-wracking – the large side panes in particular as they had to slide in from the top (Nick holding) and be guided (by me) into a little groove of a plastic separator, itself resting atop a smaller base pane. Then we had to hold it all to stop it from collapsing while one of us grabbed a long plastic bar which had to be wedged into place between the panes of glass and the greenhouse frame…. ugh! It took us ages to figure out how this ‘bar capping’ worked. But once we realised the amount of force required for it to snap together, the job became a lot easier.
I was dreading glazing the roof: me standing on that rocky wall on the right sliding a huge pane of glass up into a groove that wasn’t entirely clear until it clicked into place, and Nick up the ladders and guiding it from below. And fitting the vent with its automatic-opening mechanism was also a trial. After a tea break to clear our heads we tackled it again, but it needed another call to the helpline.
You can tell I was hard at it on Day 3 as I only have one photo – taken by a neighbour who’d admired our teamwork!
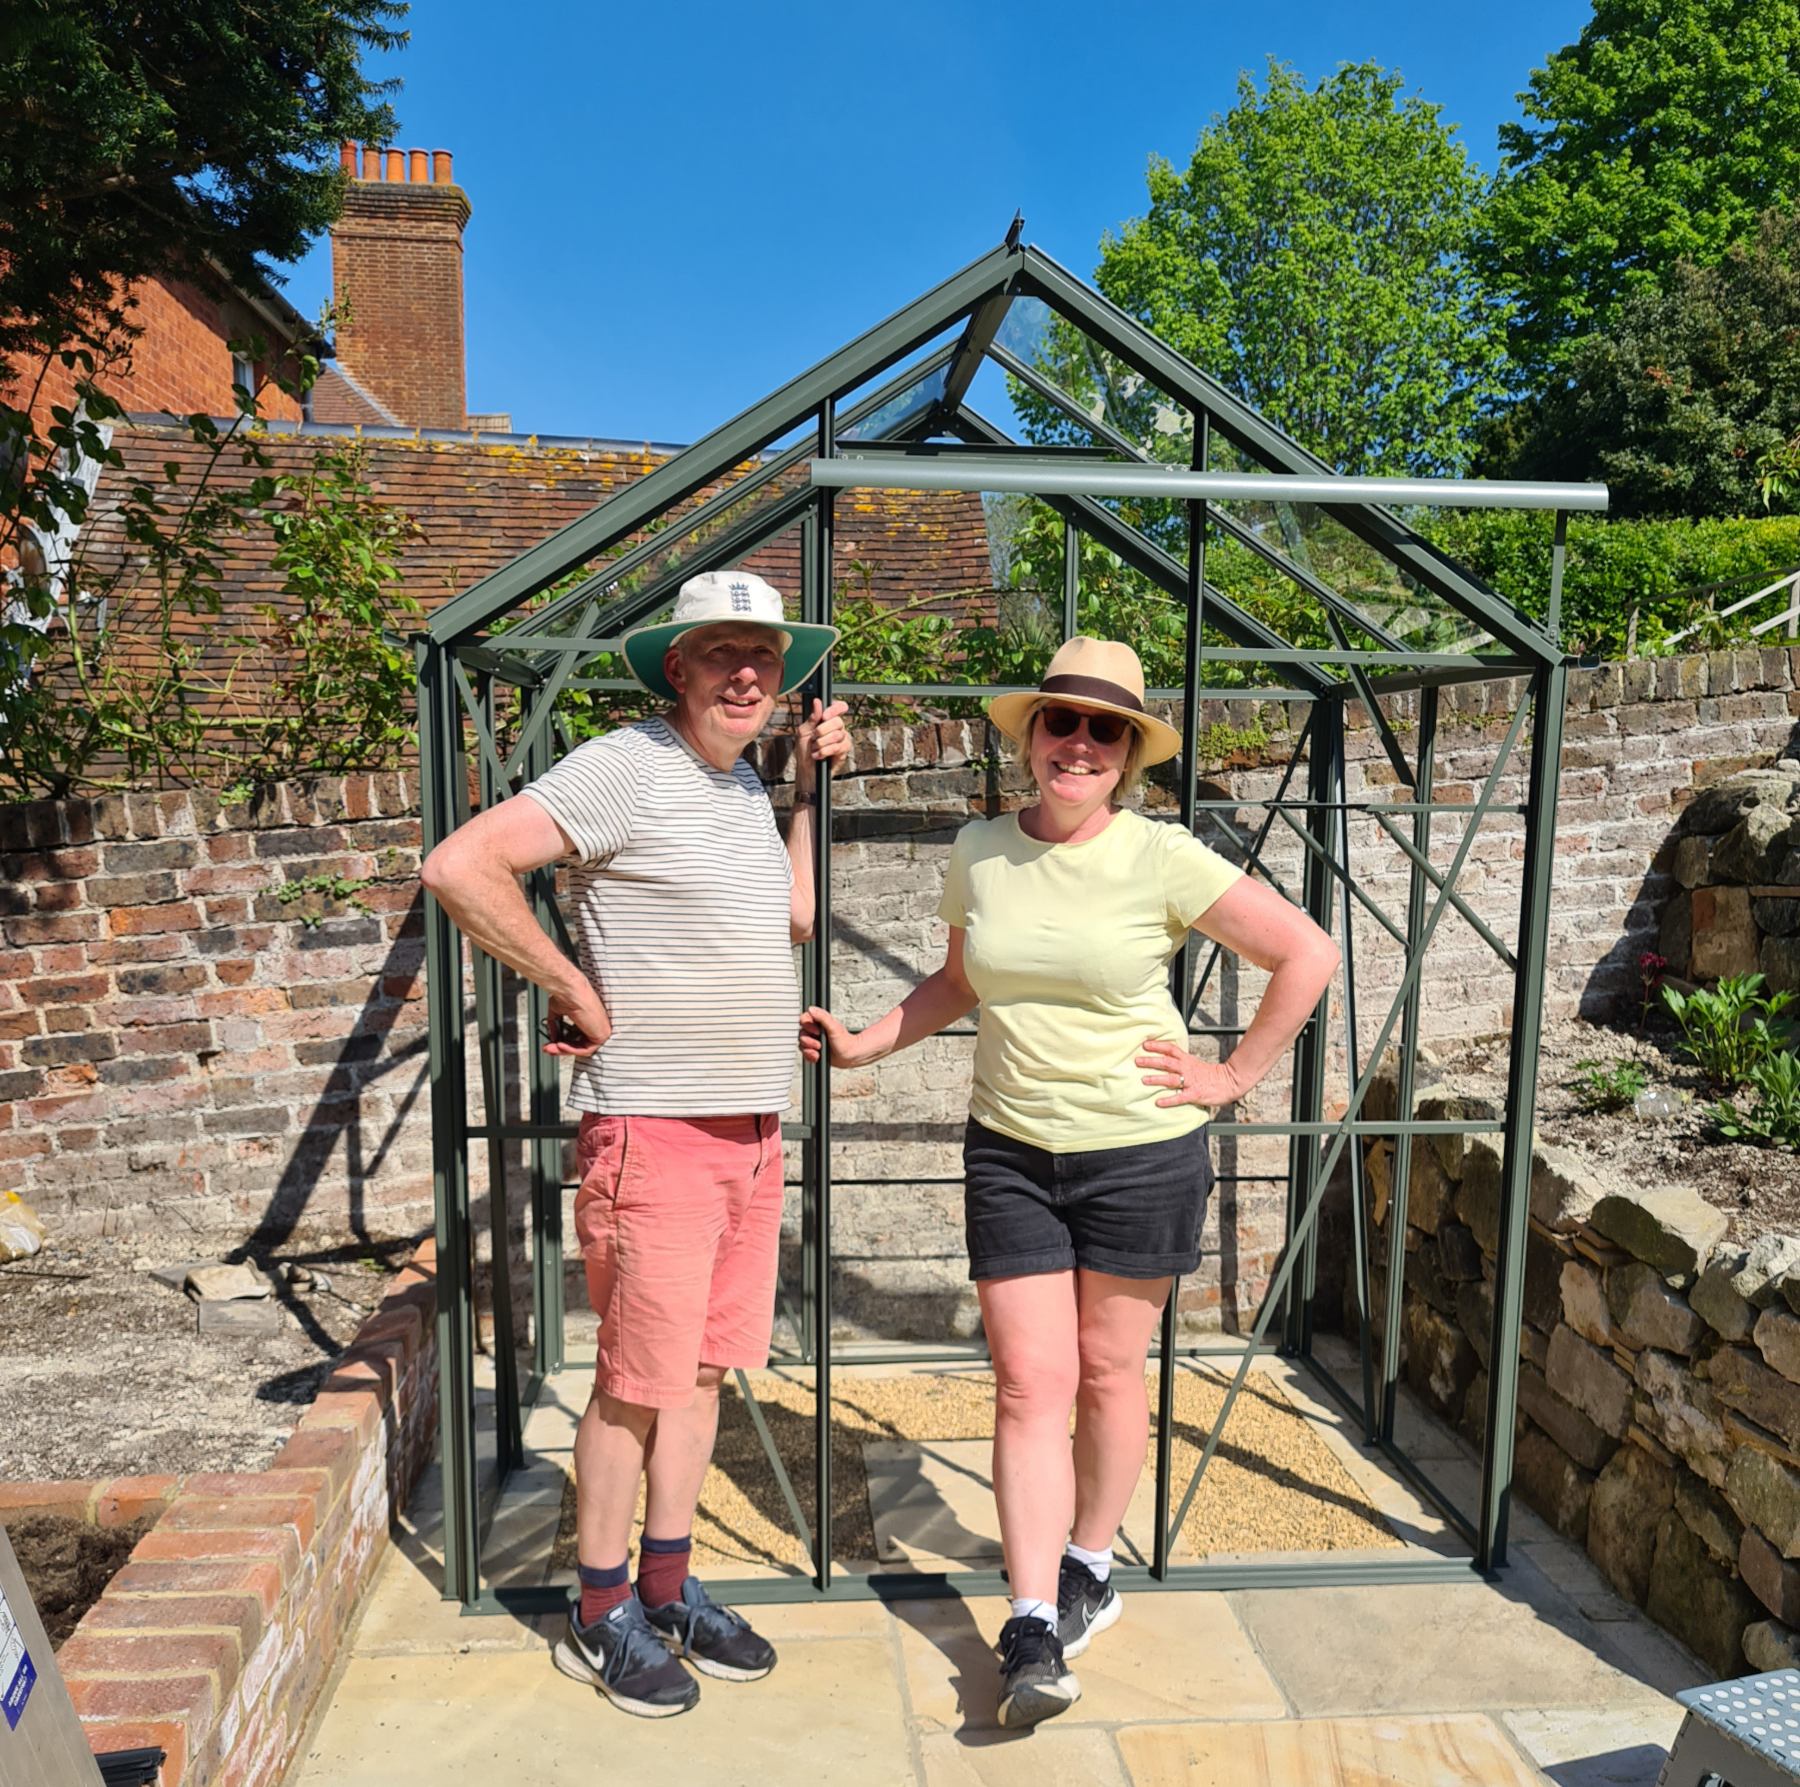
Day 4
Just a few bits and bobs to do – ha! Shelves, staging, fitting the louvre, hanging the door… and that pesky vent. The helpline email arrived: apparently there were clearer instructions about it in the ‘supplementary information’ we had been sent. But which had mysteriously never arrived. Oh well! Nick eventually figured it out…
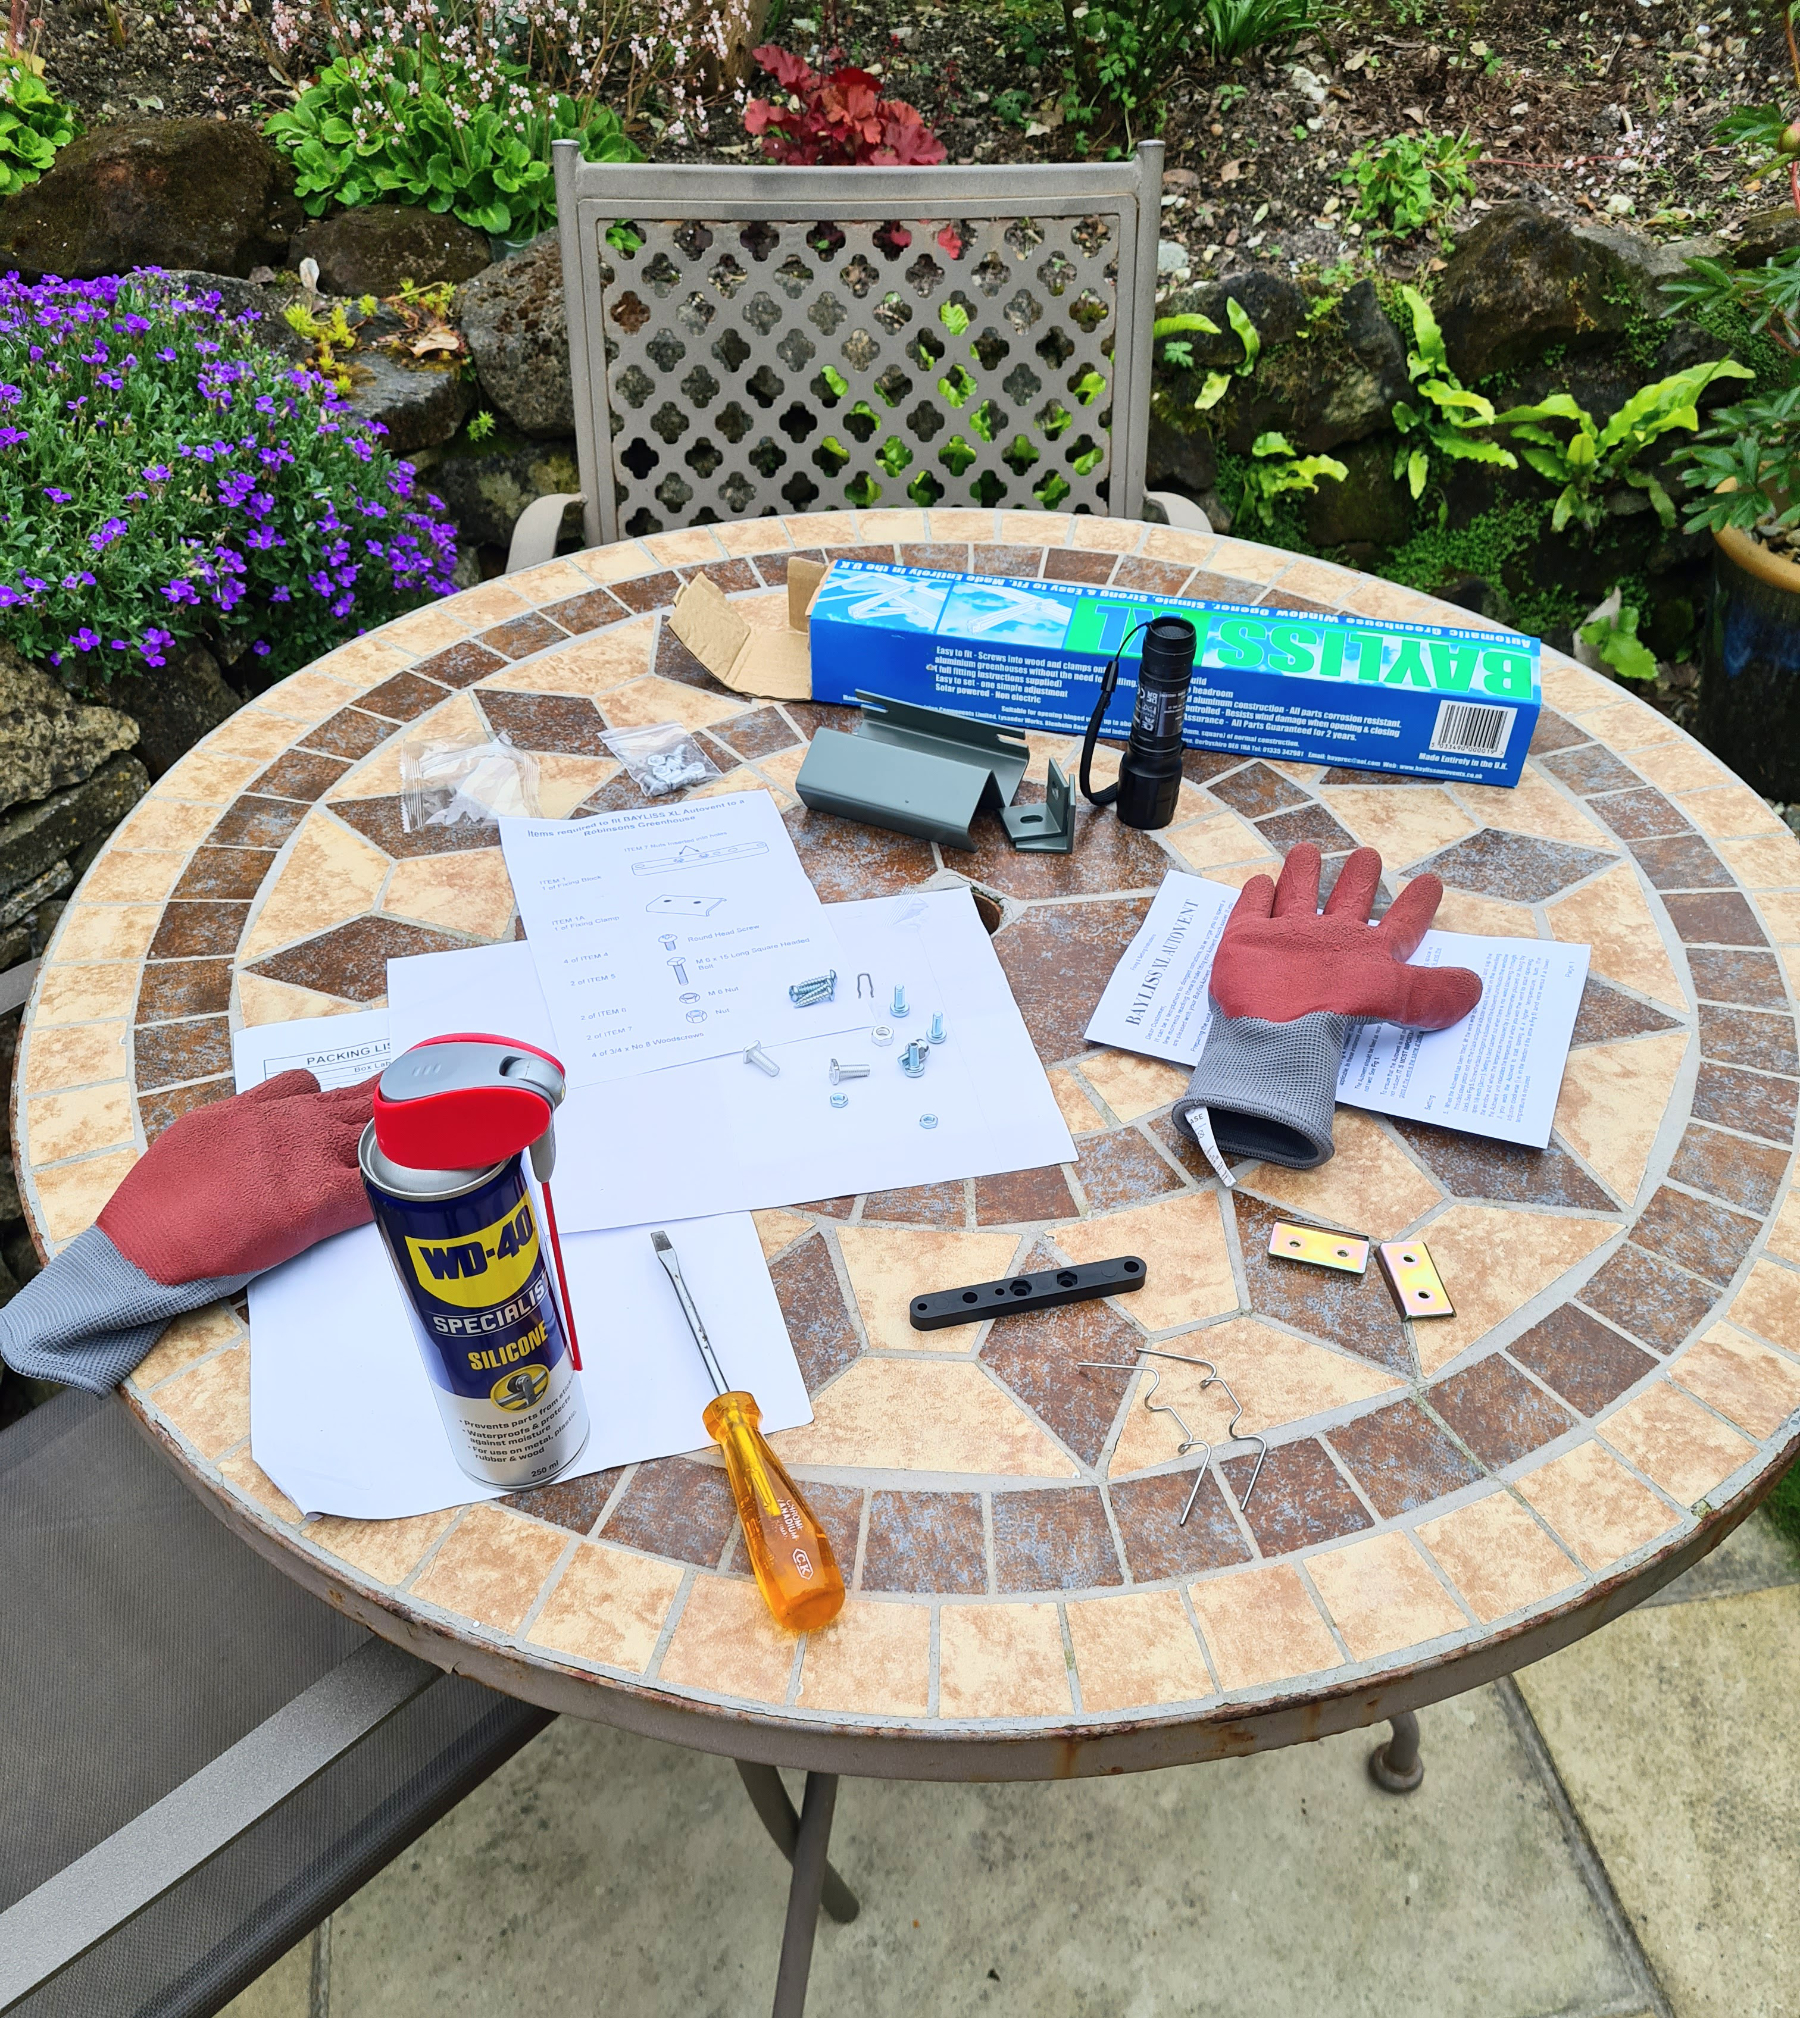
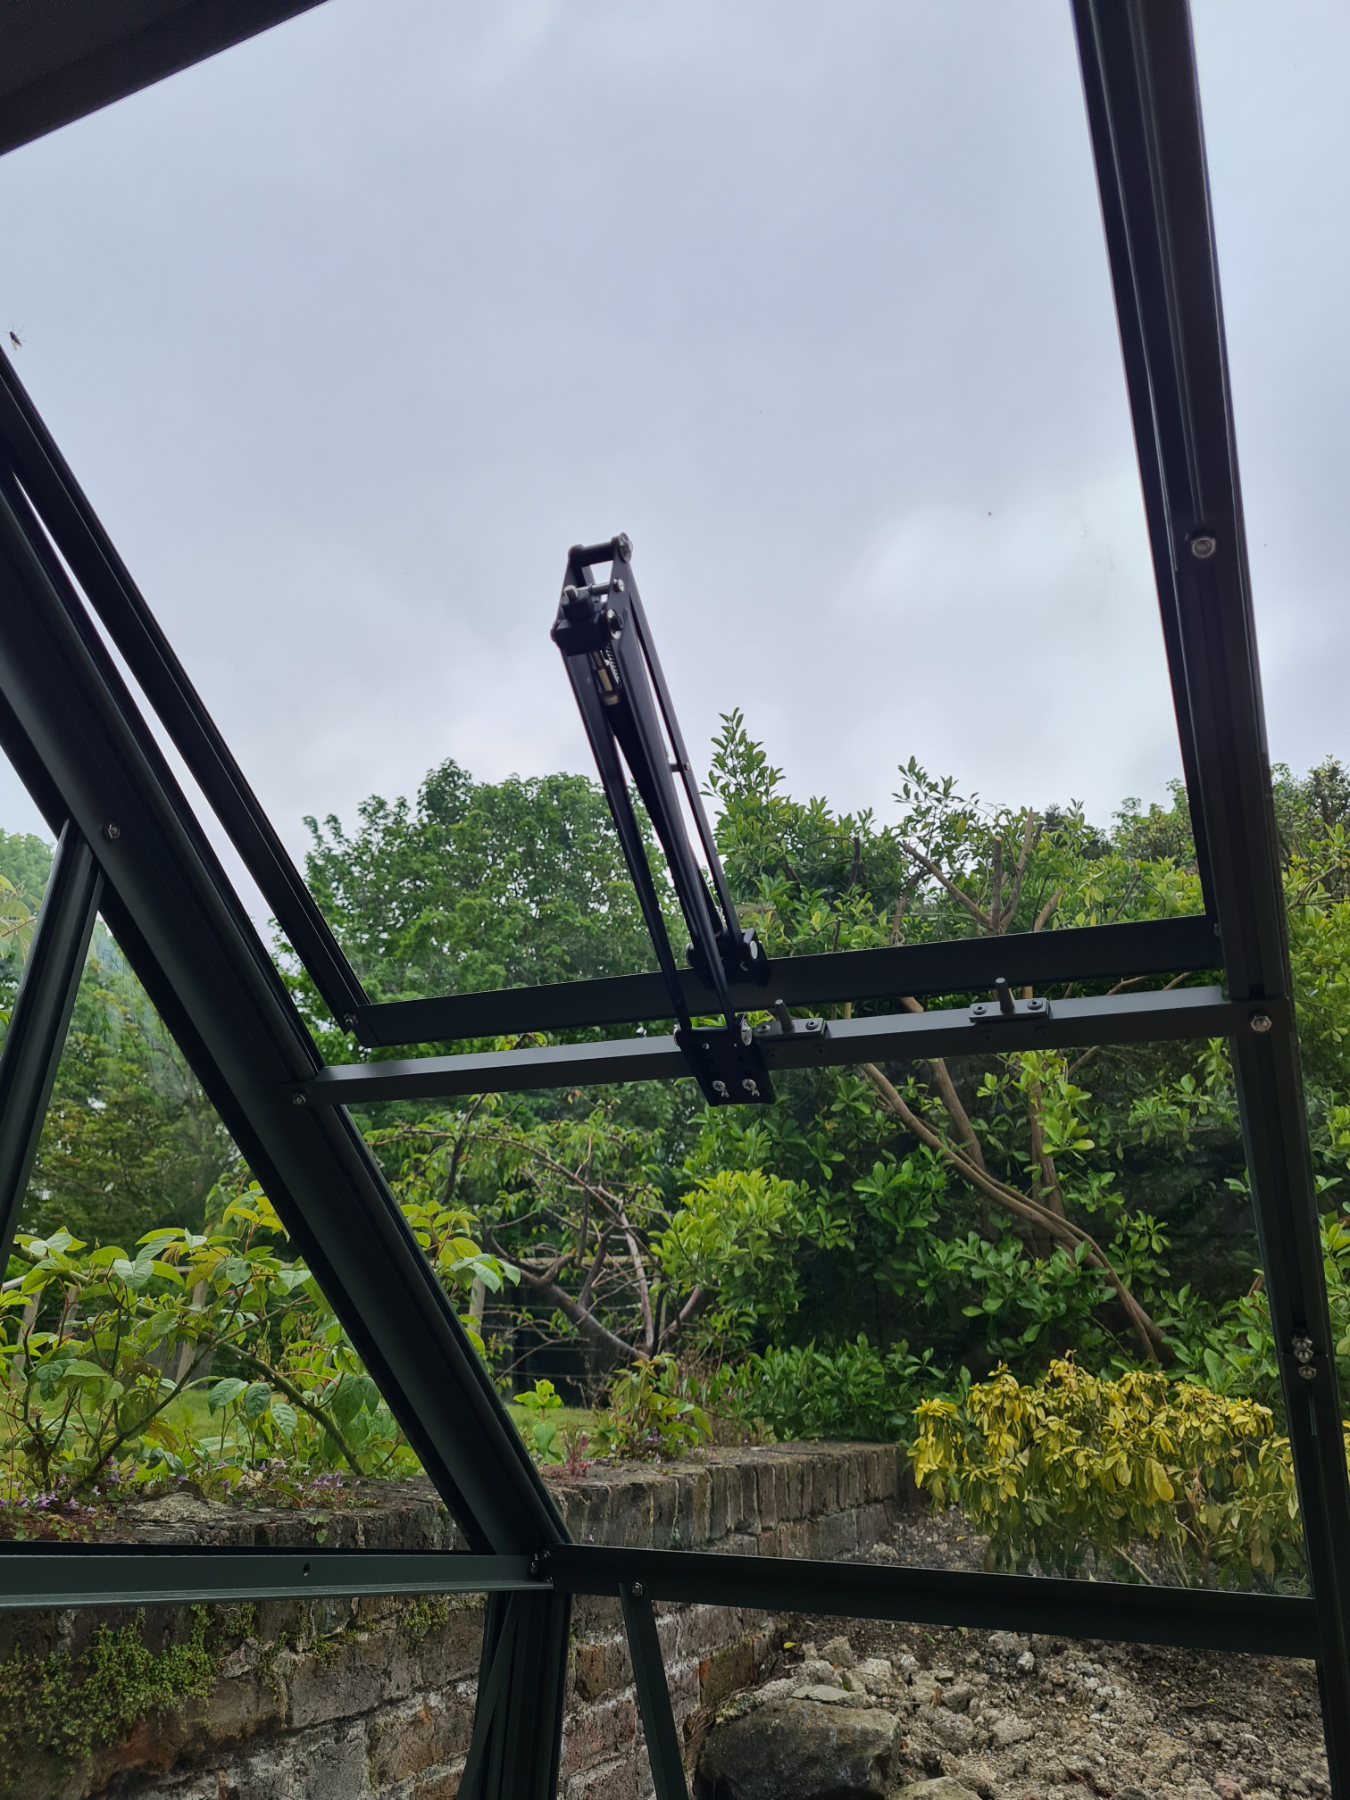
And hurrah! The vent began to work right away! Meanwhile I got to work on fitting the louvre…only to discover I’d fitted it upside-down. But that was easily rectified.
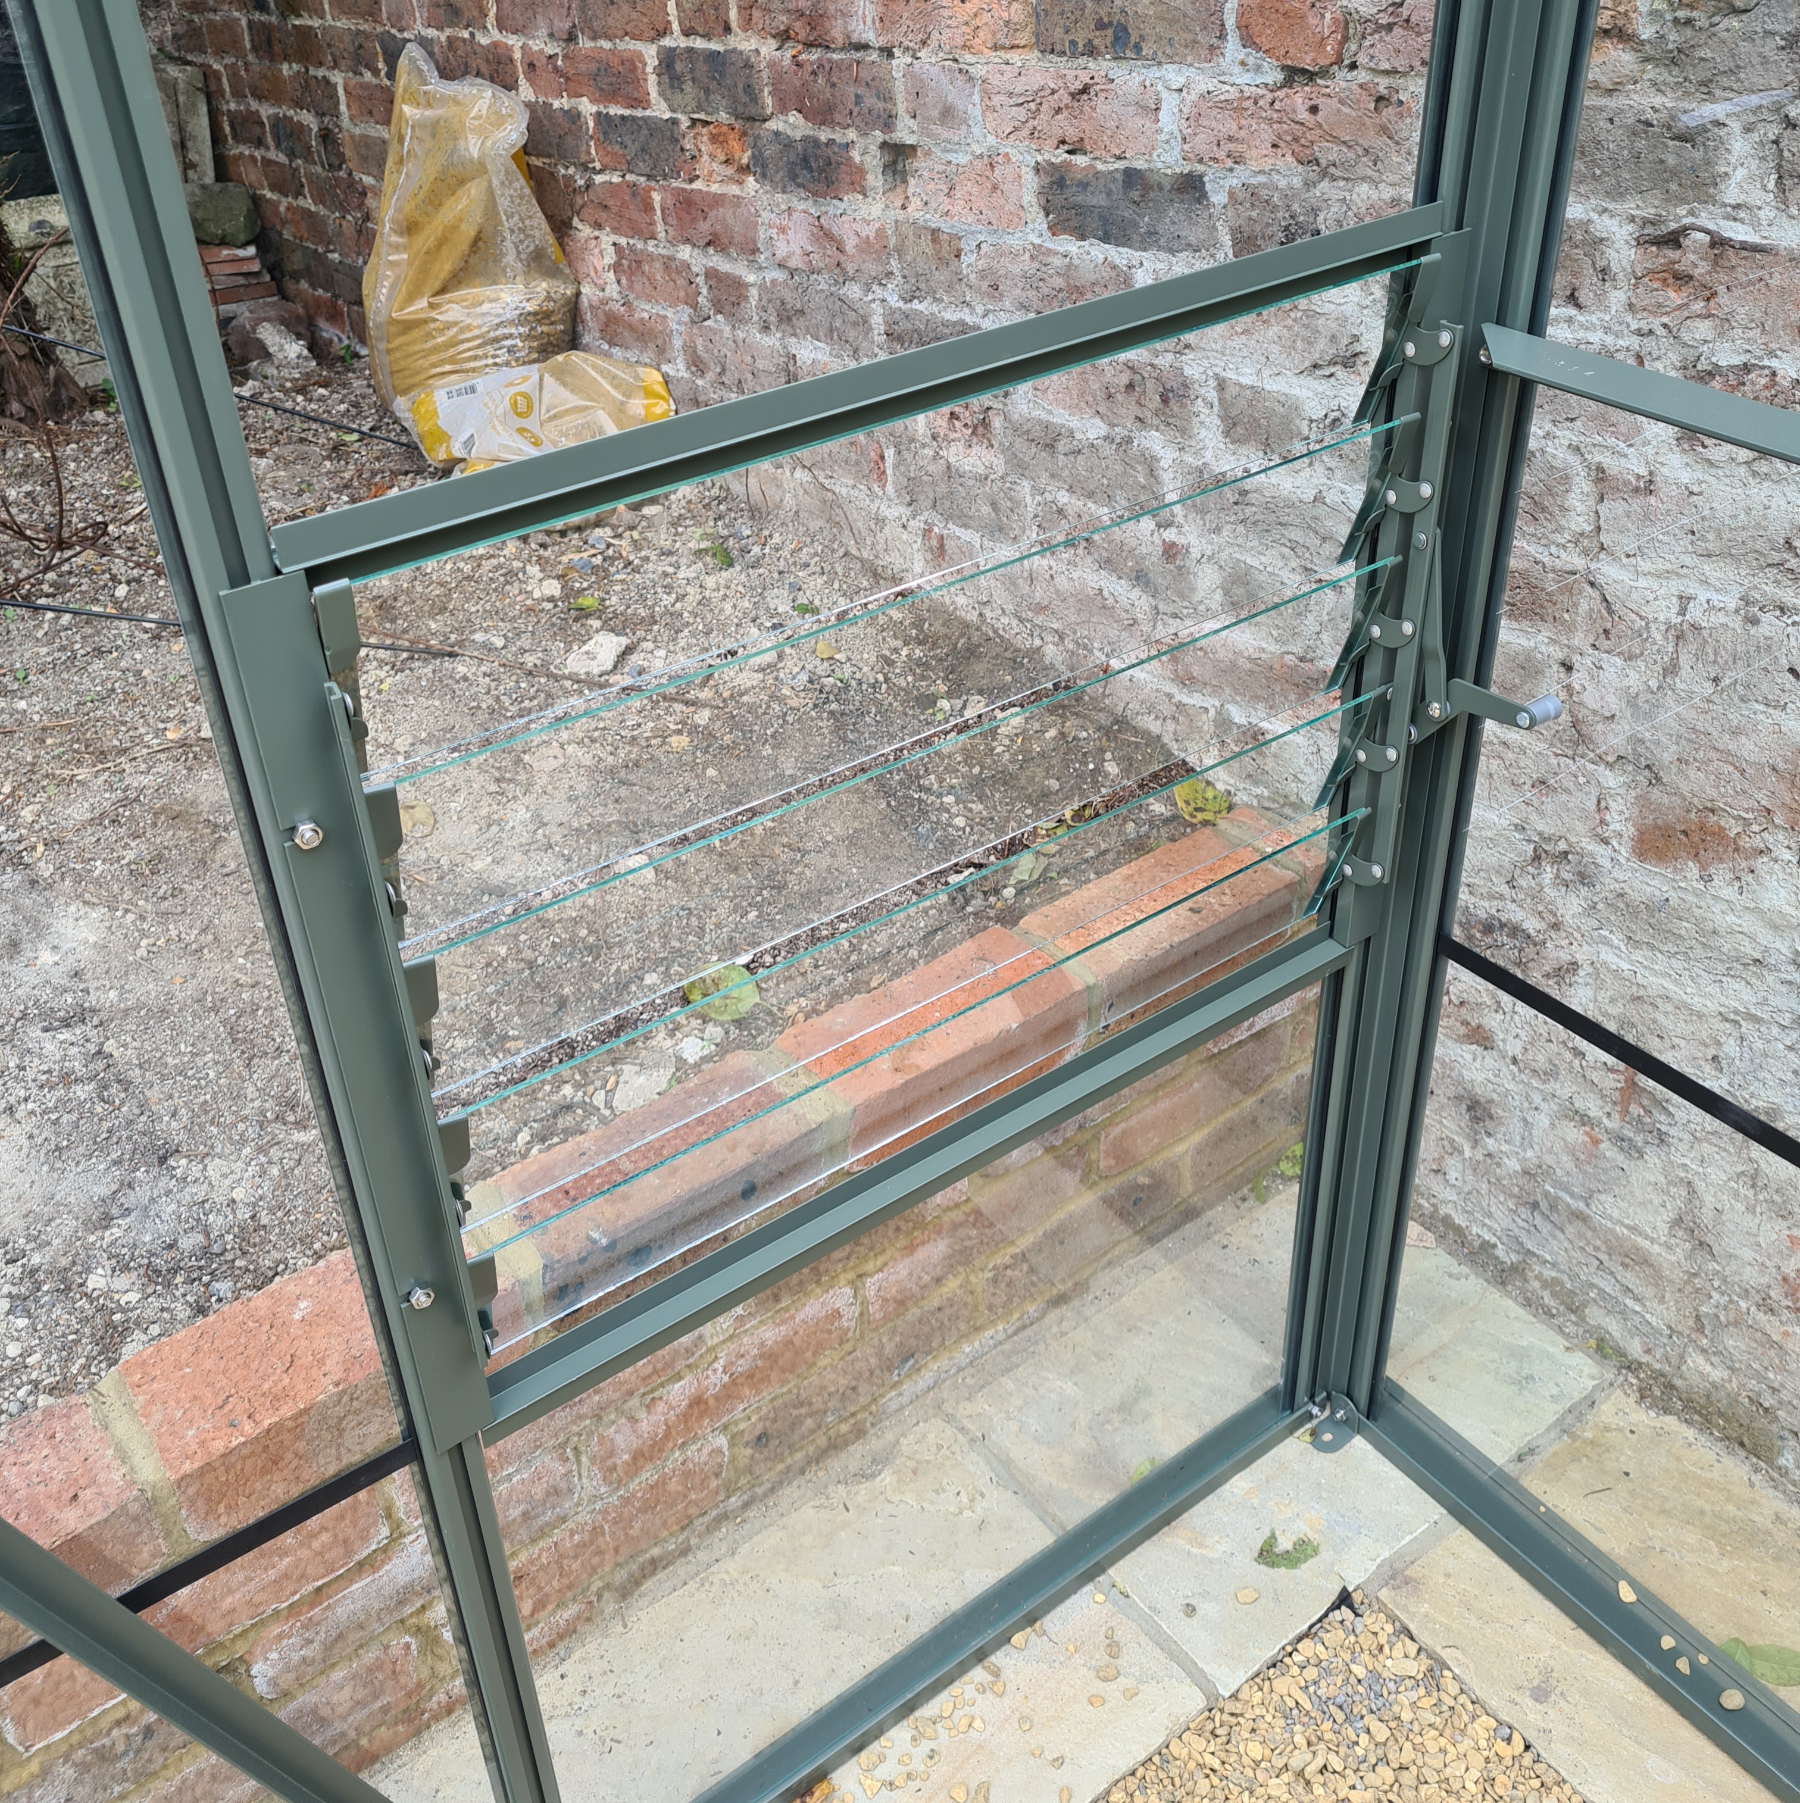
The triangular glazing on the front wasn’t quite fitting properly. The little clips supplied didn’t seem to have any purchase, and it took a good part of the morning to fix it, trying different ideas out, some of which involved sellotape, although thankfully in the end we didn’t need it!


Then the shelves and staging. These were a lot harder to fit that we expected – getting each section level, locating the screws to attach them, having to detach an entire side of the greenhouse to insert more, then levelling everything again…and it was getting hot.
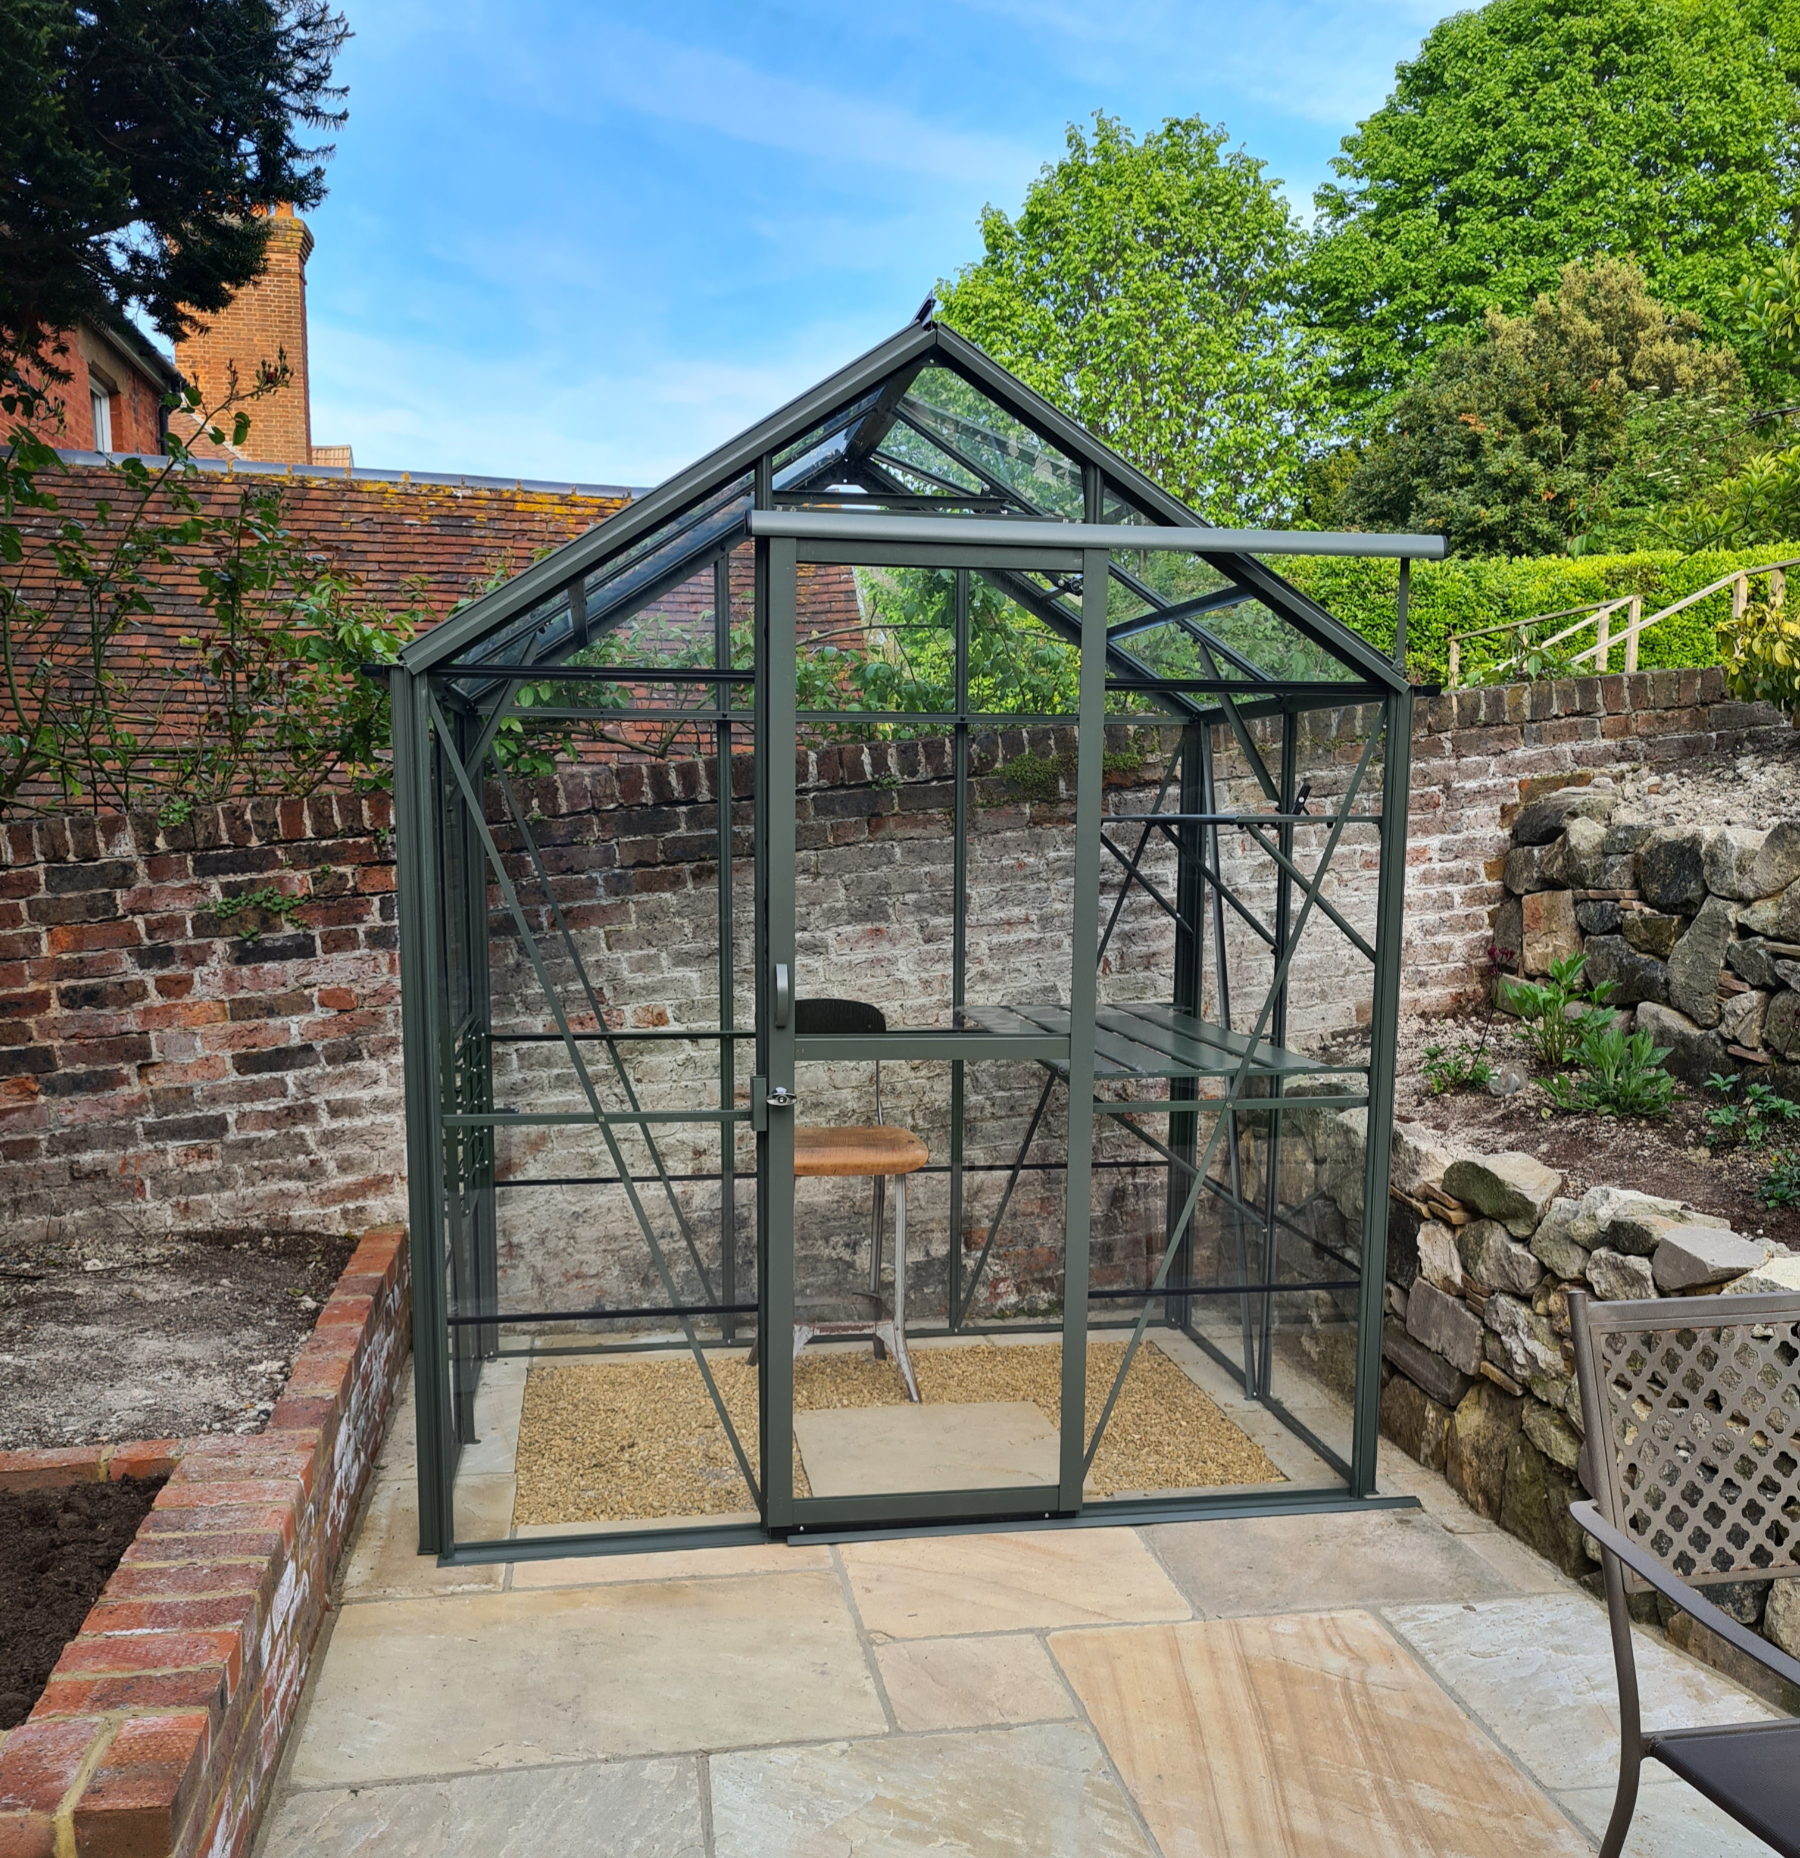
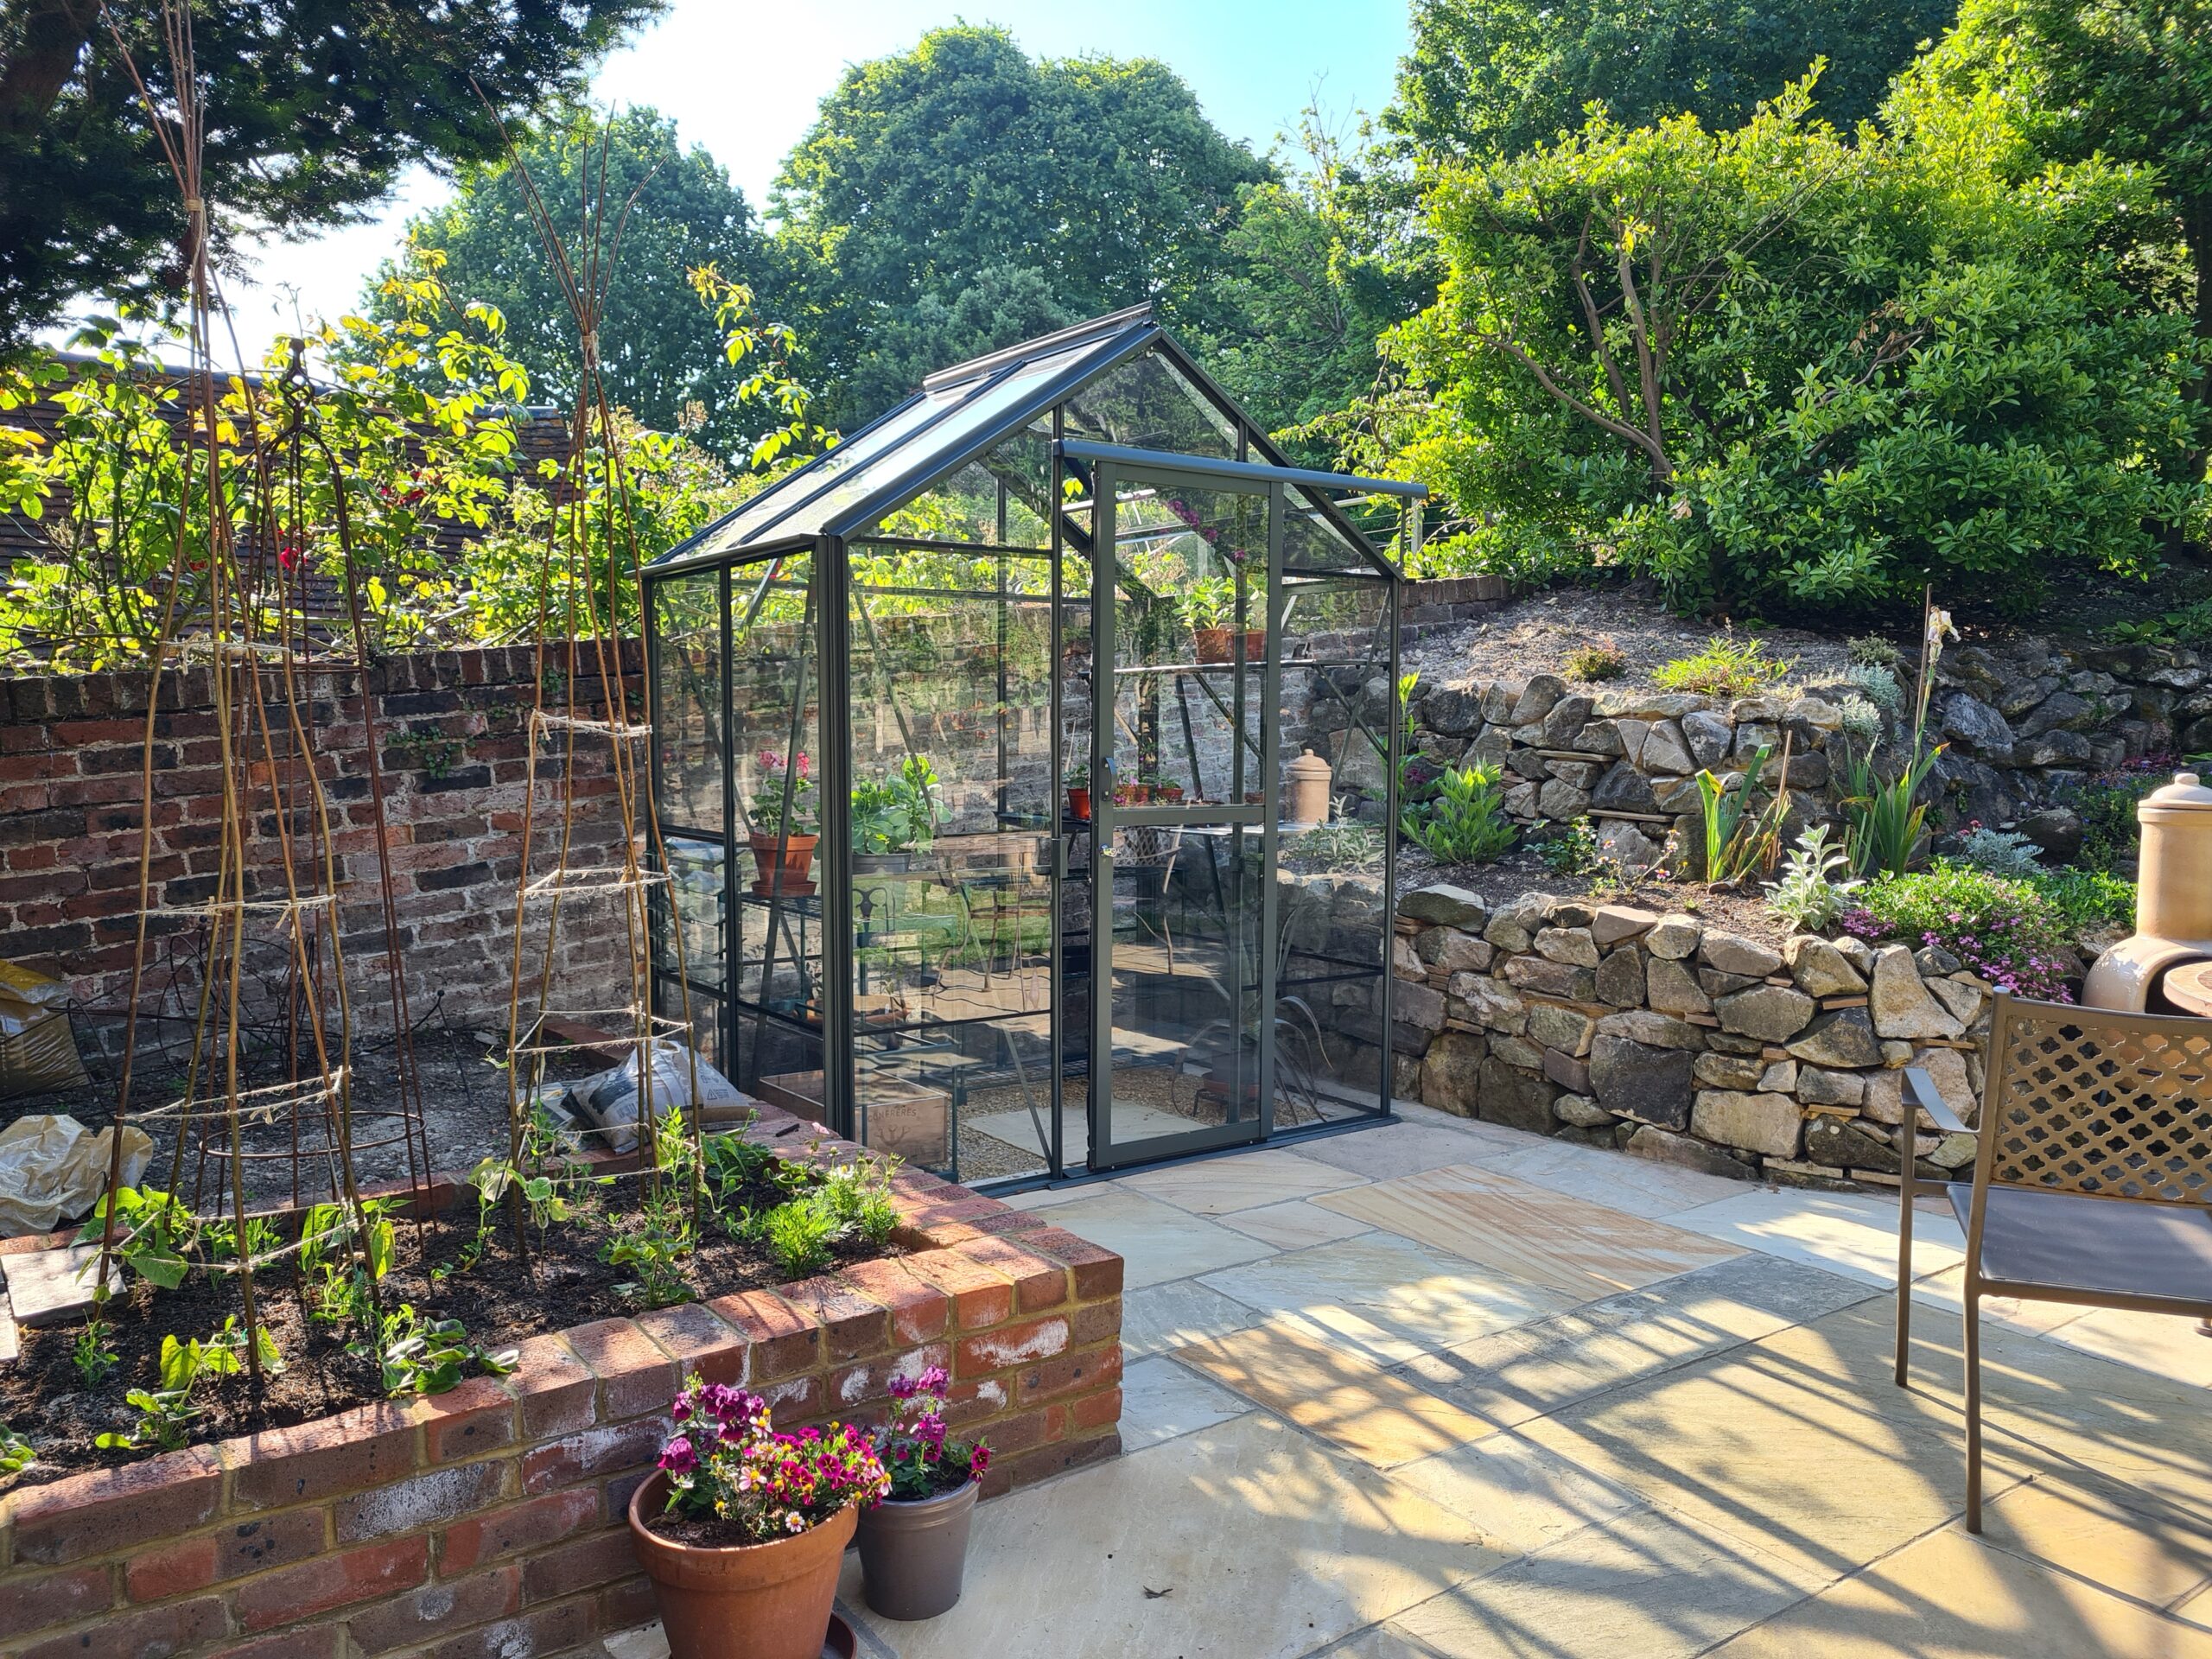
Eventually it was all done…
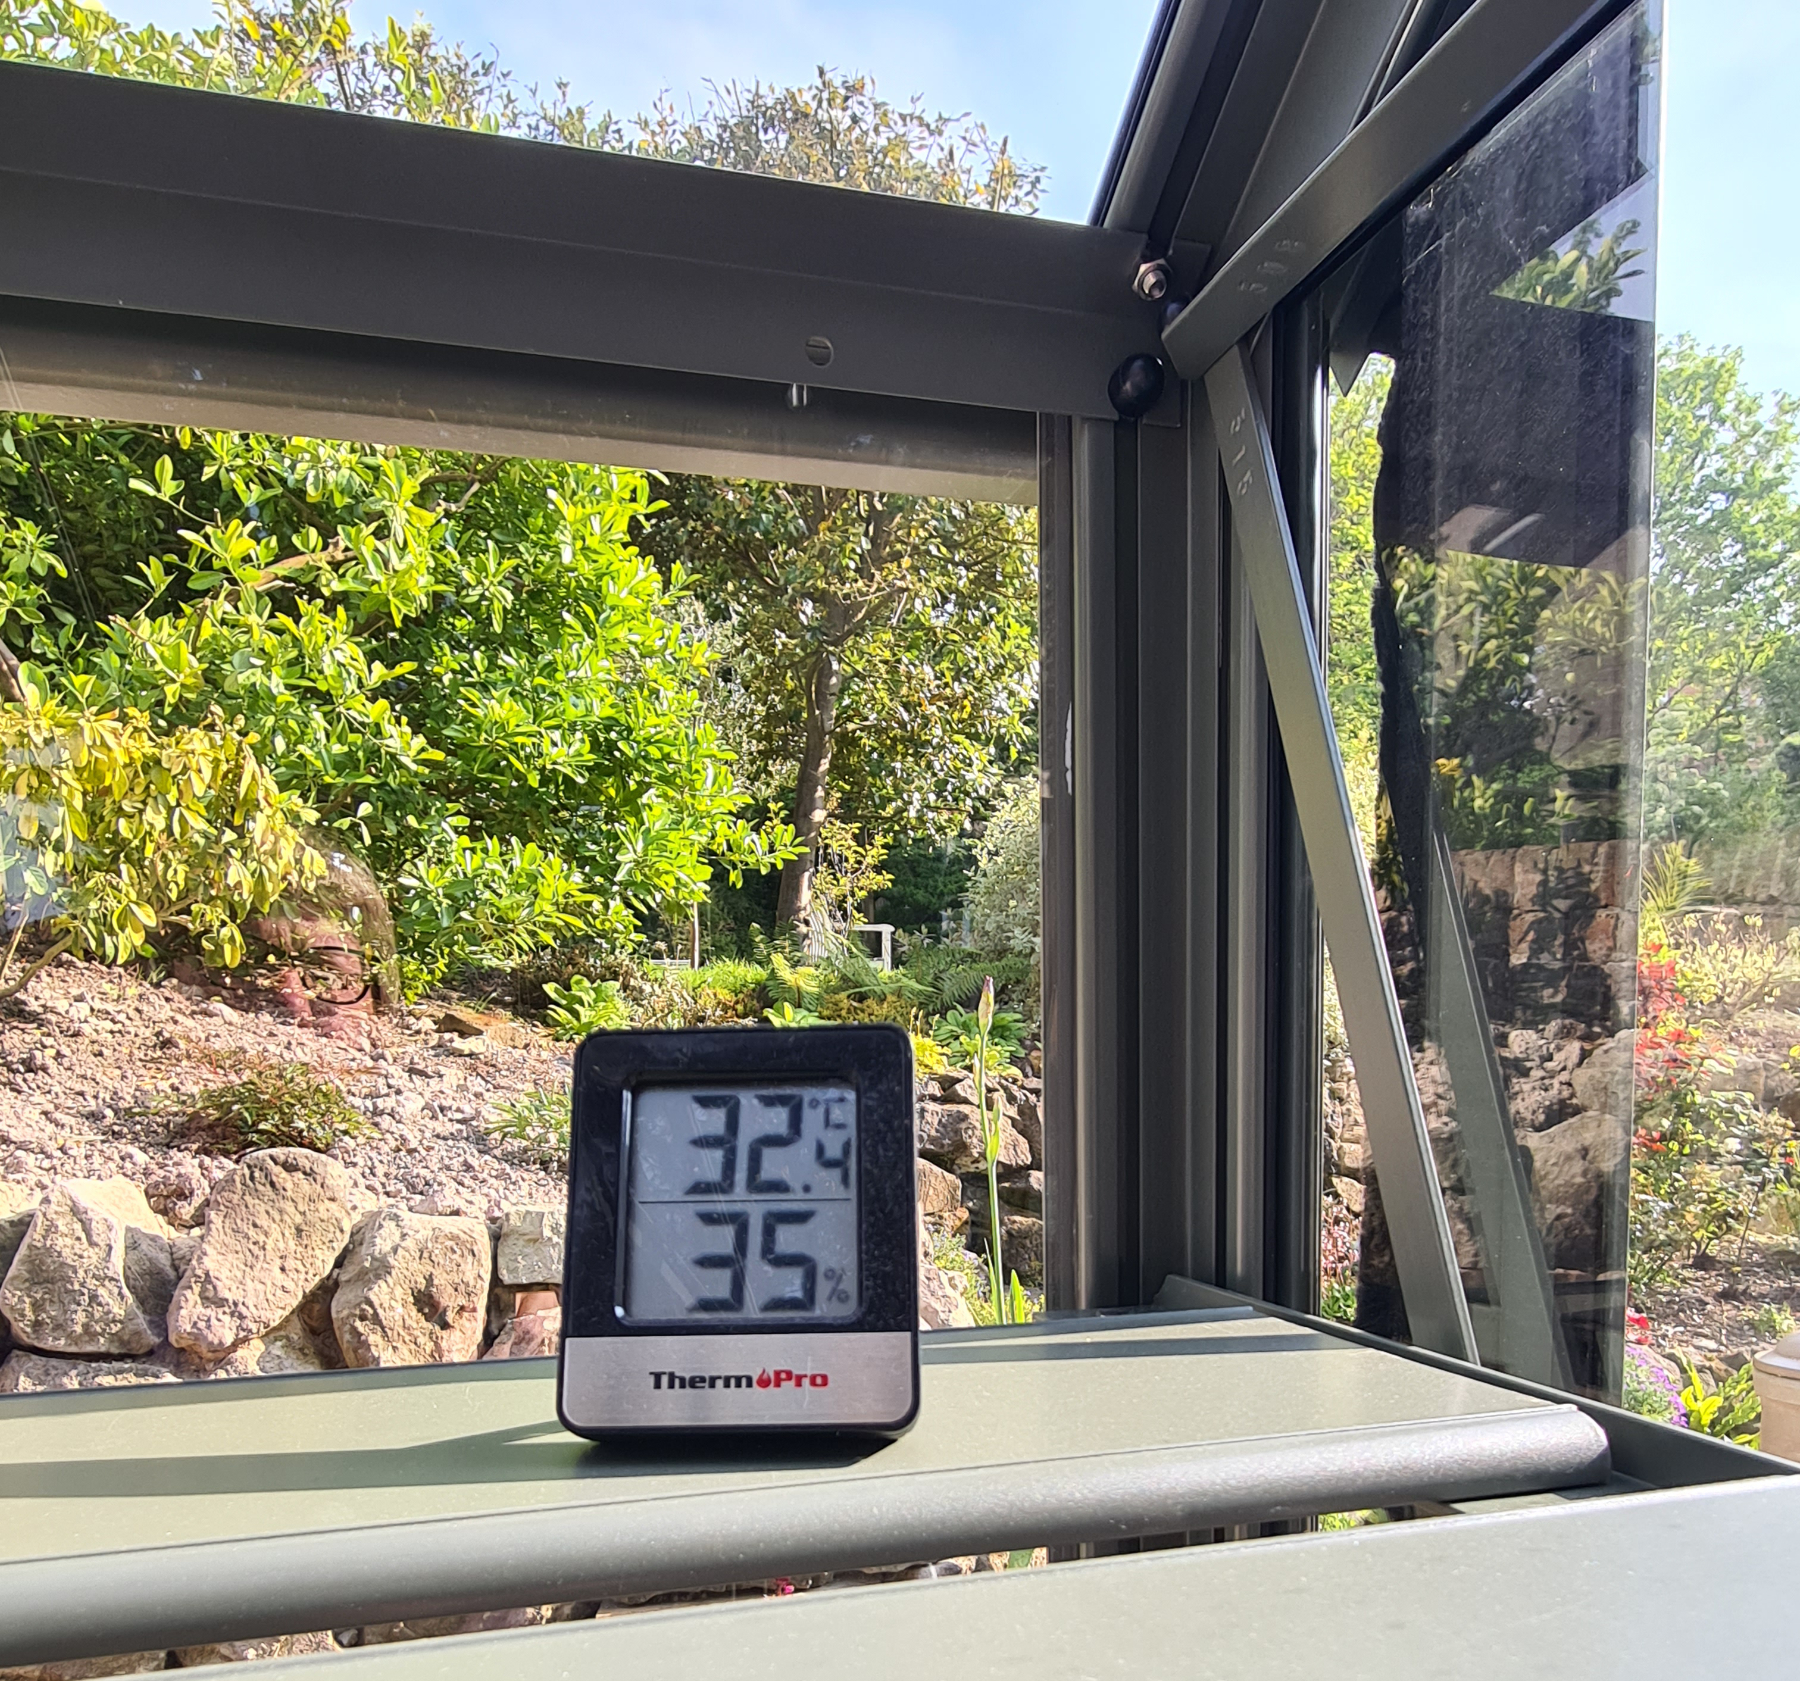
Since then I’ve been trying different things in there to see which plants like it. The greenhouse can be very hot during the day and very cool at night, whereas the potting shed, where I’ve grown seedlings and raised tomatoes in the past, is more of a steady temperature night and day. I’ve experimenting with capillary matting to try to keep things self-watered, but it’s early days. Plus it’s a bit late in the year to start cucumbers and chillies from seed, which I’d like to to eventually. But what I can say is that the pelagoniums thrive in there.
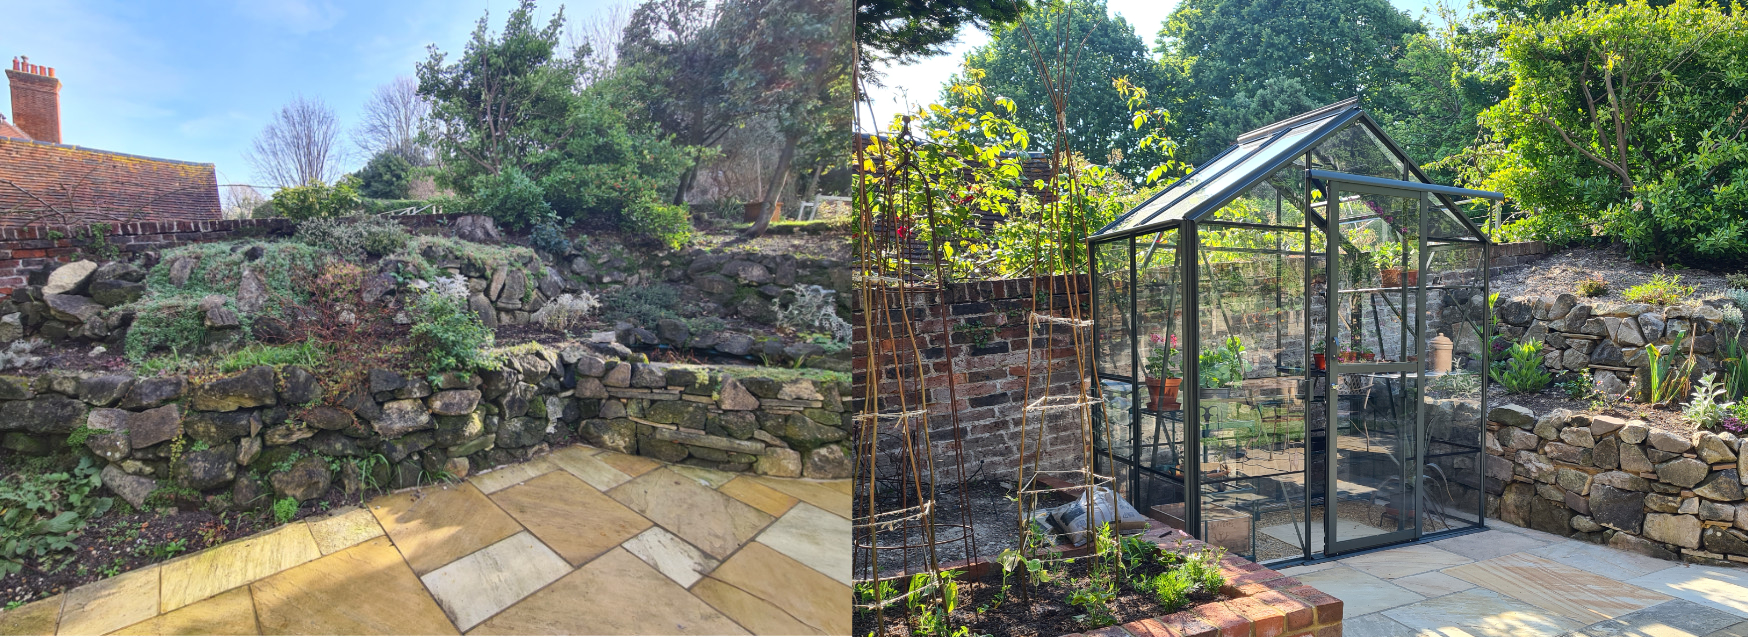
We’re so pleased with our new section of garden and little greenhouse. A neighbour said the other day, “it’s like it’s always been there!” And Nick and I put it up – it’s so satisfying to have managed it!
Discover more from An Eastbourne Diary
Subscribe to get the latest posts sent to your email.
Be First to Comment